Labeling Metrics (Studio)
About Labeling Metrics
Labeling metrics adds more context to their purpose and makes them easier to find. You can add labels when creating a metric or when editing existing metrics.
Qtip: To label metrics, you need editing access to a metric. That means the metric was shared with editing access, or you created the metric.
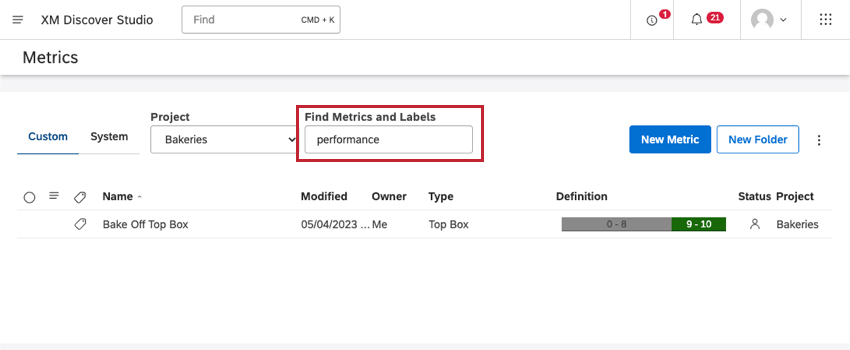
Once metrics are labeled, you can type labels in the search on the Metrics page to find those metrics.
Adding Labels to Metrics
Once you’re on the Metrics page, there are a few ways to label your metrics.
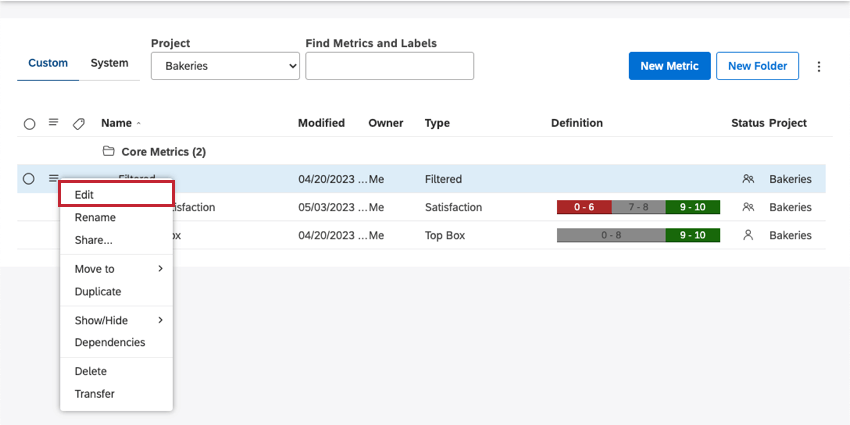
- Click the dropdown next to a metric and select Edit to label one metric.
- Select multiple metrics, click the dropdown next to any metric, then select Edit Labels to label multiple metrics.
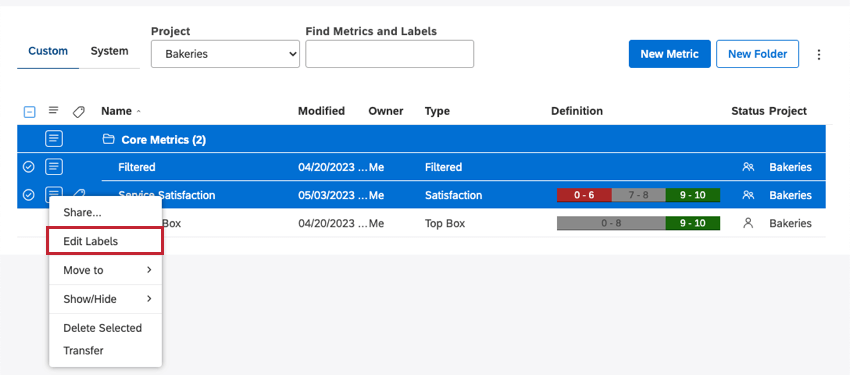 Attention: Labels added in bulk with overwrite any existing labels selected metrics have.
 - Add labels when creating a metric.
Once you’ve started editing or creating a metric, labels can be found here:
- Stay in the Definition tab.
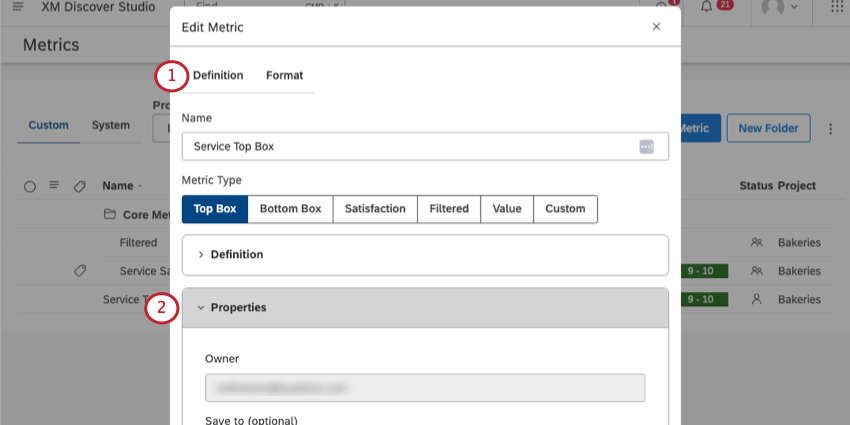
- Expand Properties.
- In the Labels field, type a label, then press Enter to complete the label.
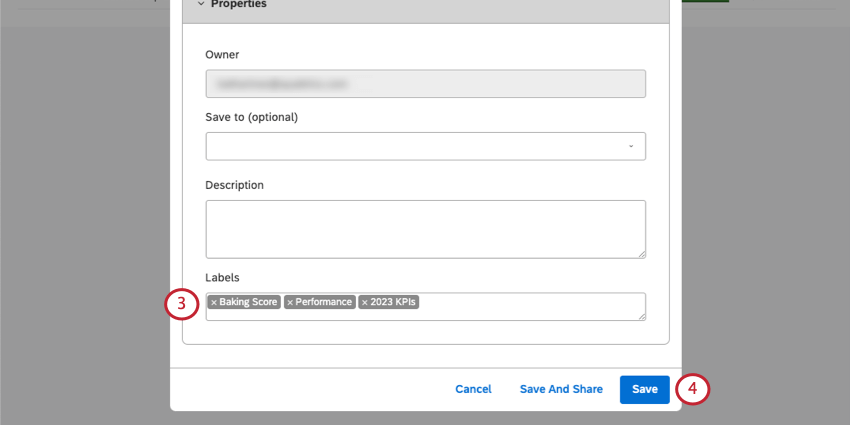 Qtip: You can add up to 3 labels to a metric.Qtip: Each label can be up to 20 characters long.
 - When you’re finished editing or creating your metric, save your changes.
Qtip: As you start typing a label, similar labels that already exist in your master account are displayed.
Qtip: To remove a label, click X.
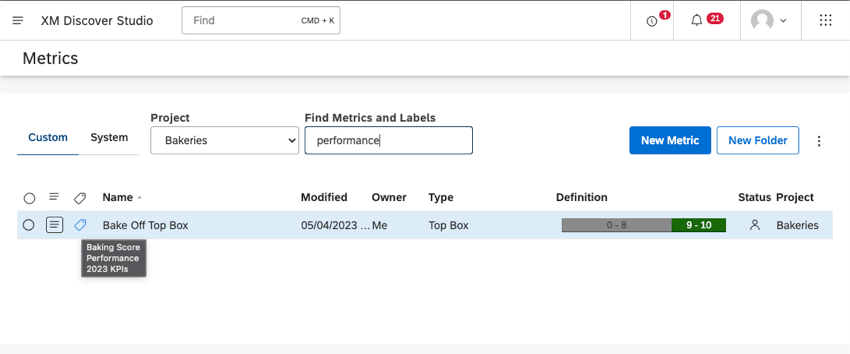
Once you add labels to a metric, a label icon appears next to it in metrics management. Hover over the icon to see applied labels.
