Customizing Designer Appearance
About Customizing Designer Appearance
Qtip: This action can be performed by either an Account Administrator or a System Administrator.
You can change the appearance of Designer to reflect your organization’s branding. Custom appearance is performed per account and it applies to all projects within the account. The following customization options are available:
- Custom Logo: Change the logo (throughout Designer).
- Custom Color Palette: Change the color palette for report elements in charts, sentiment bands, satisfaction score bands and highlighting.
Accessing Branding Settings
- Sign into Designer.
- Click the Admin tab.

- Select Accounts.
- Click the pencil icon to edit your account.

- Click the Branding tab.

You can customize the logo and color palette.
Customizing the Designer Logo
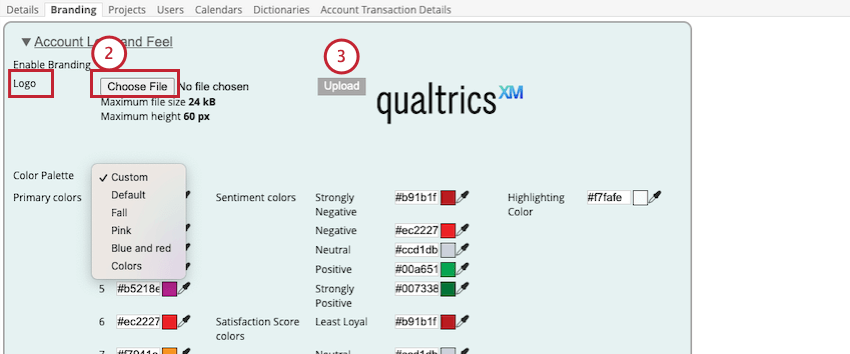
You can customize your Designer appearance by uploading a custom logo.
- Navigate to the Branding tab.
- Click Choose File and select the file.
 Qtip: The maximum file size is 24 KB and the maximum file height is 60 px.
 - Click Upload.
Customizing the Designer Color Palette
The color palette defines a combination of colors for the following elements:
- Primary Colors: These are the 10 colors used for report elements in charts.
- Sentiment Colors: These are the 5 colors used for sentiment bands.
- Satisfaction Score Colors: These are the 3 colors used for satisfaction score bands.
- Highlighting Color: This is the color used to highlight various items (for example, selected sentences in document explorer).
How to Change the Designer Color Palette
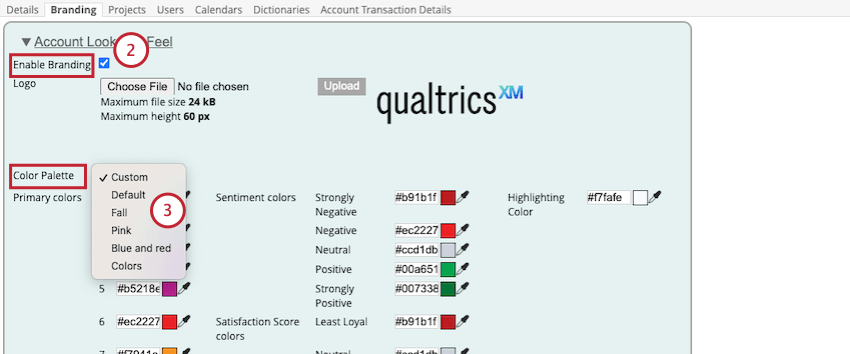
- Navigate to the Branding tab.
- Ensure that the Enable Branding checkbox is selected.

- Select the color palette you want to use. Your options include:
- Default
- Fall
- Pink
- Blue and red
- Colors
- Click OK to confirm the changes you have made.

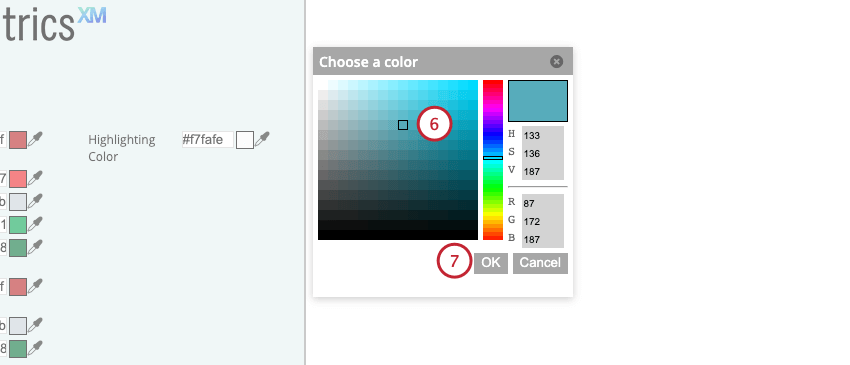
- If you select a custom palette, you can define palette colors. To do this, click the eyedropper icon beside the hex notation box.

- Select a color using the color picker.

- Click OK.
- Click Save.

