
Twitter Inbound Connector
Suite
Customer Experience
Product
Qualtrics
What's on this page
About the Twitter Inbound Connector
You can use the Twitter inbound connector to load public tweets and mentions from Twitter into XM Discover.
Setting Up a Twitter Inbound Job
Qtip: The “Manage Jobs” permission is required to use this feature.
On the Jobs page, click New Job.


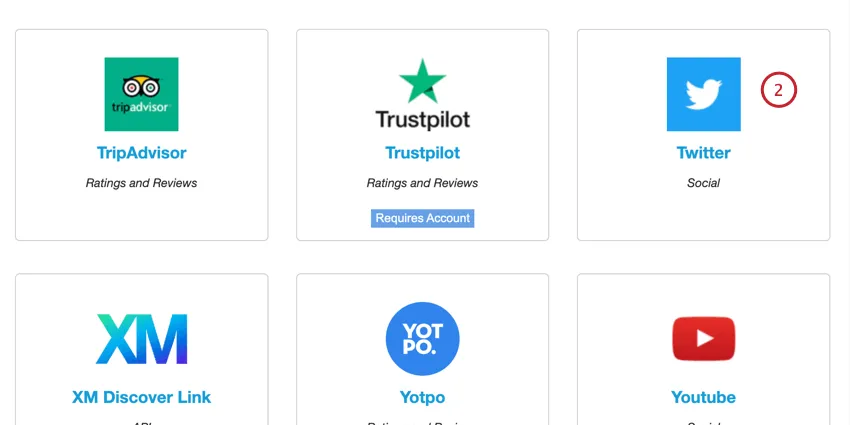
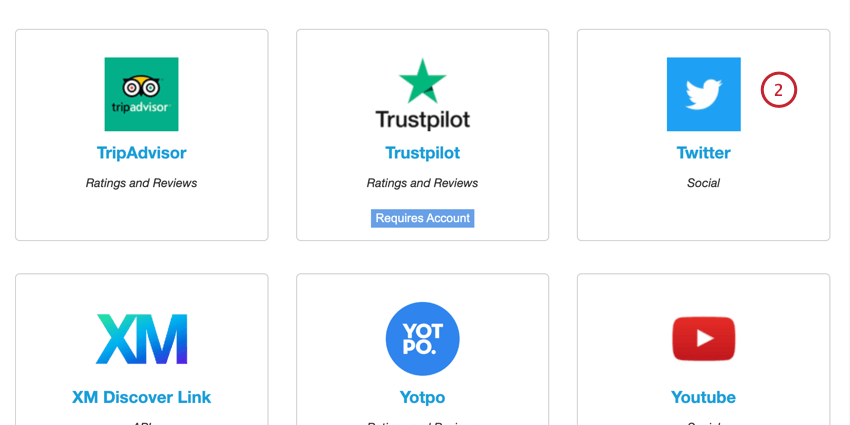
Select Twitter.
Give your job a name so you can identify it.
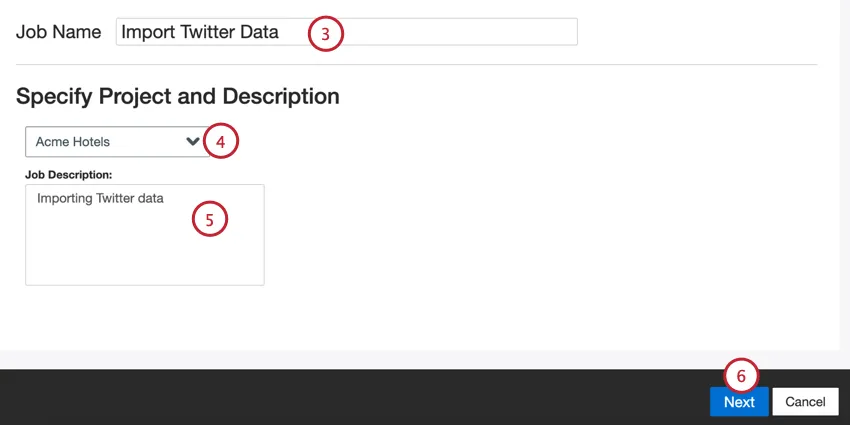
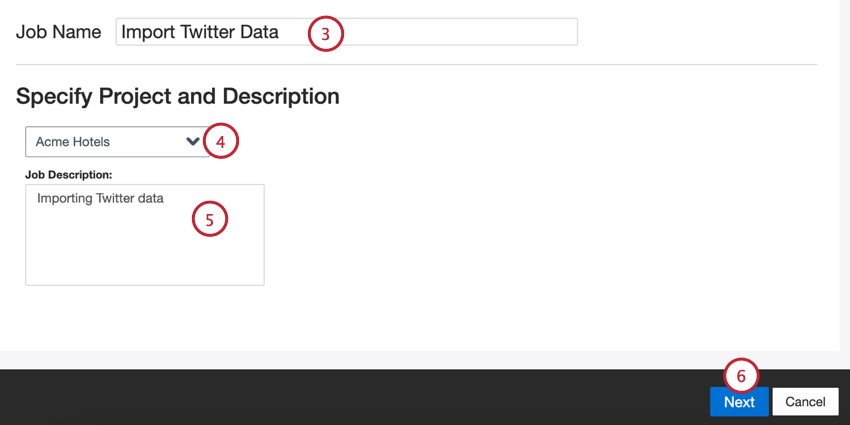
Choose the project to load data into.
Give your job a description so you know its purpose.
Click Next.
Enter a Twitter query, which can be built using Twitter’s advanced search queries. XM Discover will retrieve public tweets and mentions that match your search criteria.

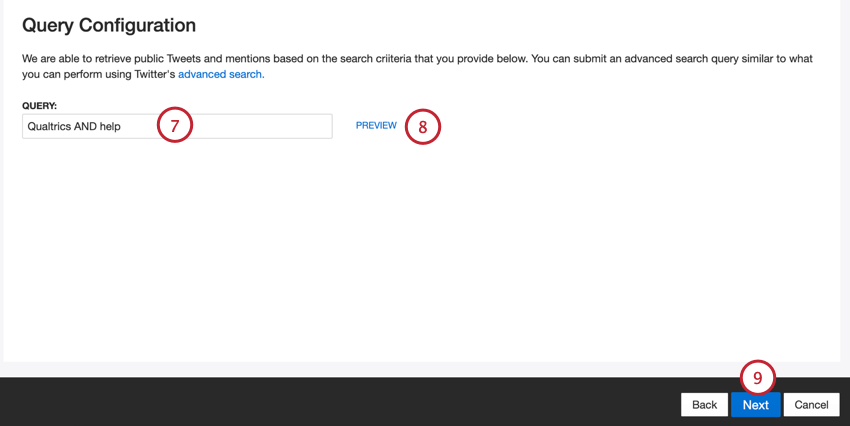
Click Preview to test your query. This will open the search results in a new tab in your browser.
Click Next.
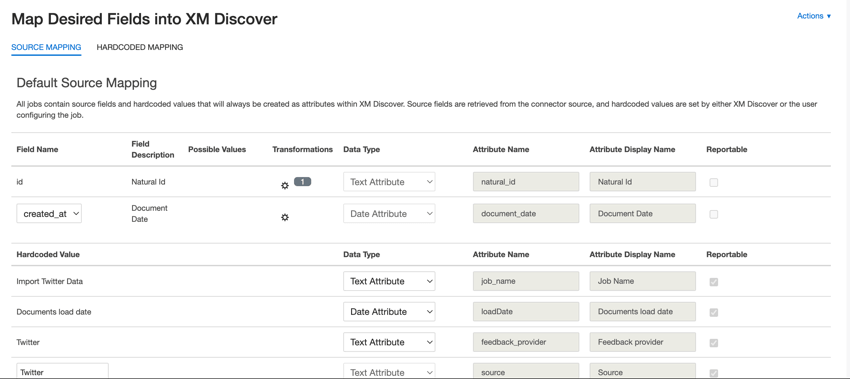
If needed, adjust your data mappings. See the Data Mapping support page for detailed information on mapping fields in XM Discover. The Default Data Mapping section has information on the fields specific to this connector.
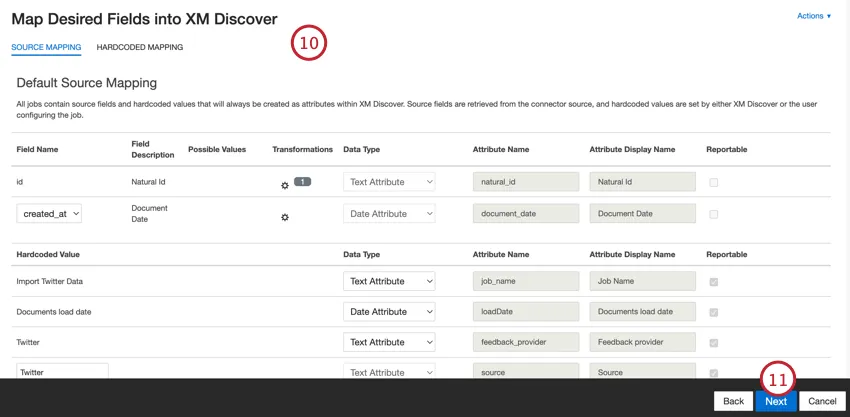
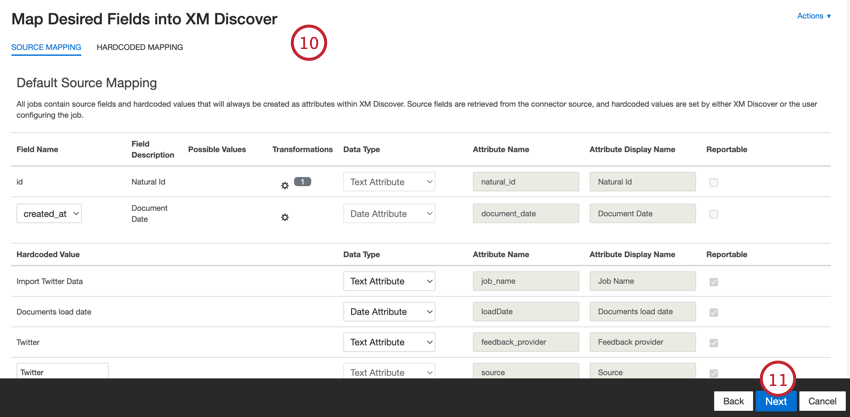
Click Next.
If desired, you can add data substitution and redaction rules to hide sensitive data or automatically replace certain words and phrases in customer feedback and interactions. See the Data Substitution and Redaction support page.

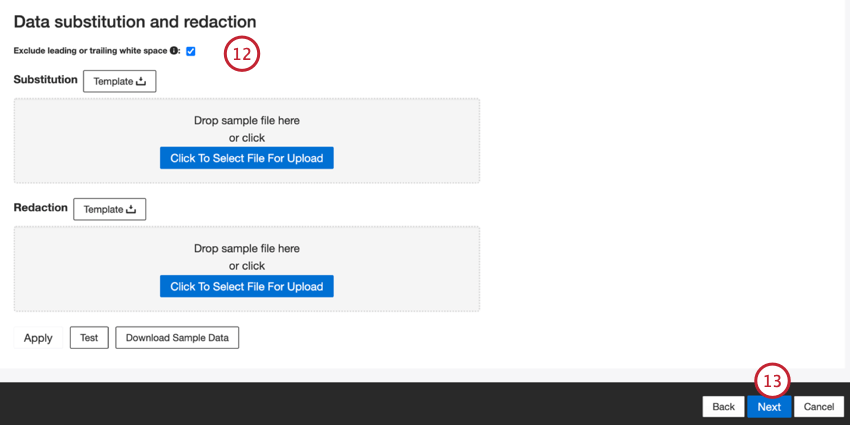
Qtip: Click Download Sample Data to download an Excel file with sample data to your computer.
Click Next.
If desired, you can add a connector filter to filter the incoming data to limit what data is imported.
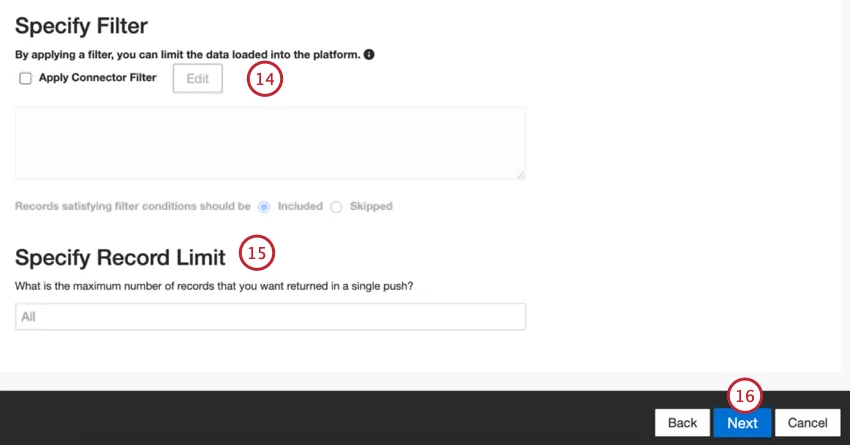

You can also limit the number of records imported in a single job by entering a number in the Specify Record Limit box. Enter “All” if you would like to import all records.
Click Next.
Choose when you’d like to be notified. See Job Notifications for more information.

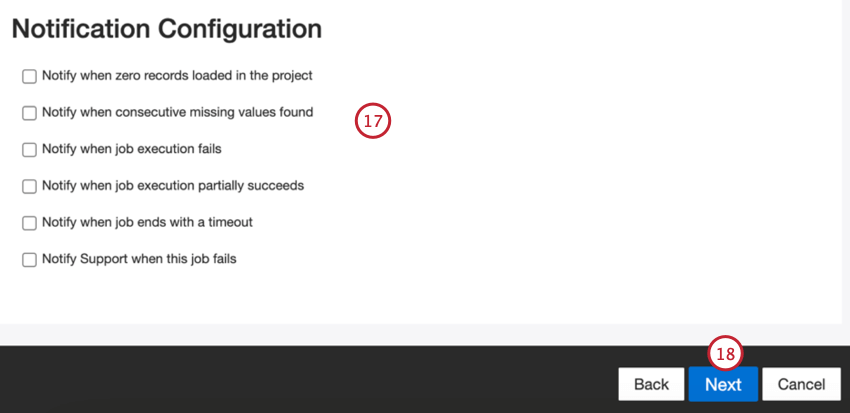
Click Next.
Choose how duplicate documents are handled. See Duplicate Handling for more information.


Choose Schedule Incremental Runs if you’d like your job to run periodically on a schedule, or Set Up One-Time Pull if you’d like the job to run just once. See Job Scheduling for more information.
Click Next.
Review your setup. If you need to change a specific setting, click the Edit button to be brought to that step in the connector setup.

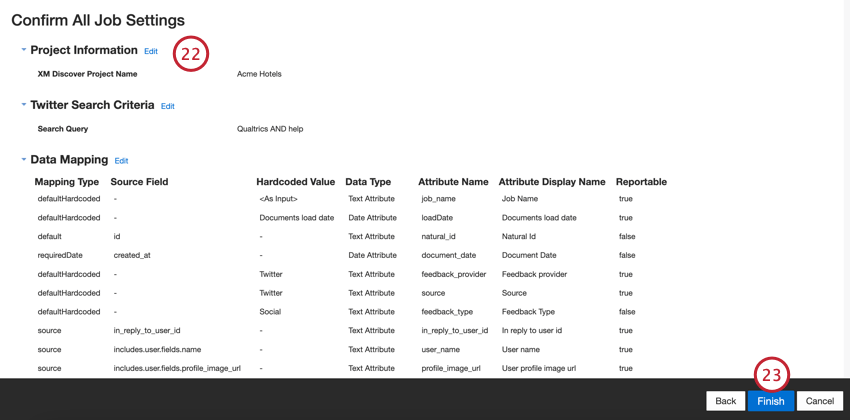
Click Finish to save the job.
Default Data Mapping
This section contains information on the default fields for Twitter inbound jobs.

- natural_id: A unique identifier of a document. It is highly recommended to have a unique ID for each document to process duplicates correctly. For Natural ID, you can select any text or numeric field from your data. Alternatively, you can automatically generate IDs by adding a custom field.
- tweet_id: A unique identifier for a tweet within the Twitter service. These IDs can be used to track the original tweet for a variety of purposes, including being able to reply to your organization’s mentions via Qualtrics Social Connect.
- document_date: The primary date field associated with a document. This date is used in XM Discover reports, trends, alerts, and so on. By default, this is mapped to the date the tweet was created. You can choose one of the following options:
- created_at (default): The date and time the tweet was created.
- created_at: The date and time the user account was created on Twitter.
- You can also set a specific document date.
- feedback_provider: Identifies data obtained from a specific provider. For tweets, this attribute’s value is set to “Twitter” and cannot be changed.
- source_value: Identifies data obtained from a specific source. This can be anything that describes the origin of data, such as the name of a survey or a mobile marketing campaign. By default, this attribute’s value is set to “Twitter.” Use custom transformations to set a custom value, define an expression, or map it to another field.
- feedback_type: Identifies data based on its type. This is useful for reporting when your project contains different types of data (for example, surveys and social media feedback). By default, this attribute’s value is set “Social”. Use custom transformations to set a custom value, define an expression, or map it to another field.
- job_name: Identifies data based on the name of the job used to upload it. You can modify this attribute’s value during the setup via the Job Name field that is displayed at the top of each page during the setup.
- loadDate: Indicates when a document was uploaded into XM Discover. This field is set automatically and cannot be changed.
That's great! Thank you for your feedback!
Thank you for your feedback!