Connectors Account Settings
About Connectors Account Settings
While in the Connectors section of XM Discover, you can set various settings for your account. These settings only affect your experience while using Connectors.
Navigating to Account Settings
To access your account settings, click the user icon in the top right corner and then select Account Settings.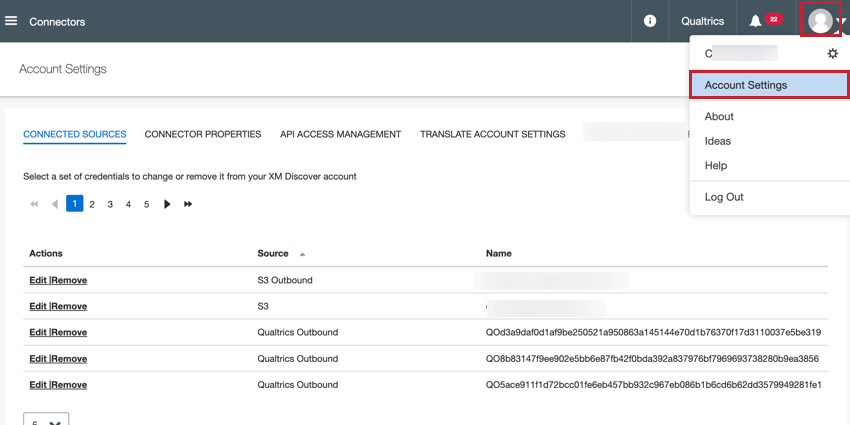
You can then navigate to the different sections of your account settings:
- Connected sources: Edit or remove credentials connected to your account.
- Connector properties: Enable or disable the connectors available in your account.
- API access management: Create and manage API tokens for your account.
- Translate account settings: Allows you to translate incoming data using the Google Translate API
Connected Sources
Account Administrators can manage the credentials used for integrations in the Connected Sources section of account settings.
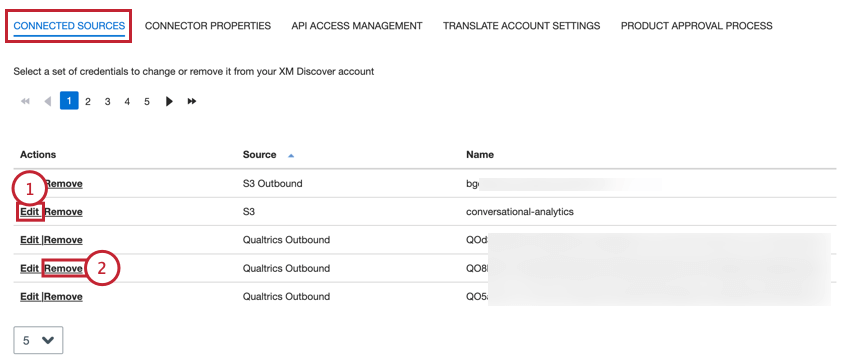
- Click Edit next to a set of credentials to edit the credentials. See the documentation for the specific integration for more information about the credentials required for that integration.
Qtip: The type of integration is listed in the “Source” field.
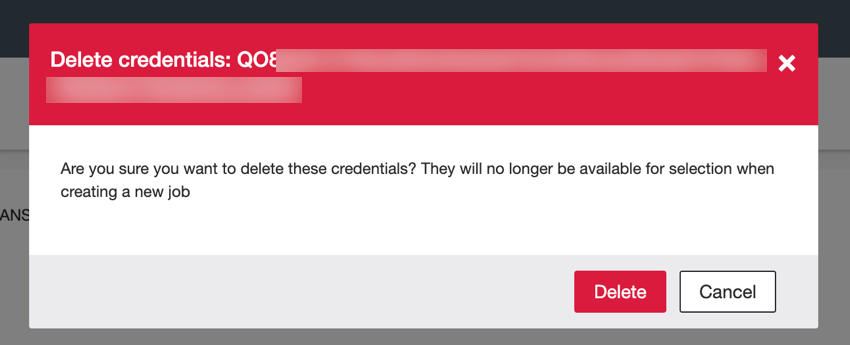
- Click Remove to delete the credentials.
Connector Properties
Account Administrators can enable and disable the different integrations available in your account in the Connector Properties section of account settings.
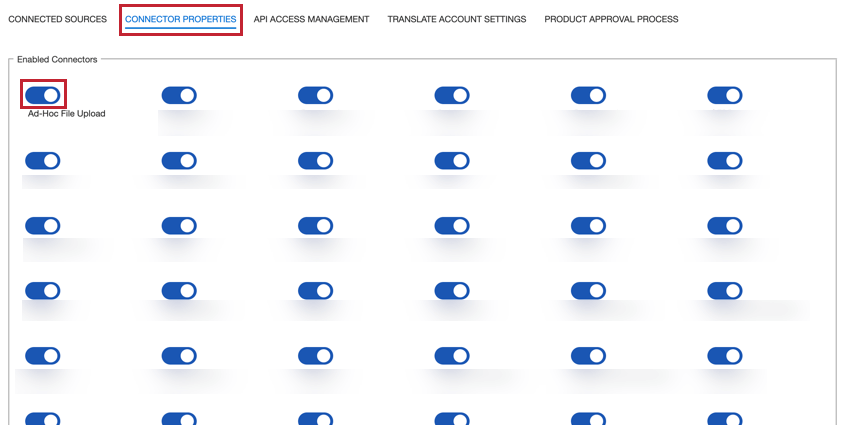
You can switch a toggle “on” to enable its associated integration or switch the toggle “off” to disable it.
API Access Management
You can manage the API tokens associated with your account in the API Access Management section of account settings.
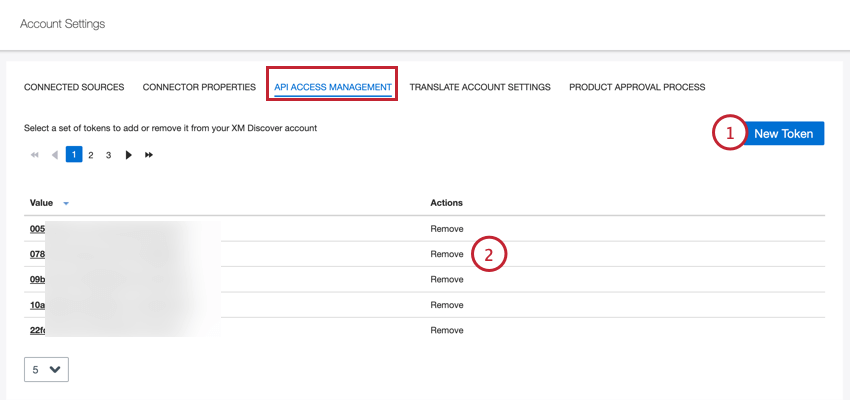
- Click New Token to create a new API token. This token will be added to the table on the page for you to copy.
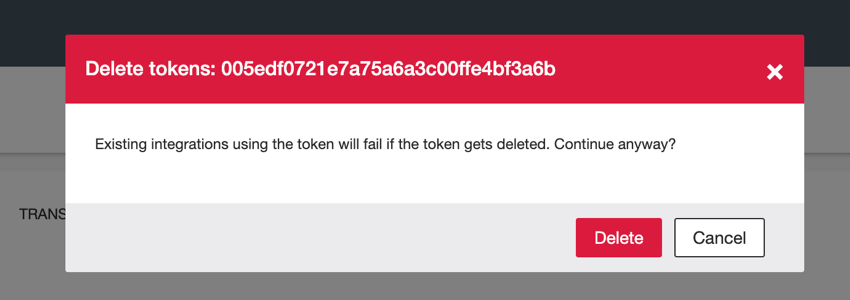
- To delete a token, click Remove.
Translate Account Settings
You can translate incoming data before it is saved in XM Discover. This is useful if your collected data is in a different language than the one you’d like to analyze it in.
- Navigate to the Translate Account Settings section of account settings.
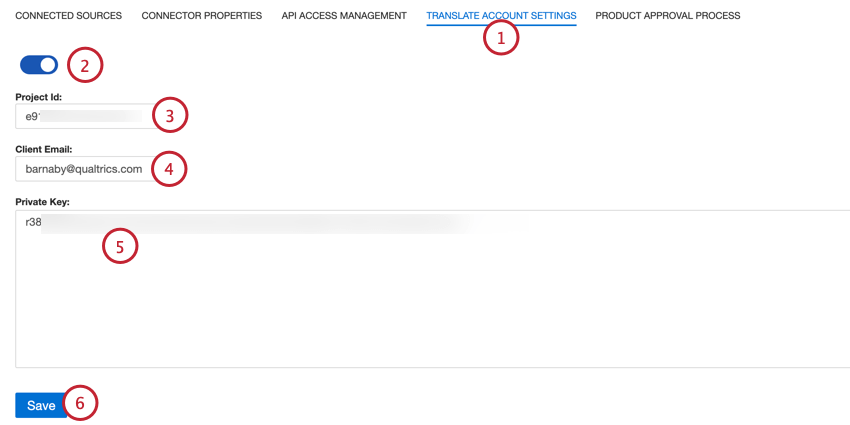
- Switch on the toggle at the top of the page.
- Enter the Project ID of your Google Cloud project.
- In the Client Email field, type the email associated with your Google Cloud account.
- Enter the Private Key from your Google Cloud account.
- Click Save.
