Navigating the Intercepts Tab
About Navigating the Intercepts Tab
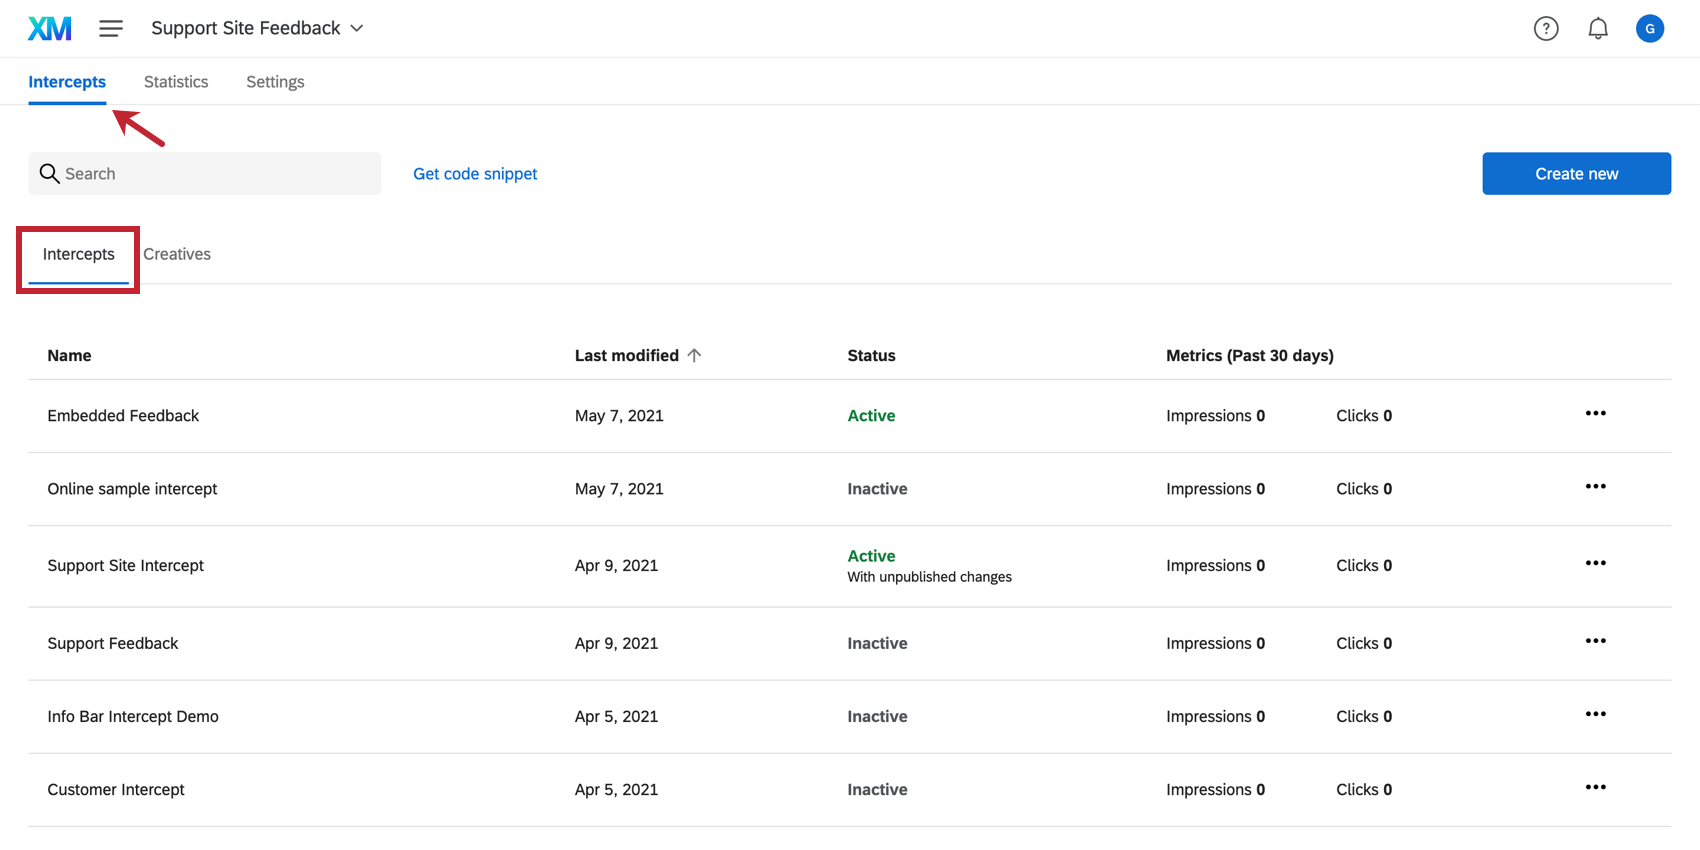
The Intercepts tab is where you generate intercepts. Before you can get started, it helps to get familiar with how this tab is organized.
Creating an Intercept
To add a new intercept, you will need to enter the Intercepts tab and navigate to the Intercepts section below.
Generating a New Intercept
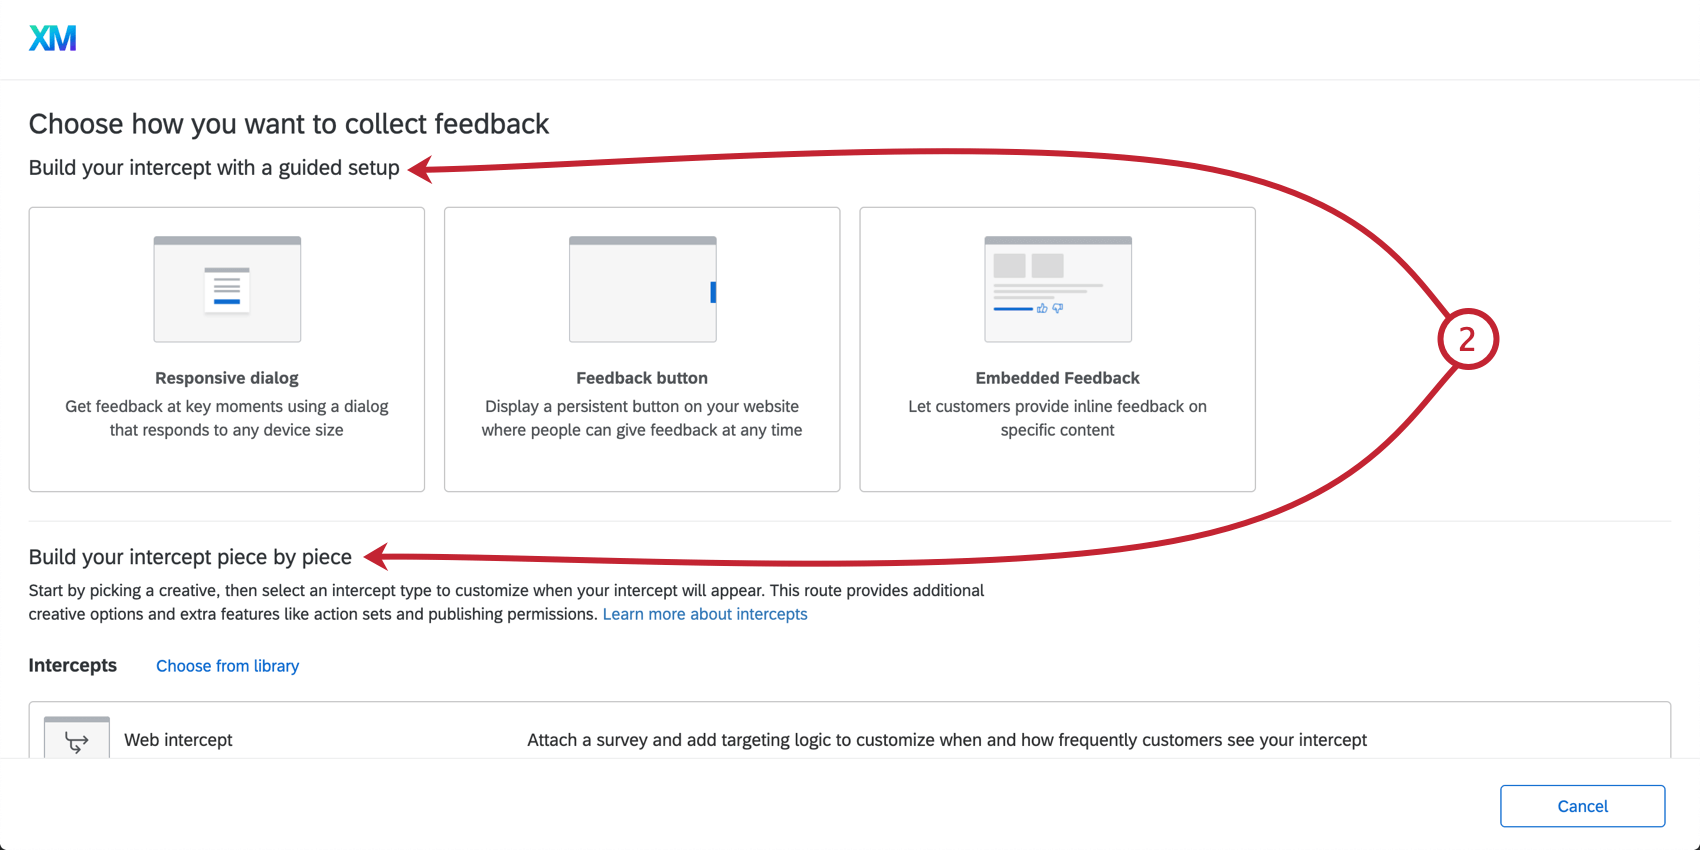
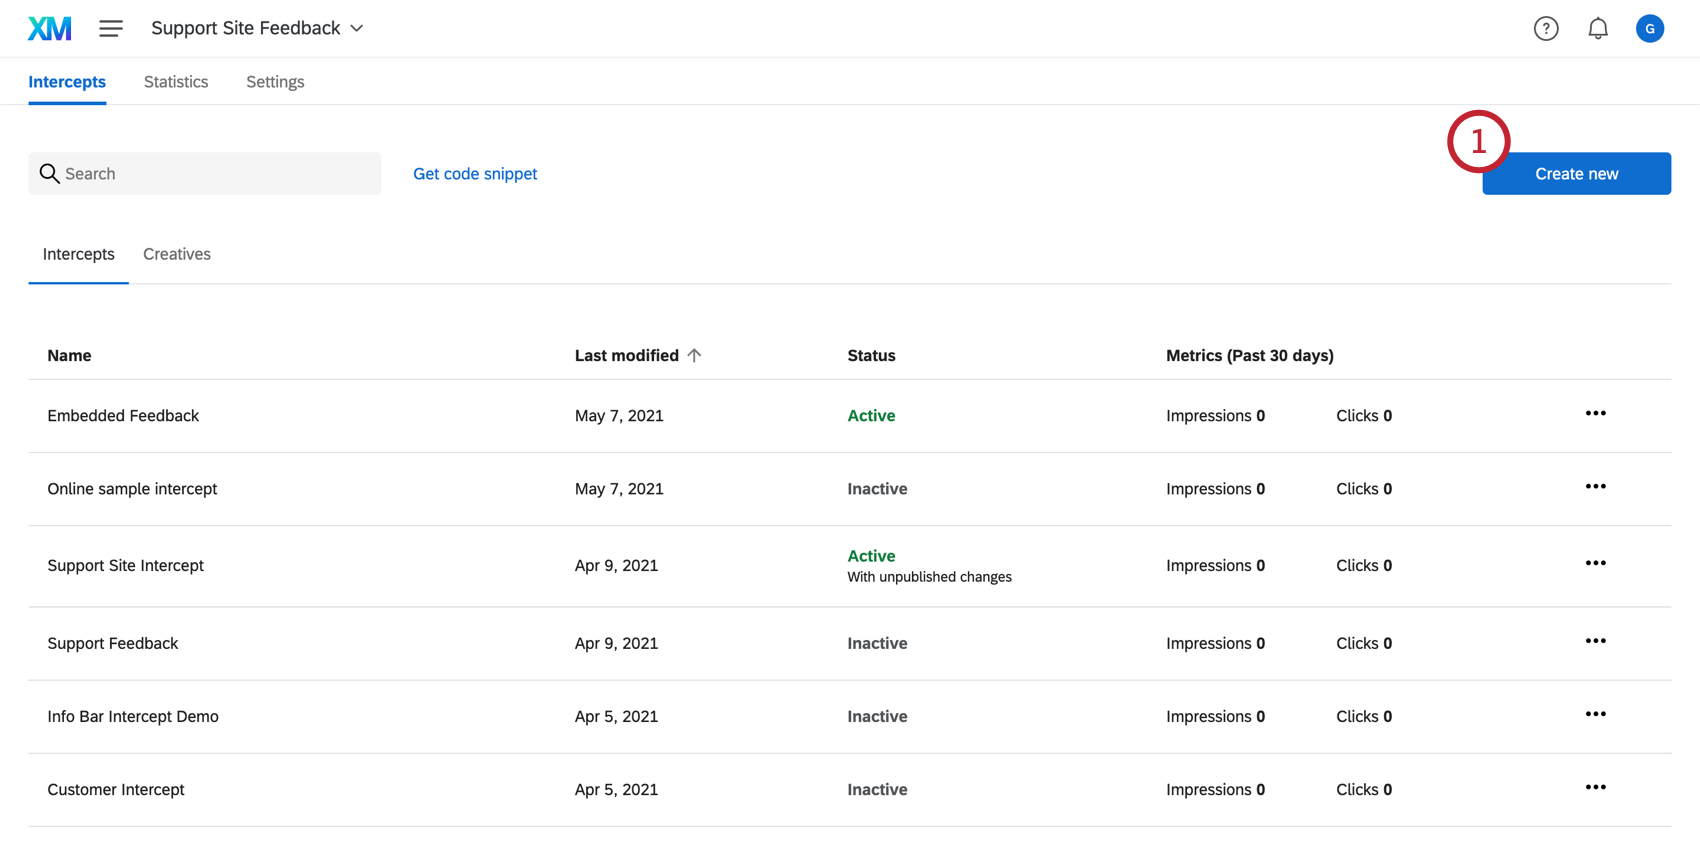
- Click Create new.
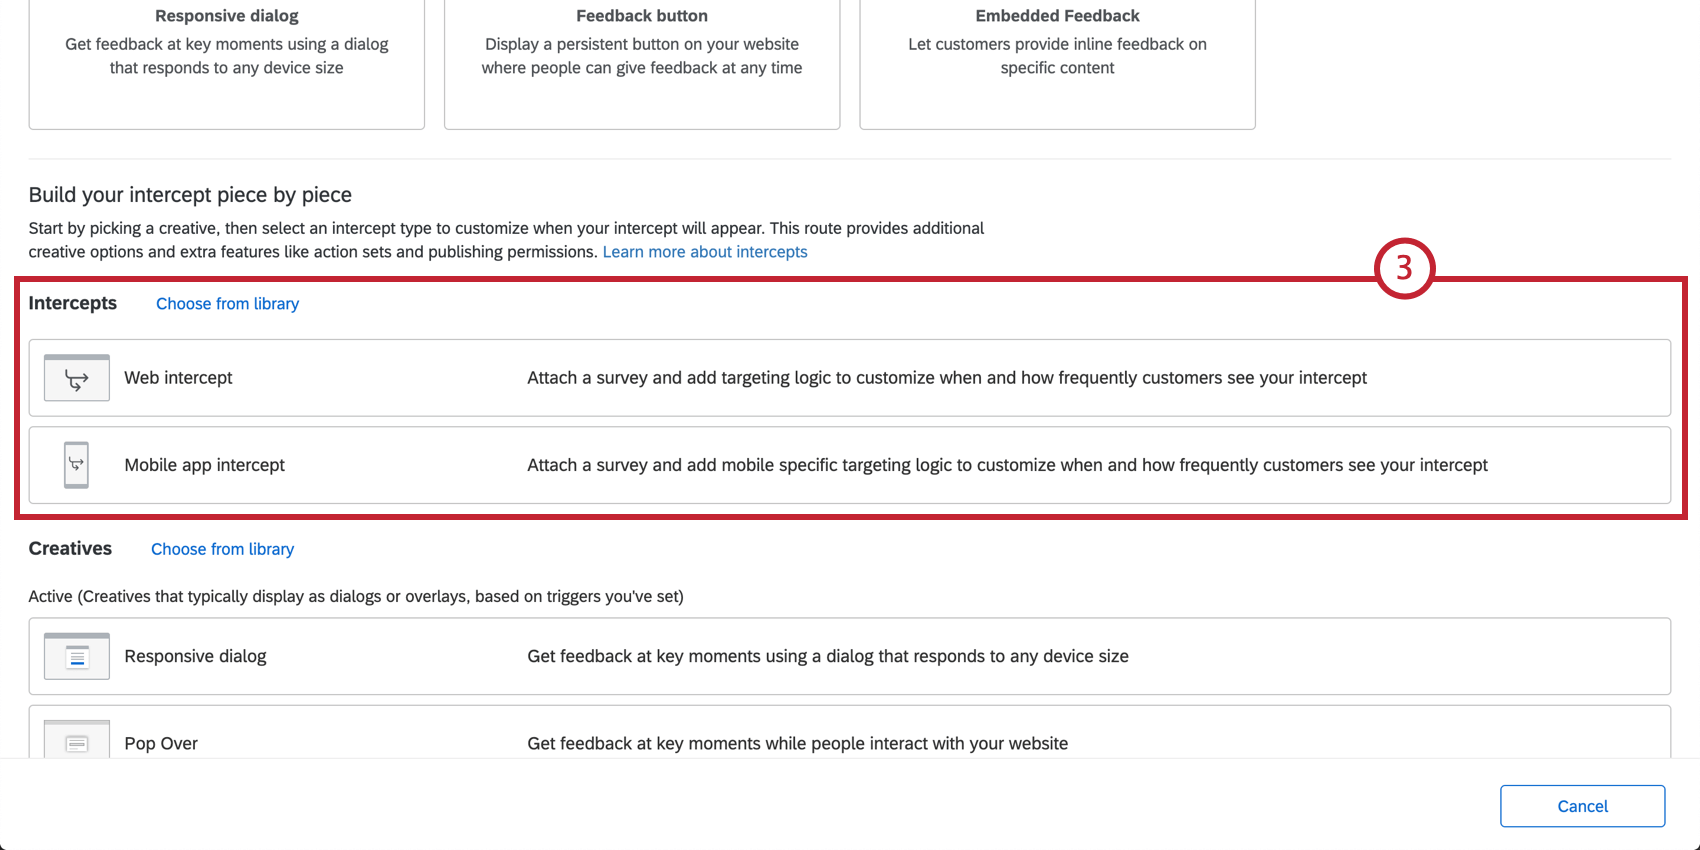
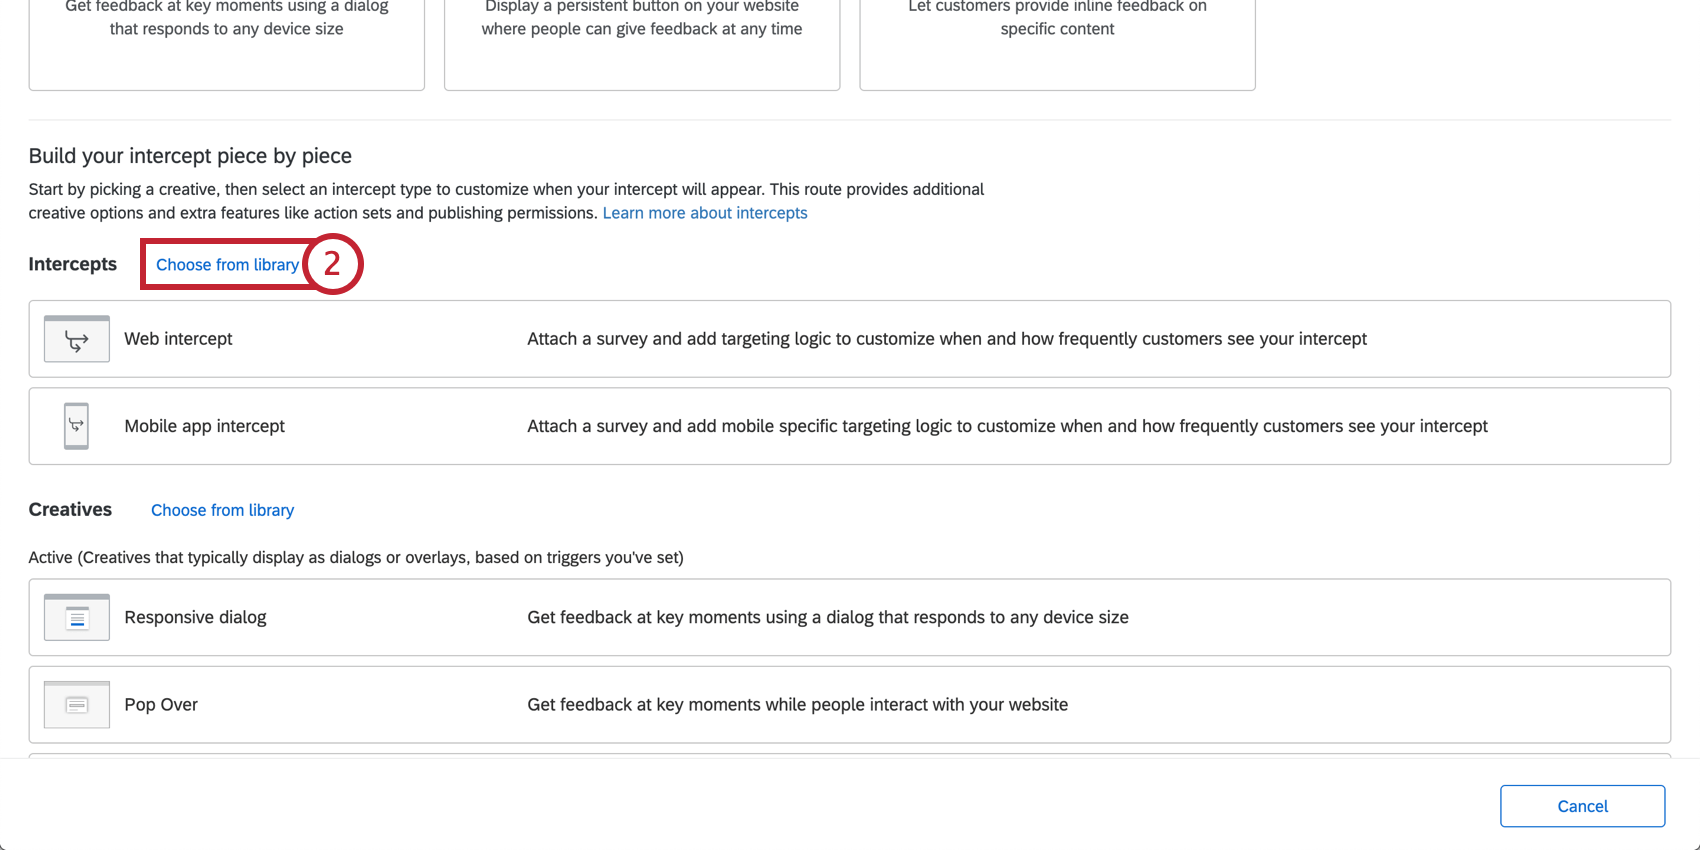
- You can choose to build your intercept with a guided setup or build your intercept piece by piece. This section outlines how to build an intercept separate from a creative, so scroll down to the Build your intercept piece by piece heading.
Qtip: If, instead of creating a standalone intercept, you’d like assistance throughout the whole process, feel free to use our guided setup for Website / App Insights projects. If you use the guided setup, you will be prompted to add a creative, connect your survey, and configure your intercept. For more information about the guided setup, visit Choose How You Want to Collect Feedback.
- Select 1 of the Intercepts to get started. Here, you’ll select where the intercept is targeted at. For regular sites, both mobile and desktop, you should select Website.
Qtip: To learn more about the Mobile App options and its unique editing options, see the Mobile App Prompt Creative page.
- Enter a name for your intercept.
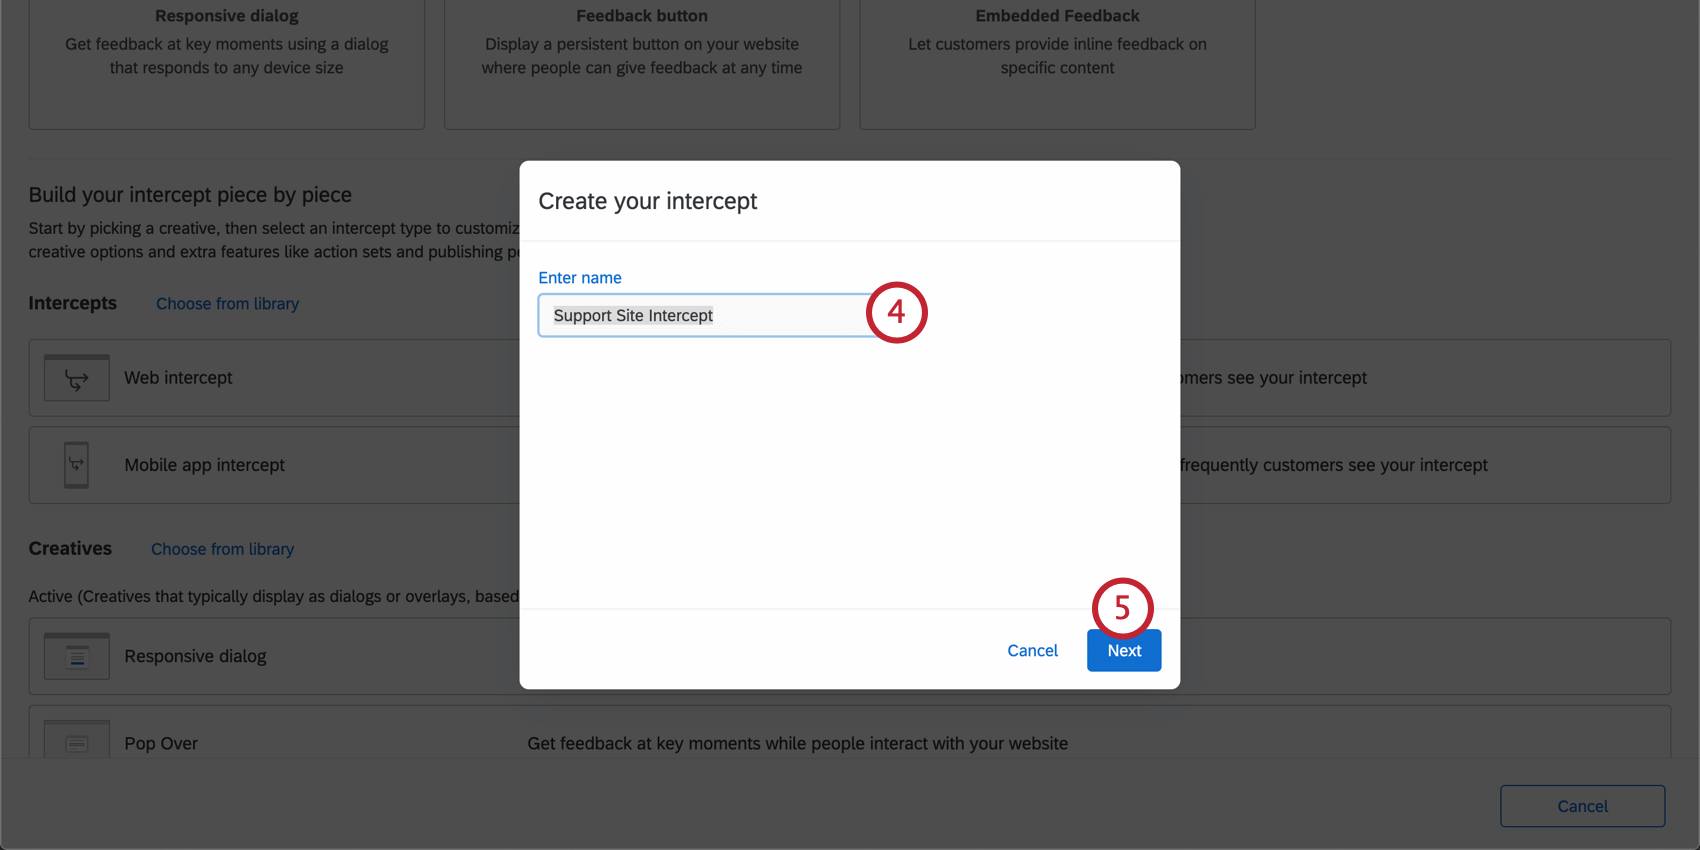
- Click Next.
- You are now ready to edit your intercept.
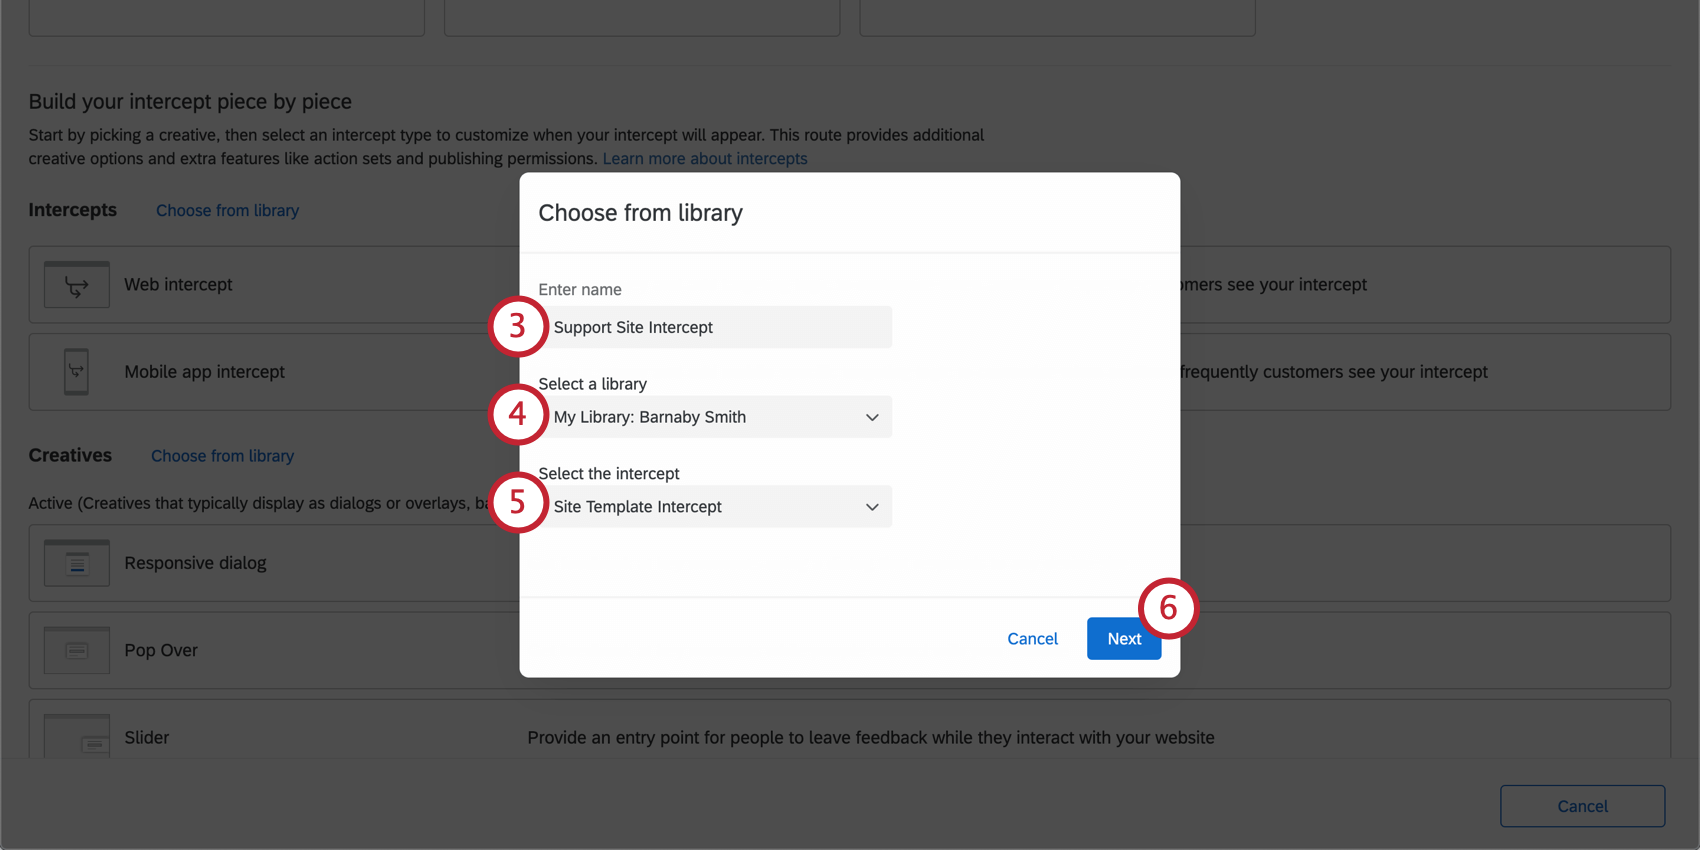
Generating an Intercept from the Library
Searching and Sorting Intercepts
To sort your list of intercepts by their name (alphabetical), by which was Last Modified, by the Target (in alphabetical order), by Status (Active or Inactive), and by Current Revision (Published or Unpublished), you can click on the heading title of the column you’d like to sort by. In this example, we have clicked Name to sort by intercept name A-Z.
The Search bar allows you to find intercepts by keywords in the Name of the survey.
Intercept Actions Dropdown
Click the dropdown to the far-right of the intercept to reveal a list of actions.
-
- Rename: Rename the intercept.
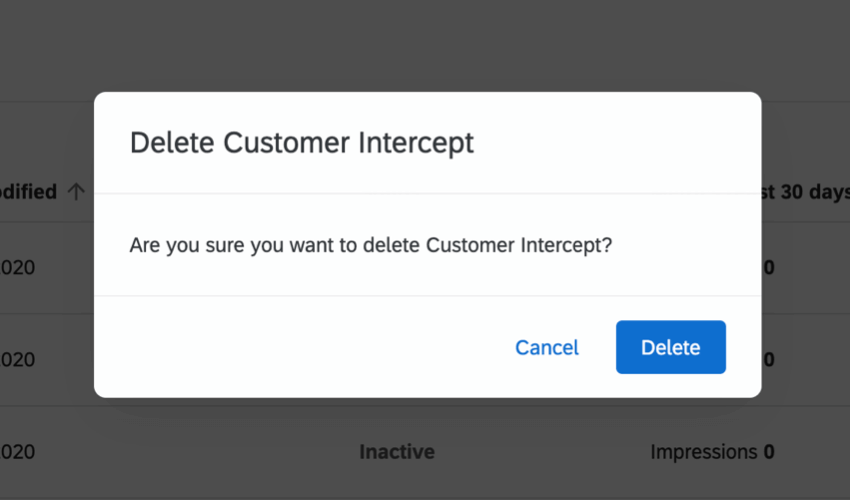
- Delete: Permanently delete the intercept. Heed the warning before you click Delete.
- Activate / Deactivate: Activate or deactivate the intercept. If your intercept is currently inactive, you will see the option to Activate, whereas if your intercept is active, you’ll see the option to Deactivate it.
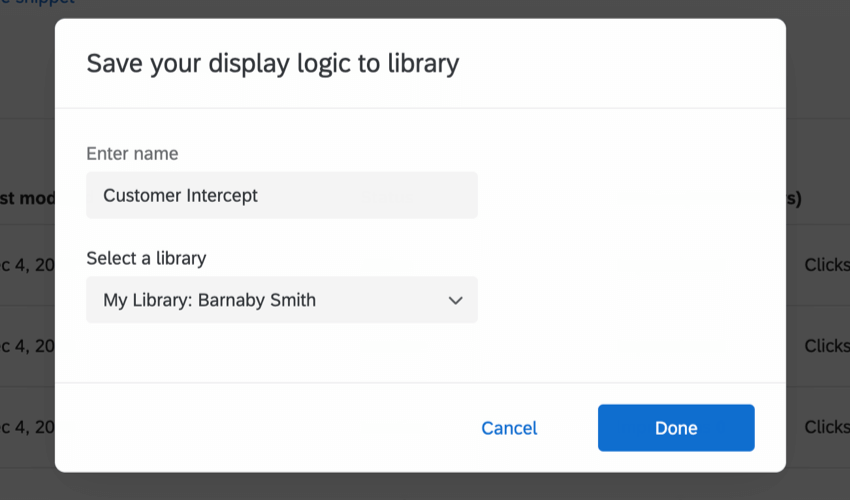
- Save to Library: Save the intercept to a Library of your choice, so it can be copied into different projects later.
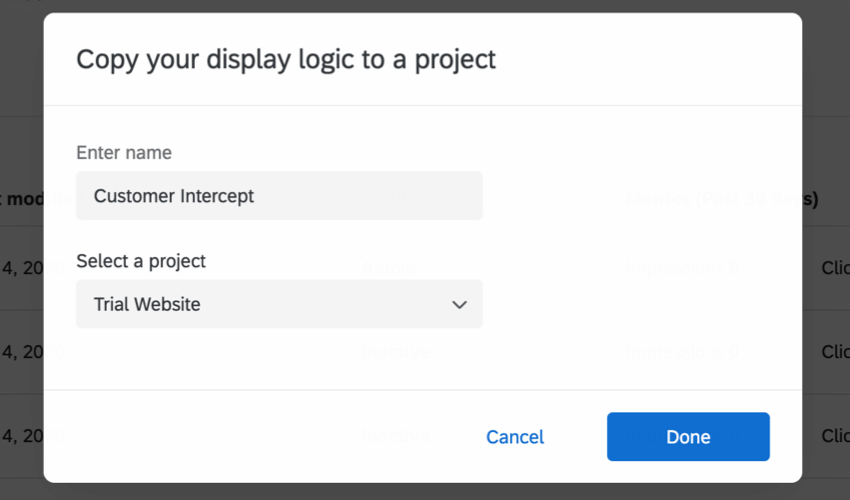
- Copy to a project: Create a copy of the intercept in a project of your choice.
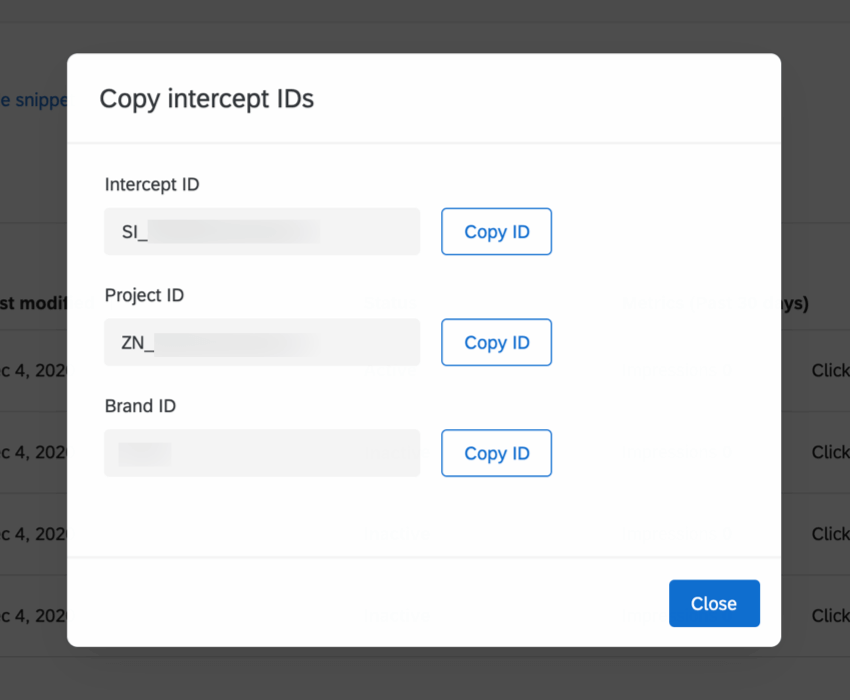
- Copy intercept IDs: Copy the intercept ID, project ID, and brand ID for the intercept.
