Activating, Publishing, & Managing Intercepts
About Activating, Publishing, & Managing Intercepts
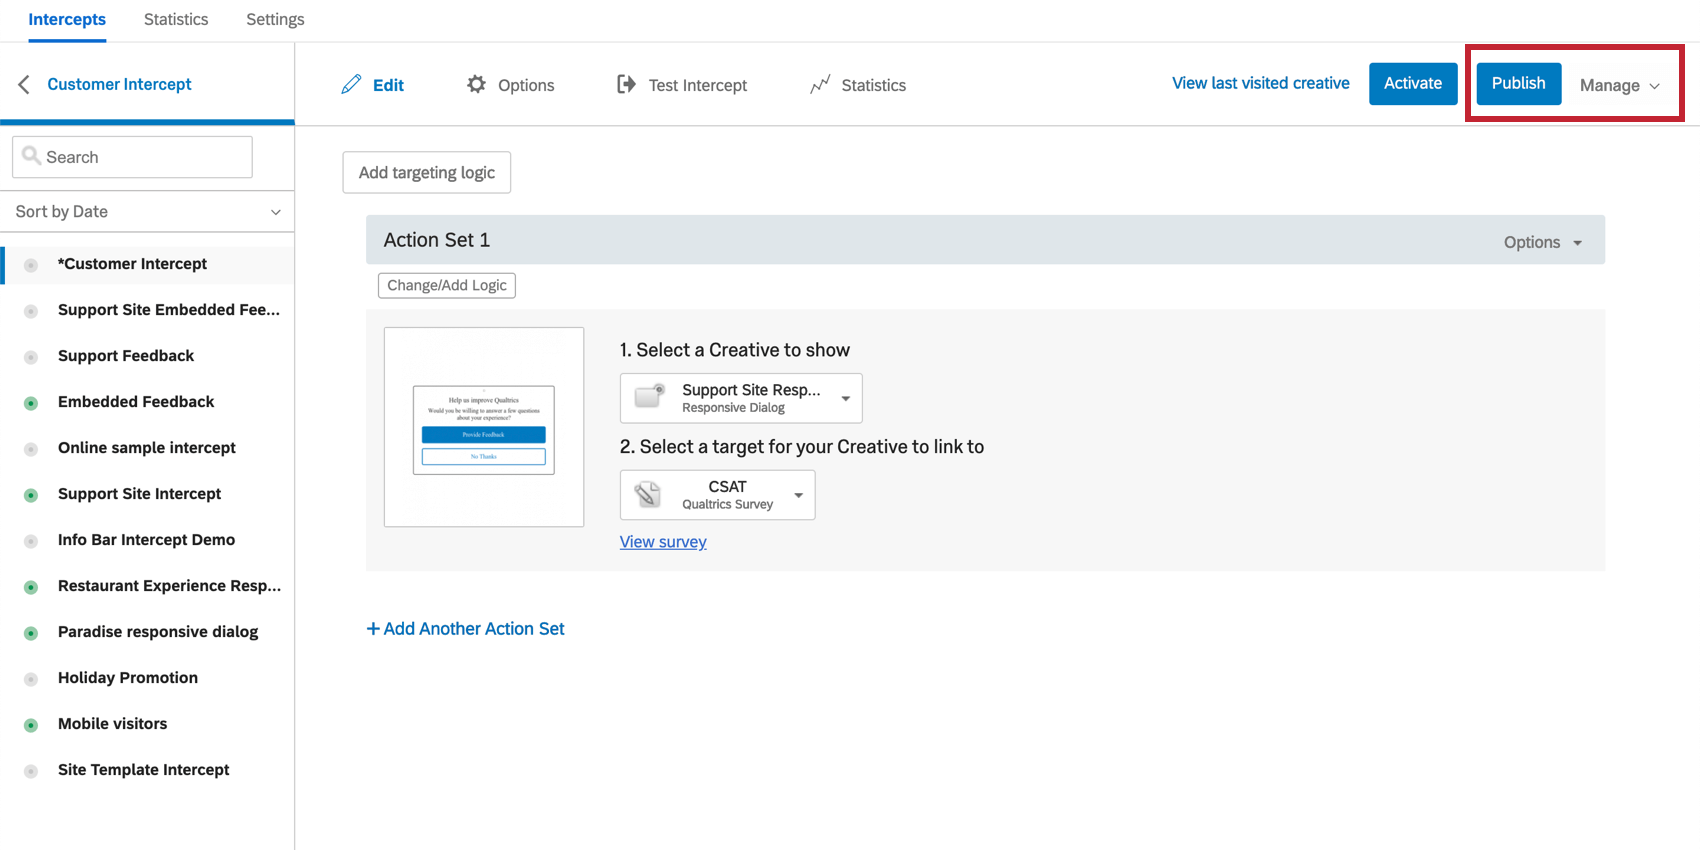
At the top of every section when you edit an intercept are 2 buttons: Publish and Manage.
Any changes to your intercepts won’t go live until you are ready. There are 2 key components that make this possible: publishing and activating. When you publish a creative or intercept, the latest changes you have made can go live on your website. When you activate an intercept, this turns the intercept on so it is live on your website.
You will separately publish creatives and intercepts after every set of changes you make, however, you will only activate intercepts once.
Publish Intercept
- Click Publish on the top-right of the Intercepts tab.
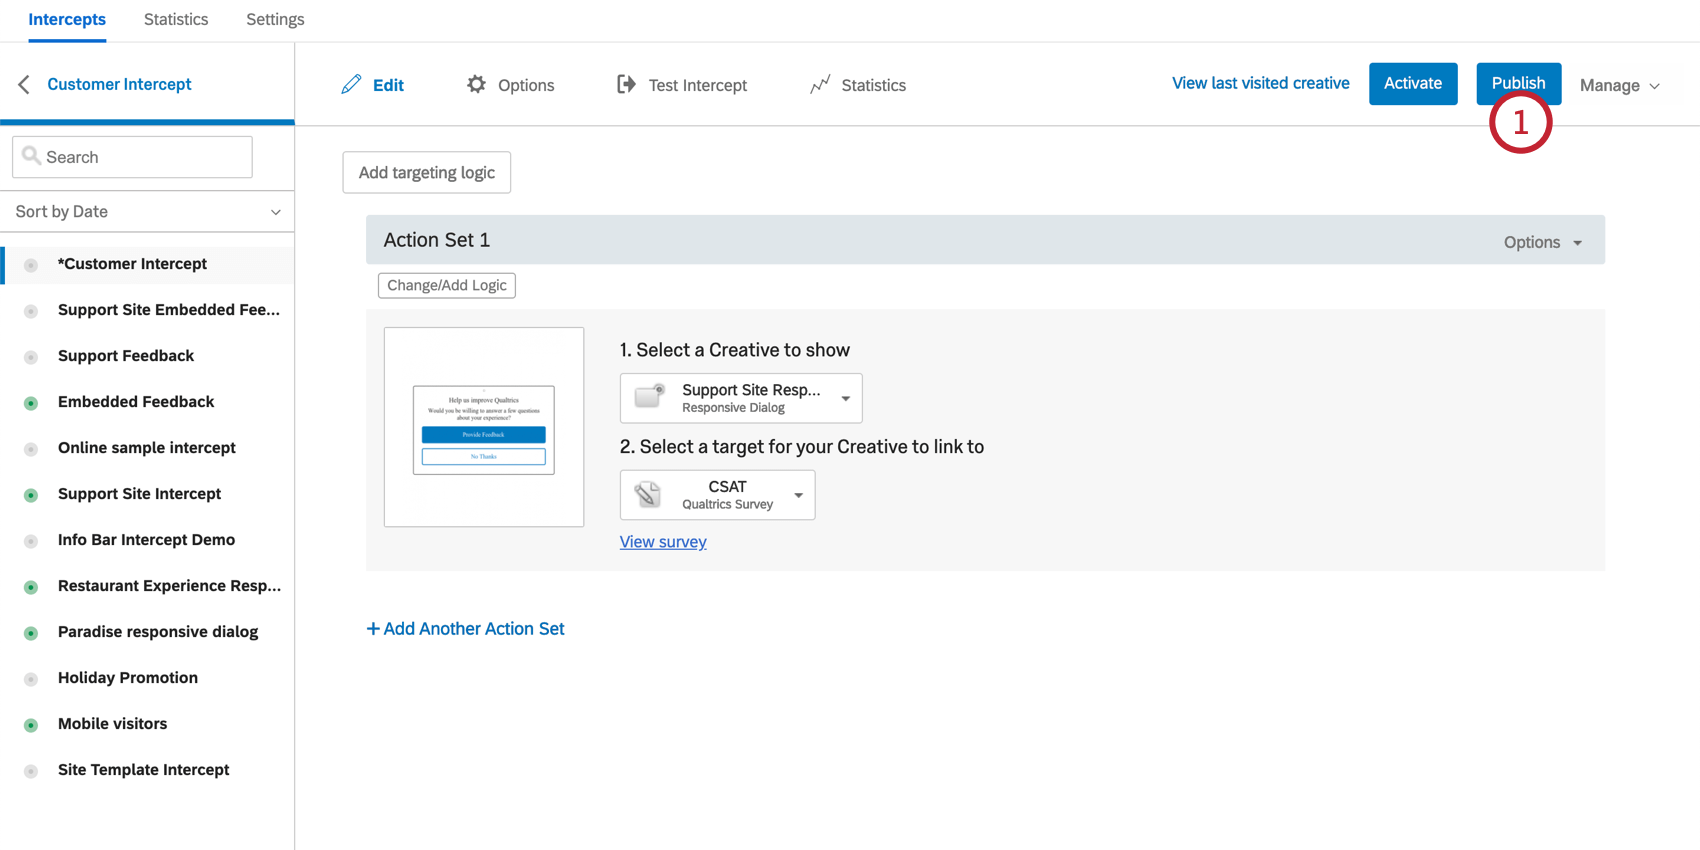 Qtip: If your organization has implemented an approval system, you may instead see a button that says Request Approval to Publish. For more information about setting up an approval system for projects, check out our Website / App Insights Administration support page.
 - Write a Description for your changes, or leave the field blank.
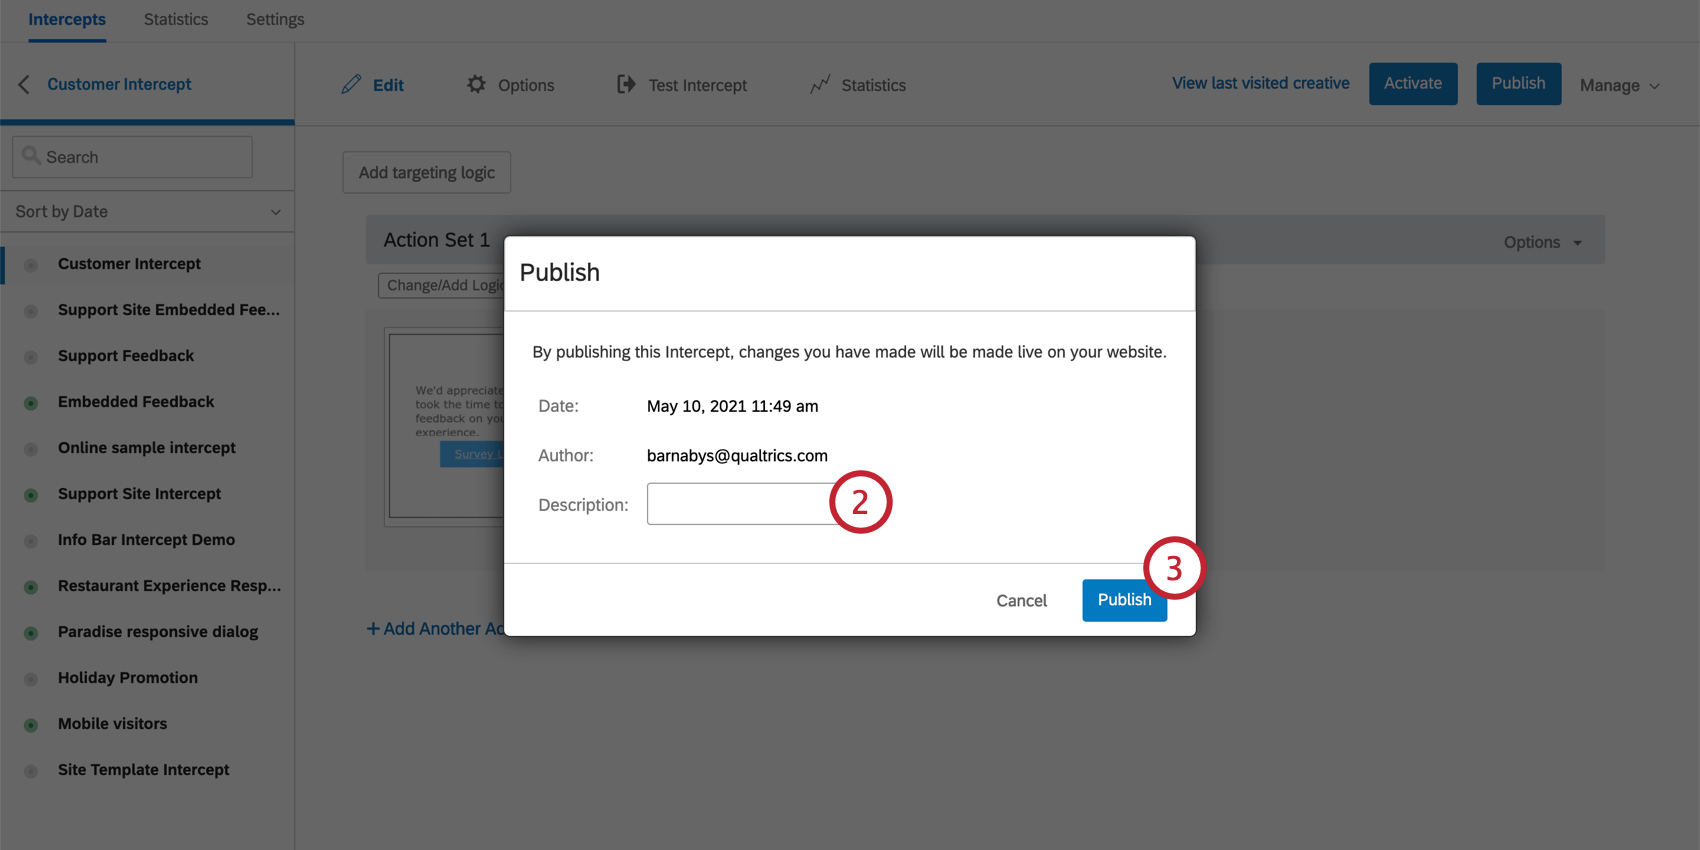
- Click Publish.
Activate Intercept
Publishing a creative and intercept simply means your latest changes can go live on your website. You must Activate an intercept before the code will work at all. From there, you can turn off the code at any time by Deactivating the intercept.
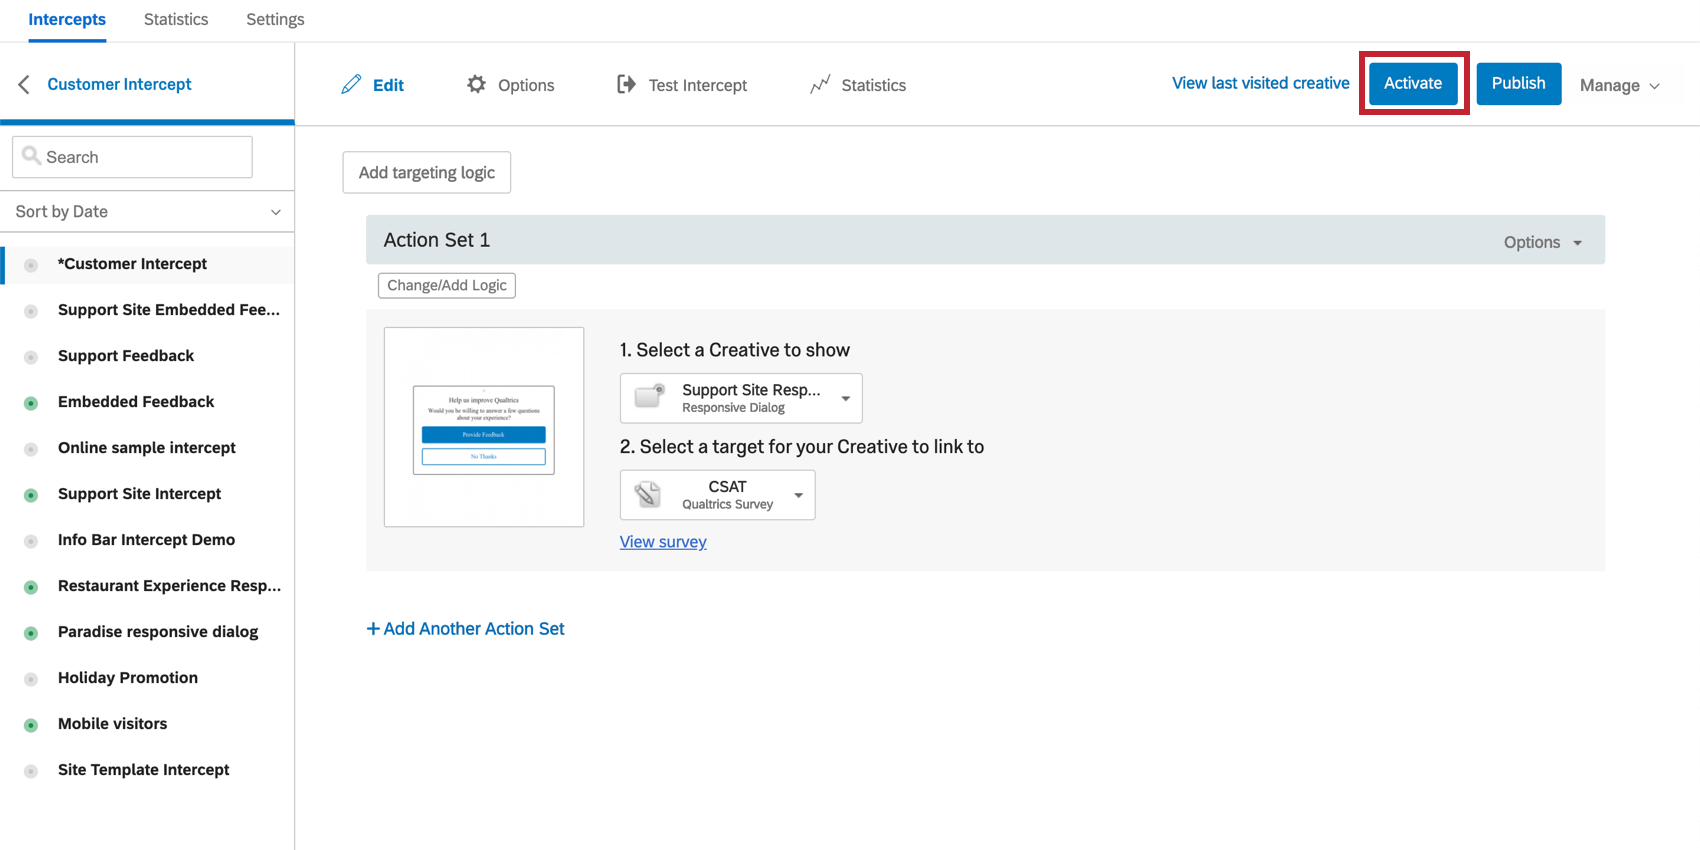
To activate an intercept, simply click Activate on the top-right of the Edit section. This button is only available once the intercept has been published for the first time.
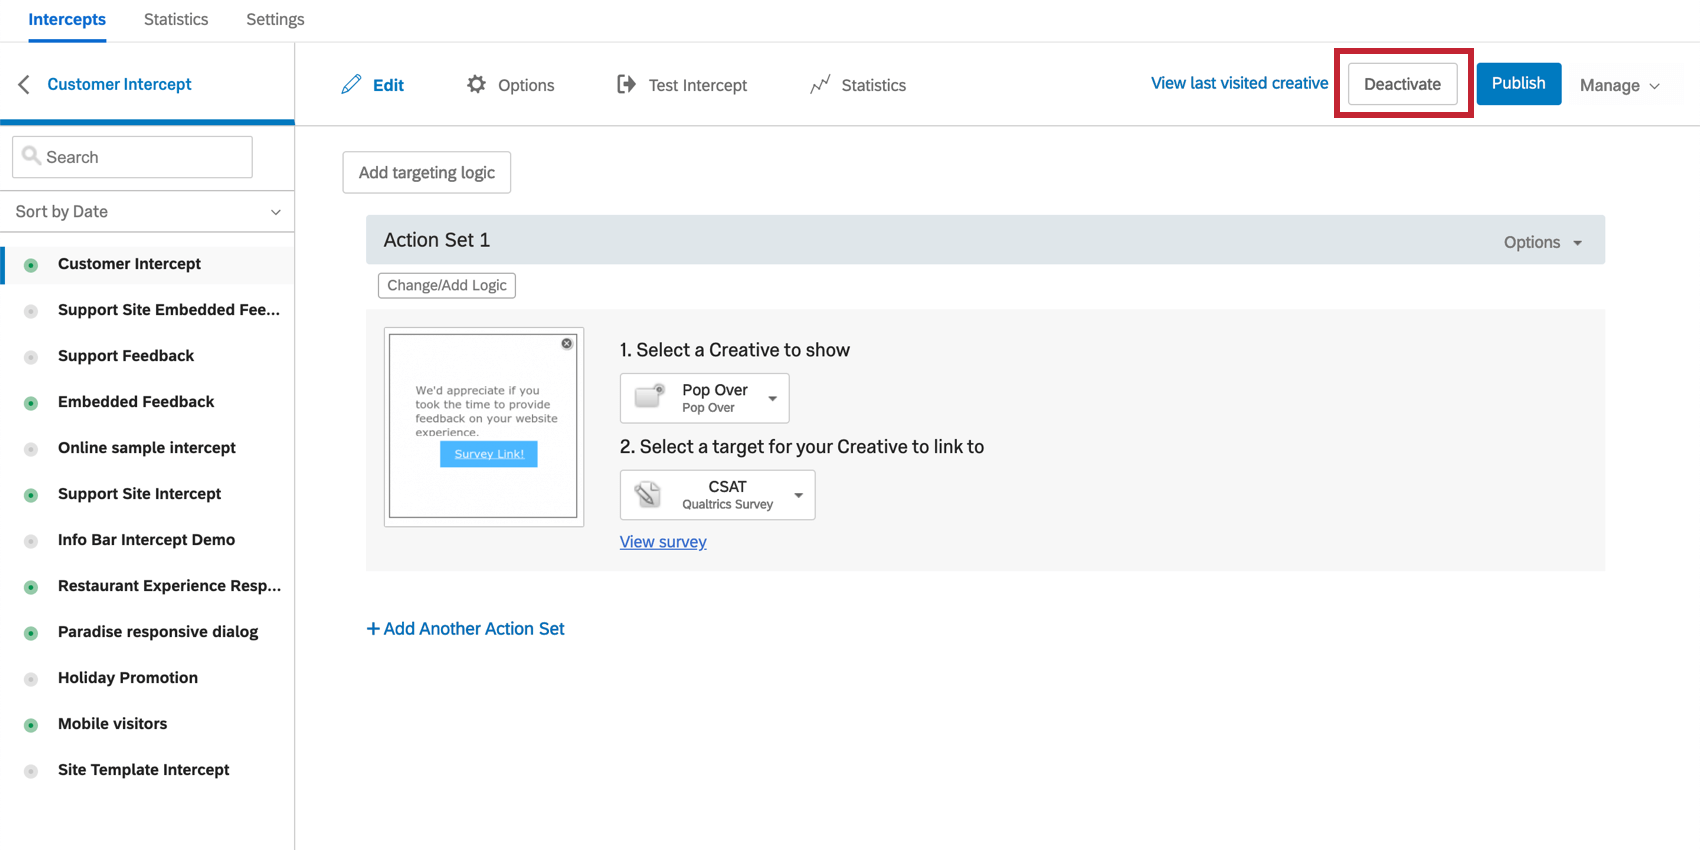
To deactivate an active intercept, simply click Deactivate on the top-right of the Edit section. This button is only available once the intercept has already been activated.
Manage Intercept
On the top-right of the intercept editor you will find the Manage dropdown menu.
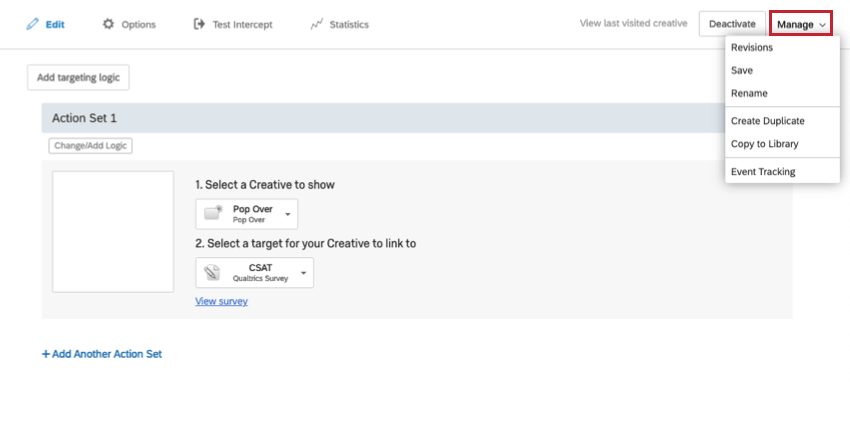
Revisions
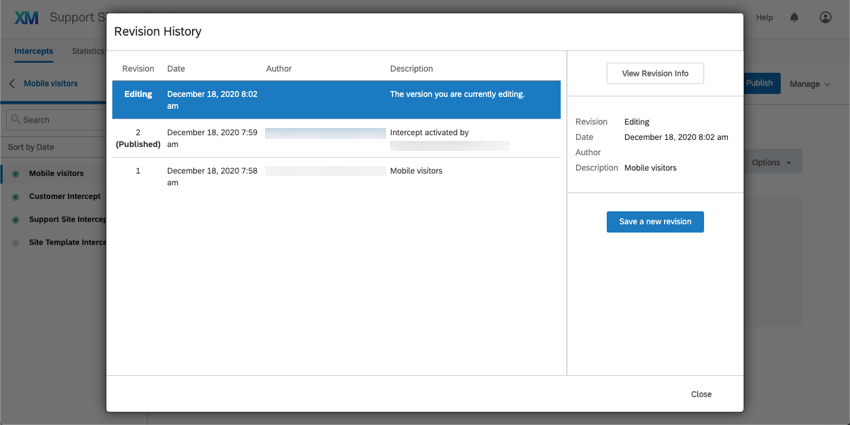
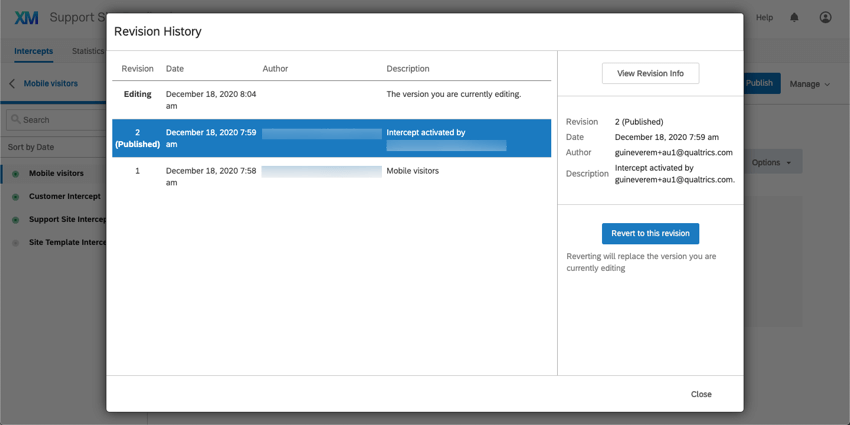
View the Revision History of your intercept. Here, you can tell when a revision was made and what user made it.
Click on the version you’re currently editing for the option to Save a new revision.
Click on an older version to Revert to this revision. This will replace the version you’re editing with this older revision.
You can always go back in your Revision History to restore any previously saved revision, including ones created after the revision you are restoring.
Save
Manually save any changes you’ve made to your intercept. Note that changes are saved automatically every few seconds, so this option is not typically necessary.
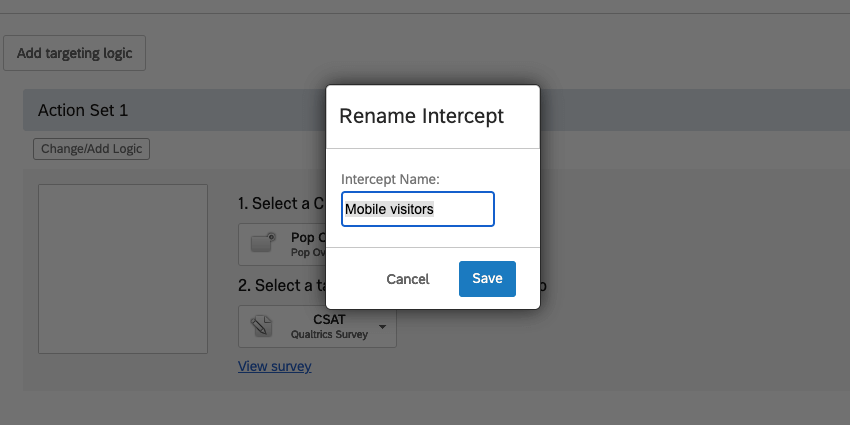
Rename
Give your intercept a new name.
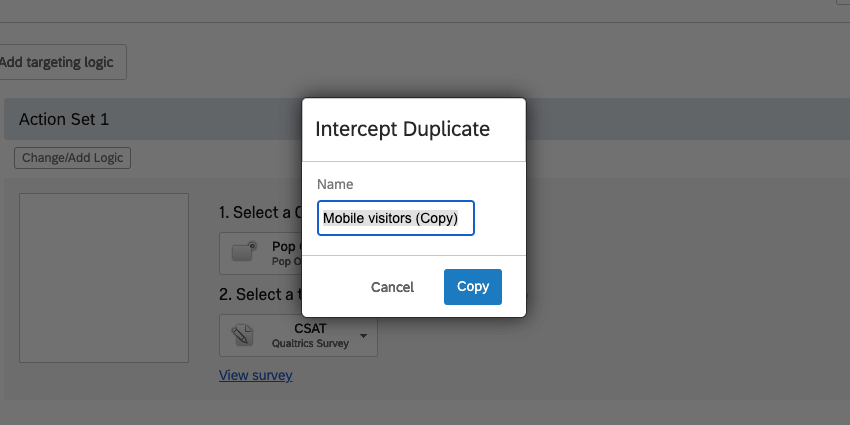
Create Duplicate
Create a copy of your intercept within the same project.
Event Tracking
With event tracking, you can keep track of actions your visitors take on your website, such as downloading a monthly statement on a banking website, clicking to chat with a live agent on a commerce site, and more. To learn more about setting up Event Tracking, go to the linked support page.
Survey Quotas
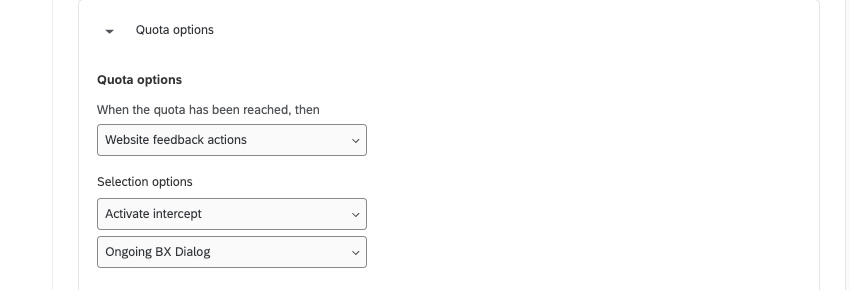
If you are building Qualtrics surveys, you can set what are known as quotas. Quotas allow you to limit how many people come into your survey, often based on a response they’ve given (e.g., limit your survey to only 50 male and 50 female respondents).
When building your quota, you can decide what happens when that quota is met. Are new respondents sent to a different survey? Are they sent out of the survey entirely? One of your options is to activate or deactivate an intercept (not a whole project).
