Opt-In Survey Upon Site Exit
About Opt-in Surveys Upon Site Exit
Site exit surveys ask visitors to provide feedback after they leave a website.
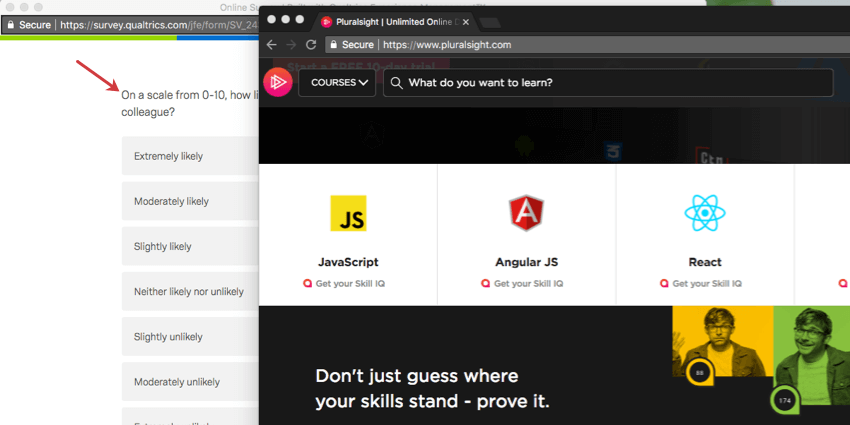
Most site exit surveys pop under the webpage without asking the visitor to opt-in. For example, a standard Pop Under creates a window containing a survey invitation and hides behind the web page until the visitor ultimately exits the site. Once the visitor exits, the survey invitation window comes forward. However, in recent years, major browsers now prevent this behavior the same way they block Pop Ups.
By asking the visitor’s consent (allowing them to “opt-in”) before giving them your site exit survey, you can circumvent ad blockers. In the initial Creative, the visitor is asked whether they’d be okay with the Pop Under window appearing, thus bypassing any blocking behavior from the browser. Using this opt-in method for site exit surveys is widely regarded as a best practice for collecting site satisfaction scores and other information from a representative audience.
Setting up an opt-in site exit survey involves three main steps:
- Building two Creatives: one that invites visitors to take your survey and one that is the actual Pop Under survey.
- Setting up an Intercept that shows the invitation Creative.
- Linking your Pop Under Creative to the Intercept Target.
Building Your Creatives
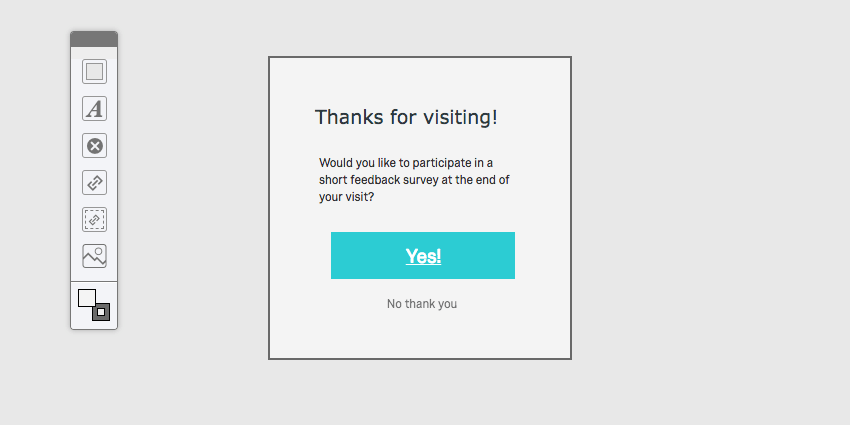
- Build a Creative to display your survey invitation. This is typically built as a Responsive Dialog, but other Creatives such as Sliders and Info Bars may be used as well.
 Qtip: Be sure to publish your Creative.
 - Create a Pop Under Creative.
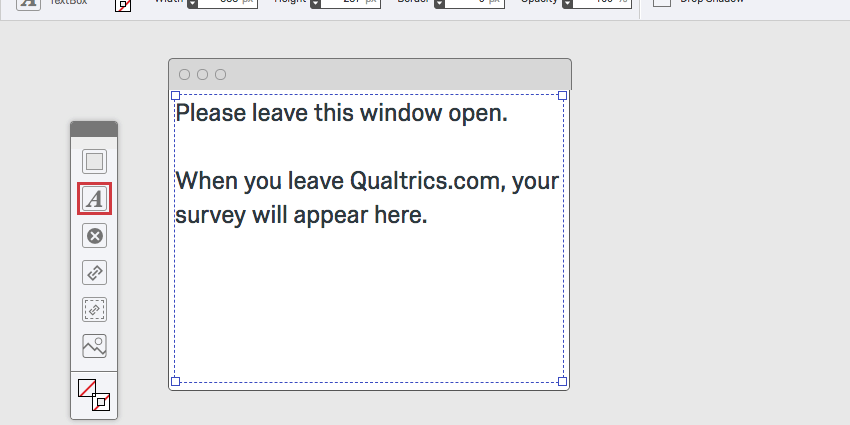
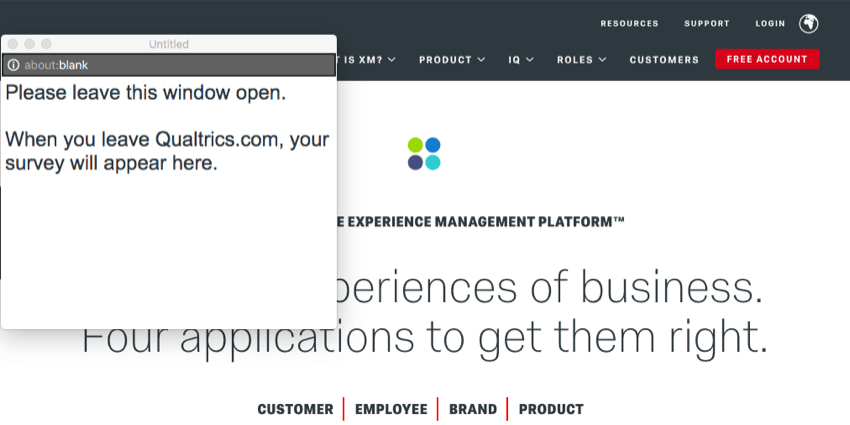
- We recommend including a text box on your Creative explaining that the window must be left open and that your survey will appear there. Some version of the following text is usually appropriate: “Thanks for participating in our survey. Please leave this window open and a survey will appear in its place after your visit.”
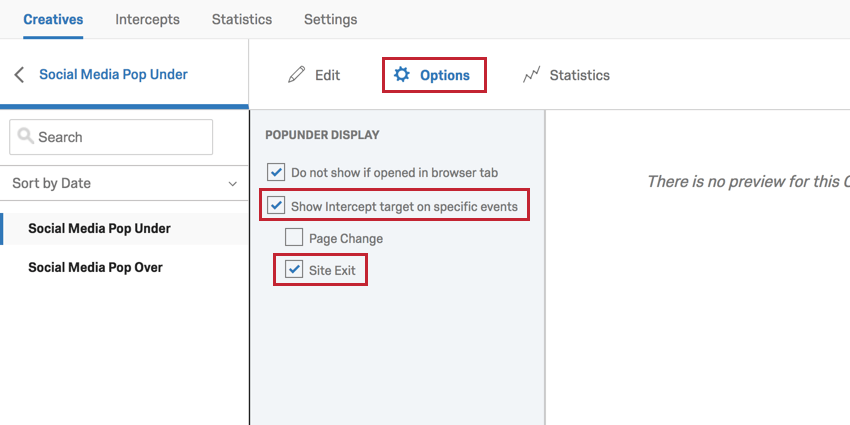
- For the Pop Under, go to the Options page. First, enable Show Intercept target on specific events and then enable Site Exit.
 Attention: You may see a yellow warning message about Pop Unders and Chrome. This warning message refers to the use of Pop Under Creatives without the opt-in portion. When you add the opt-in portion, this ensures that the Pop Under appears after the visitor closes their page.
Setting Up Your Intercept
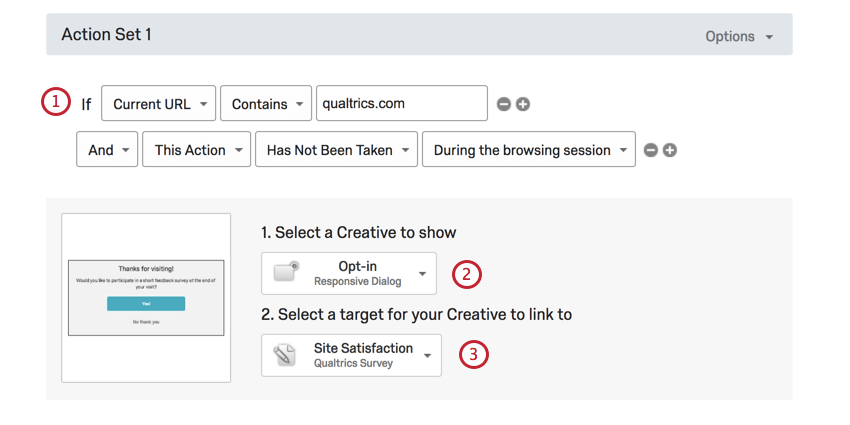
- Create an Intercept and if desired, set up your display conditions. These conditions will determine which visitors qualify for the initial invitation and are totally up to you.
- Select the Creative that invites users to take the survey. This was the Creative you made in step 1 of the Building Your Creative section above.
- Select the Target. This is the survey that should display when the Pop Under window appears.
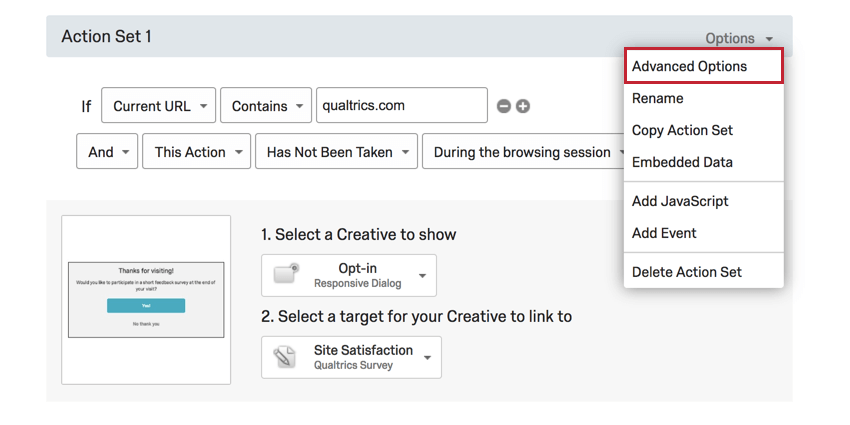
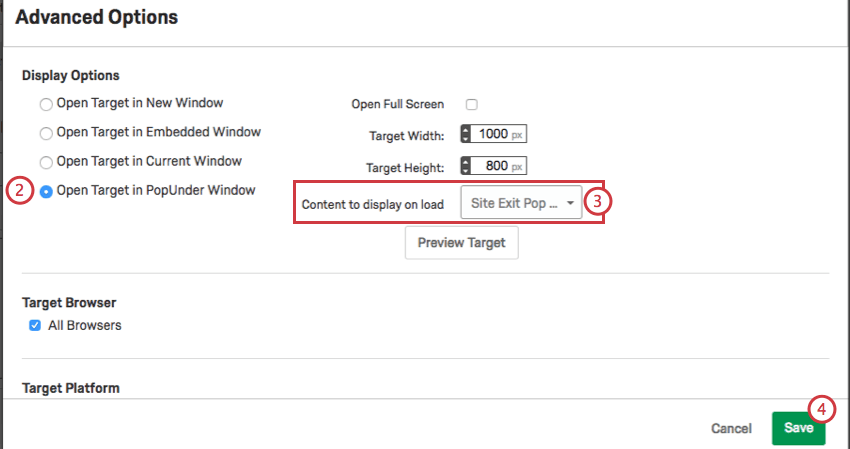
Connecting Your Pop Under
The Result
- The visitor receives a Responsive Dialog asking them to participate in the survey.
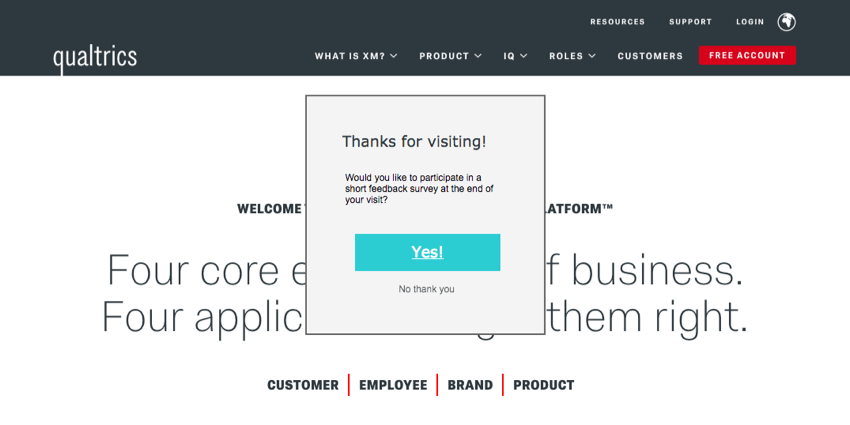
- If the visitor agrees, the Pop Under pops up over the screen with its message.
 Qtip: Any Embedded Data being collected by your intercept is set the moment the Pop Under loads (i.e. when your visitor opts-in to the survey). For example, if you’re recording Site History, the Site History is not updated in the Pop Under if the visitor navigates to a new page after the Pop Under loads.
 - The visitor can freely browse the site, making the Pop Under go back under.
- Once the visitor navigates to a different website and then revisits the Pop Under, or exits the browser within your website, the Pop Under will load the site satisfaction survey.
