Results Dashboards Pages
About Results Dashboards Pages
You can analyze your data and create insightful graphs and tables on your results dashboards’ pages. You can use these pages to visualize and explore, or you can export and share them.
Viewing Results Dashboard Pages
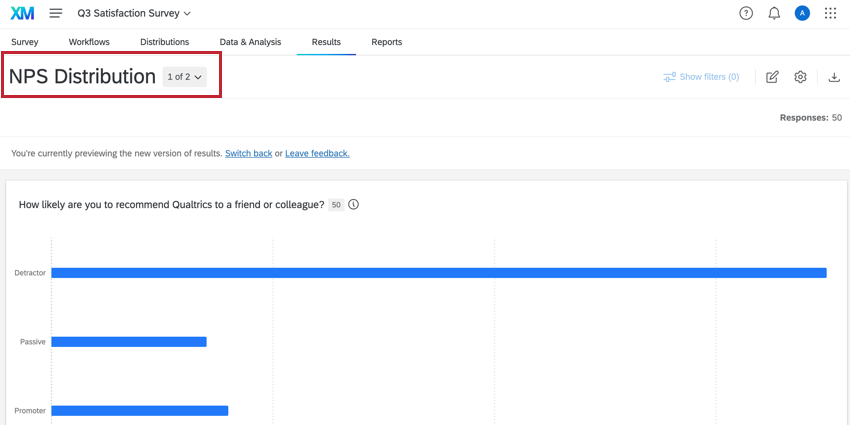
Click the page title to open the pages panel. This panel will display all of the pages in your dashboard and is where you will create pages and set their page options.
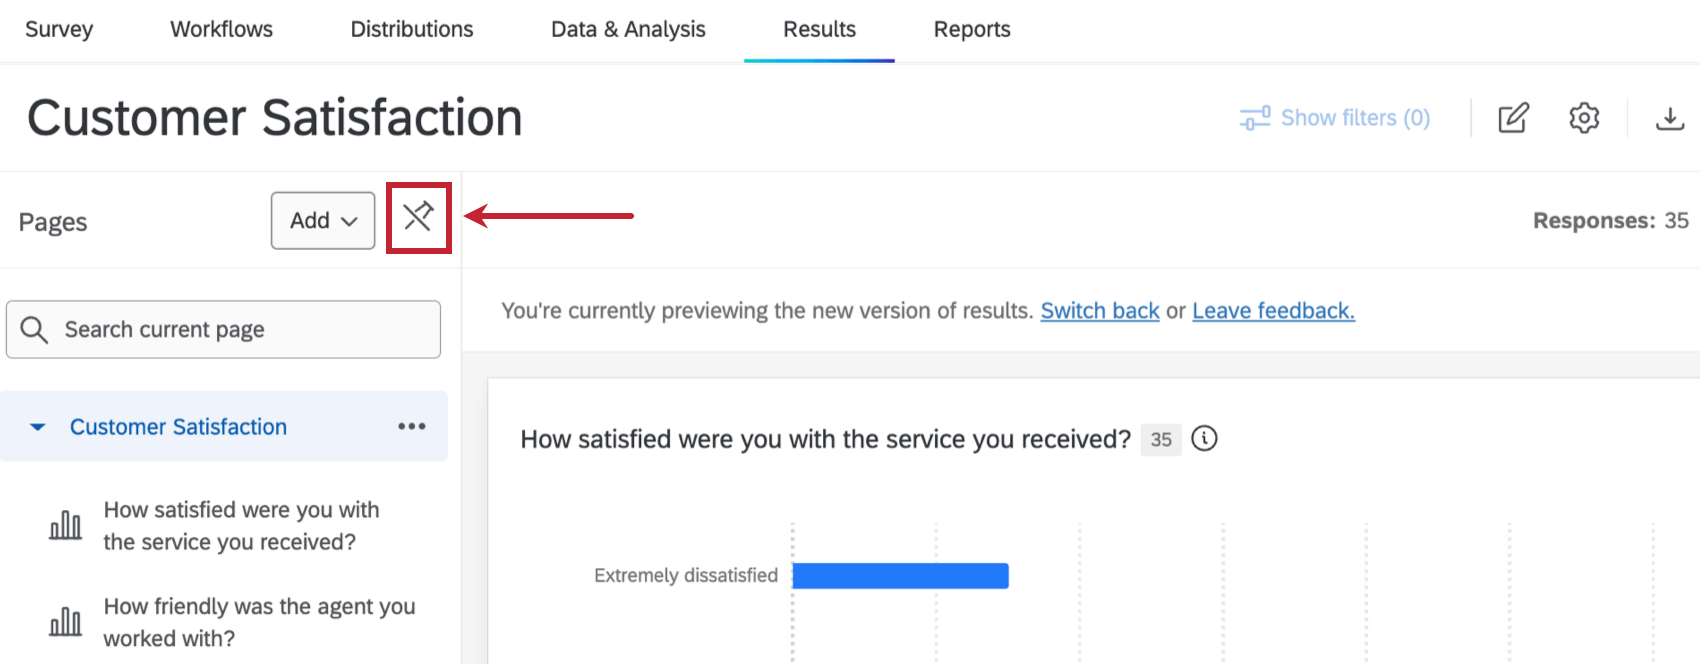
Click the pin icon to keep the page panel displayed at all times. If the panel is displayed, click the pin icon to hide it.
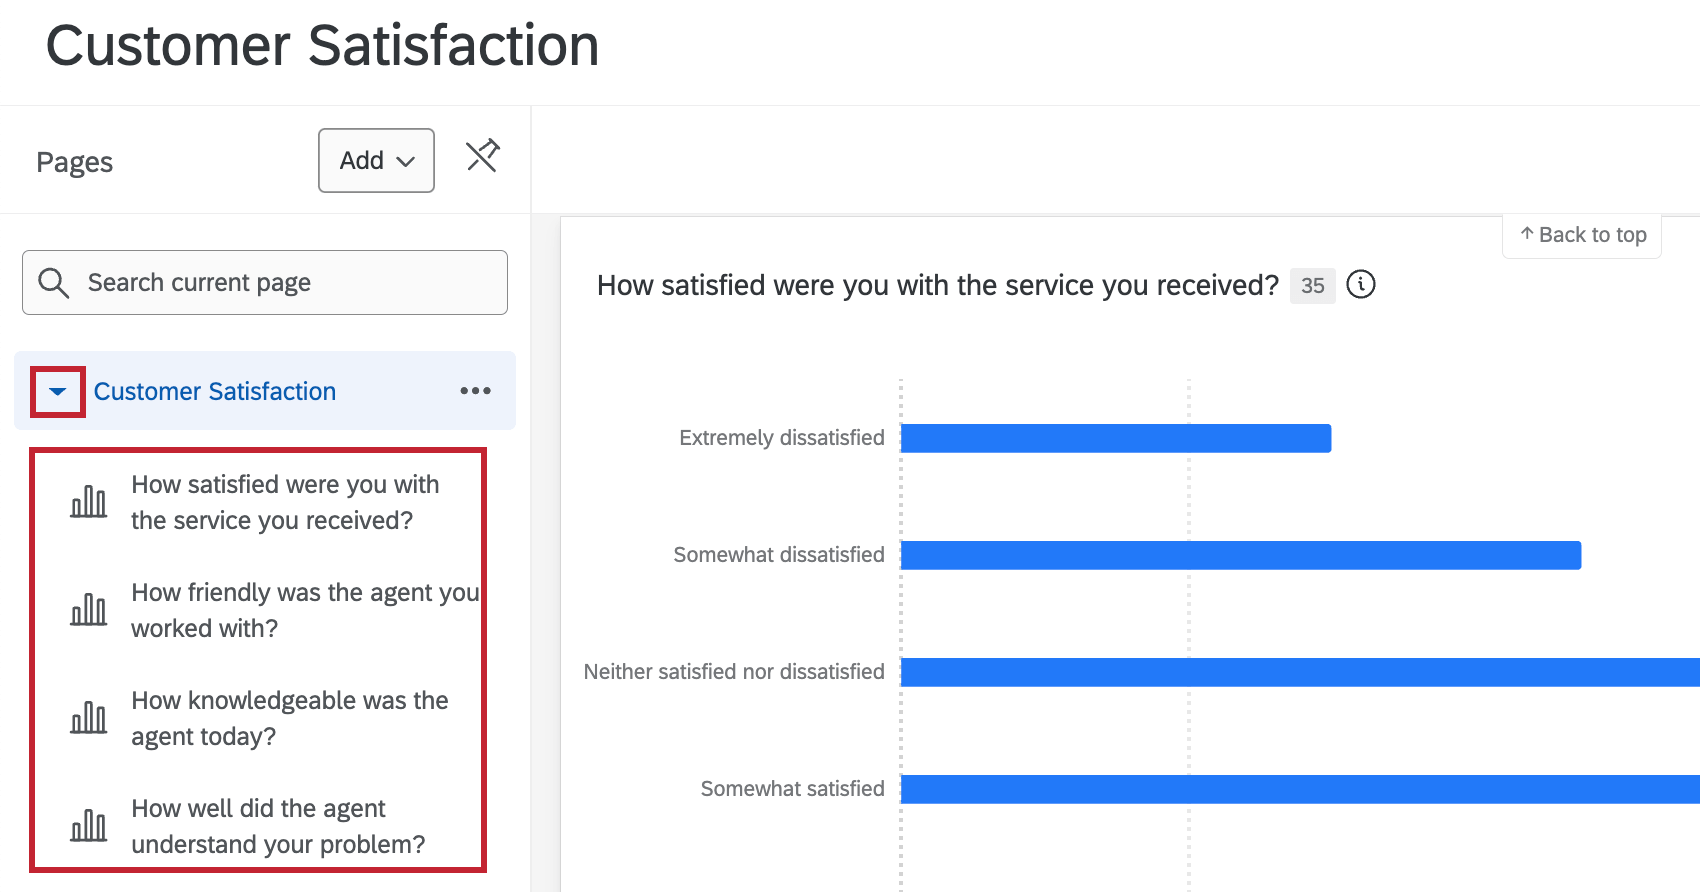
To view a list of widgets within the page, click the arrow next to the page name. The title of each widget will be displayed along with an icon indicating the widget type. Click a widget title to directly to that widget on the page. Click Search current page and start typing the name of a widget to search for specific widgets within your dashboard.
Results Dashboard Page Types
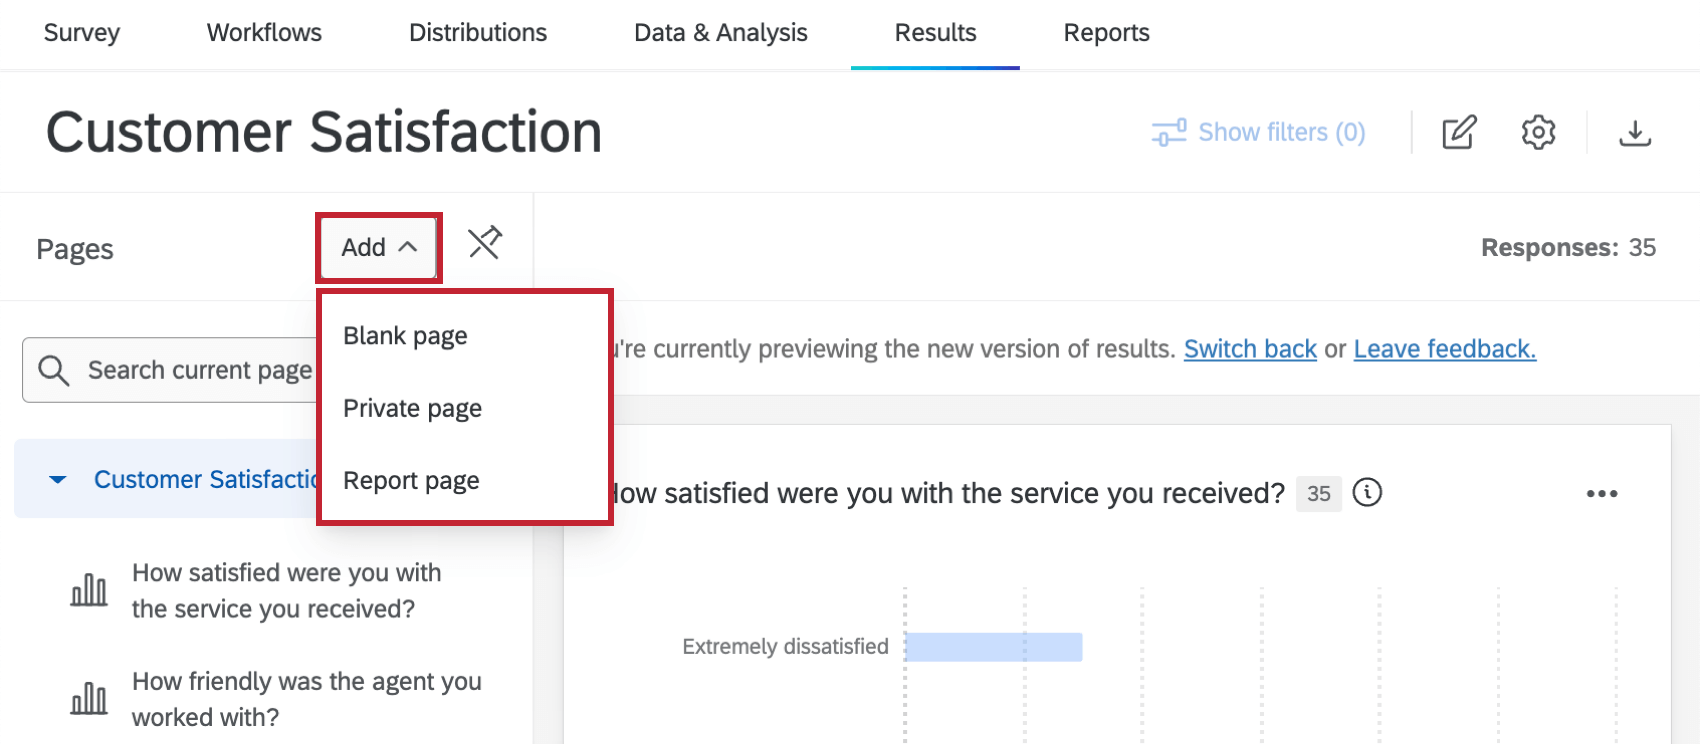
There are 3 different page types available within results dashboards:
- Report page: Default page that the Results section generates for you. The widgets on a report page default to only show data for the corresponding question. You can change the data source of a widget on a report page by editing the widget.
Qtip: A report page will automatically be included in every results dashboard, but you can add additional report pages if desired.
- Blank page: Empty pages where you can build widgets for whatever questions you want.
- Private page: These are the same as blank pages, but they are only visible to you.
All 3 types of pages are customizable and able to hold as many widgets as you want to add. You are also able to rename and delete all types of pages.
Customizing Report Pages
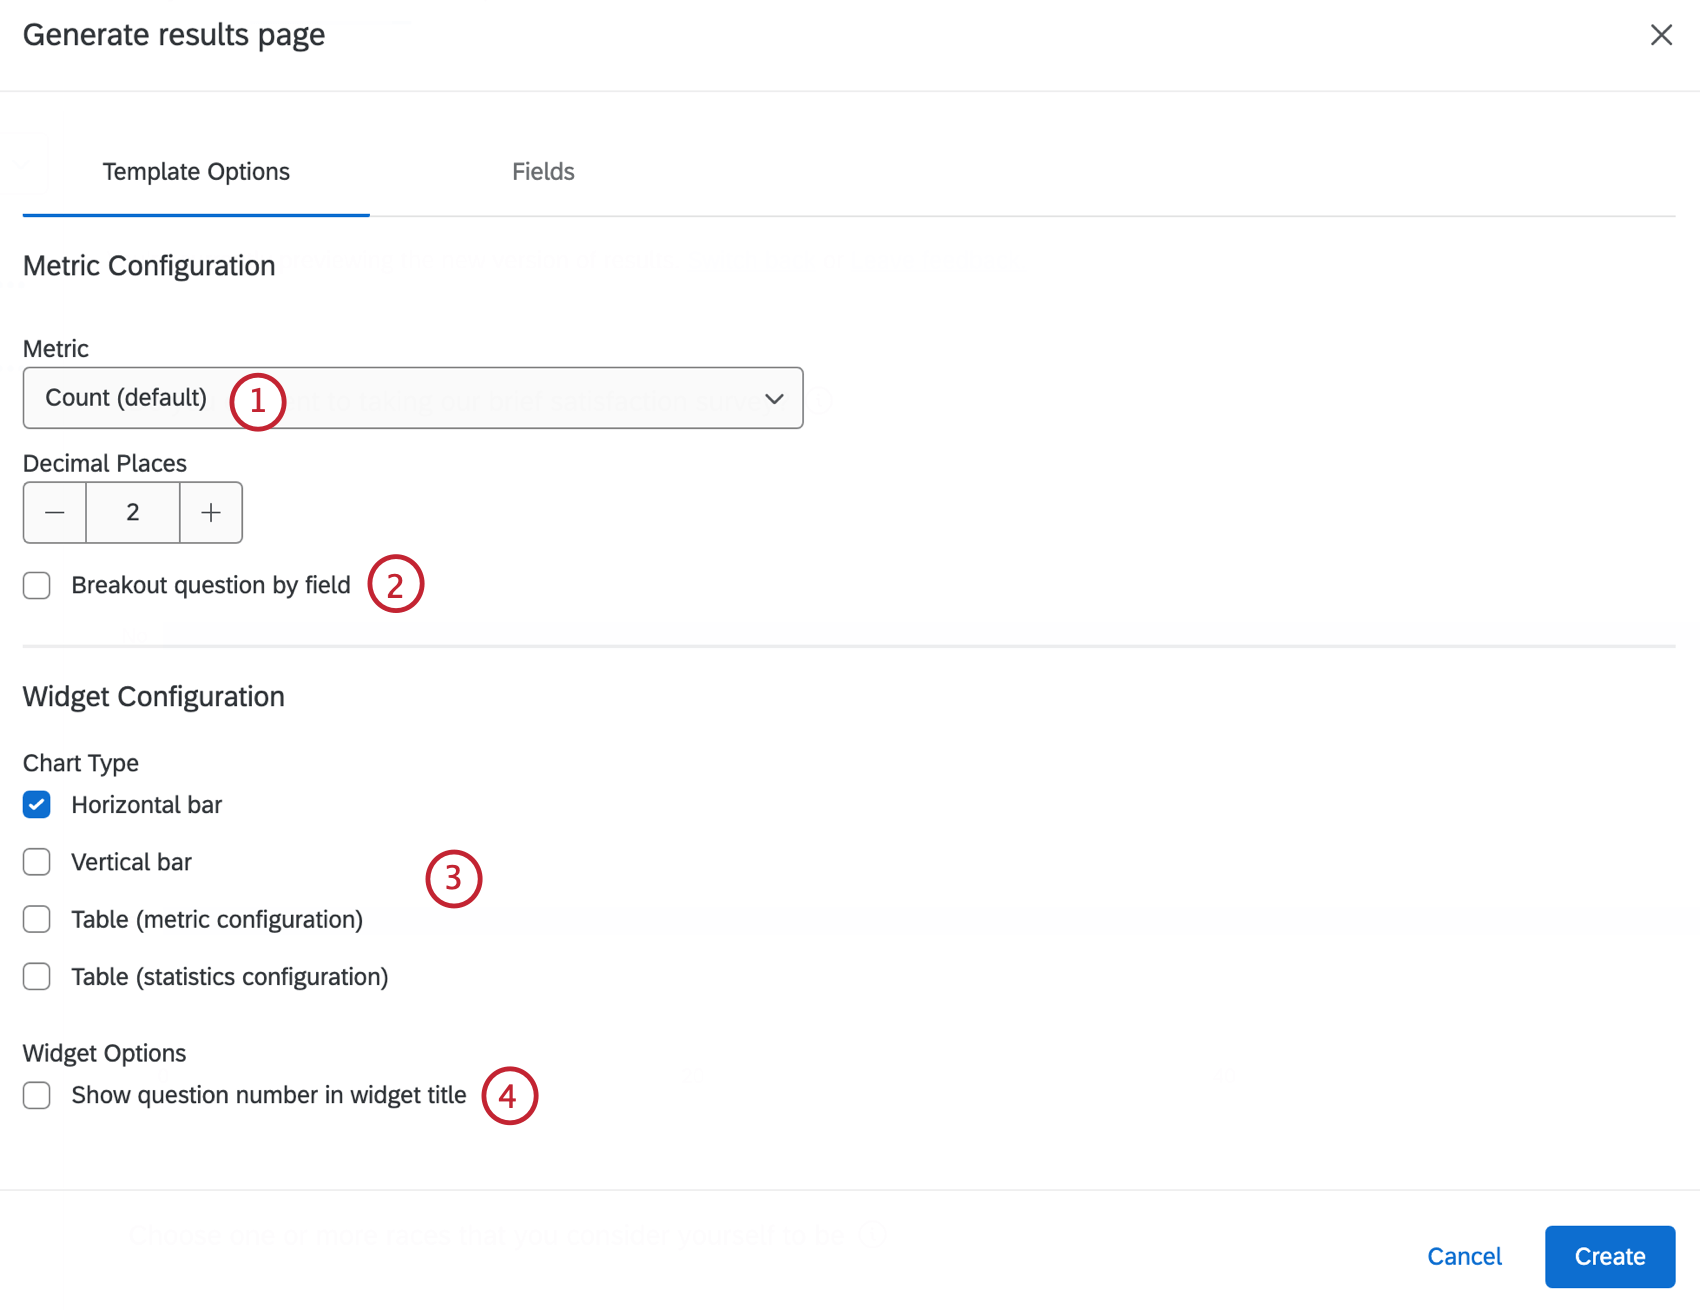
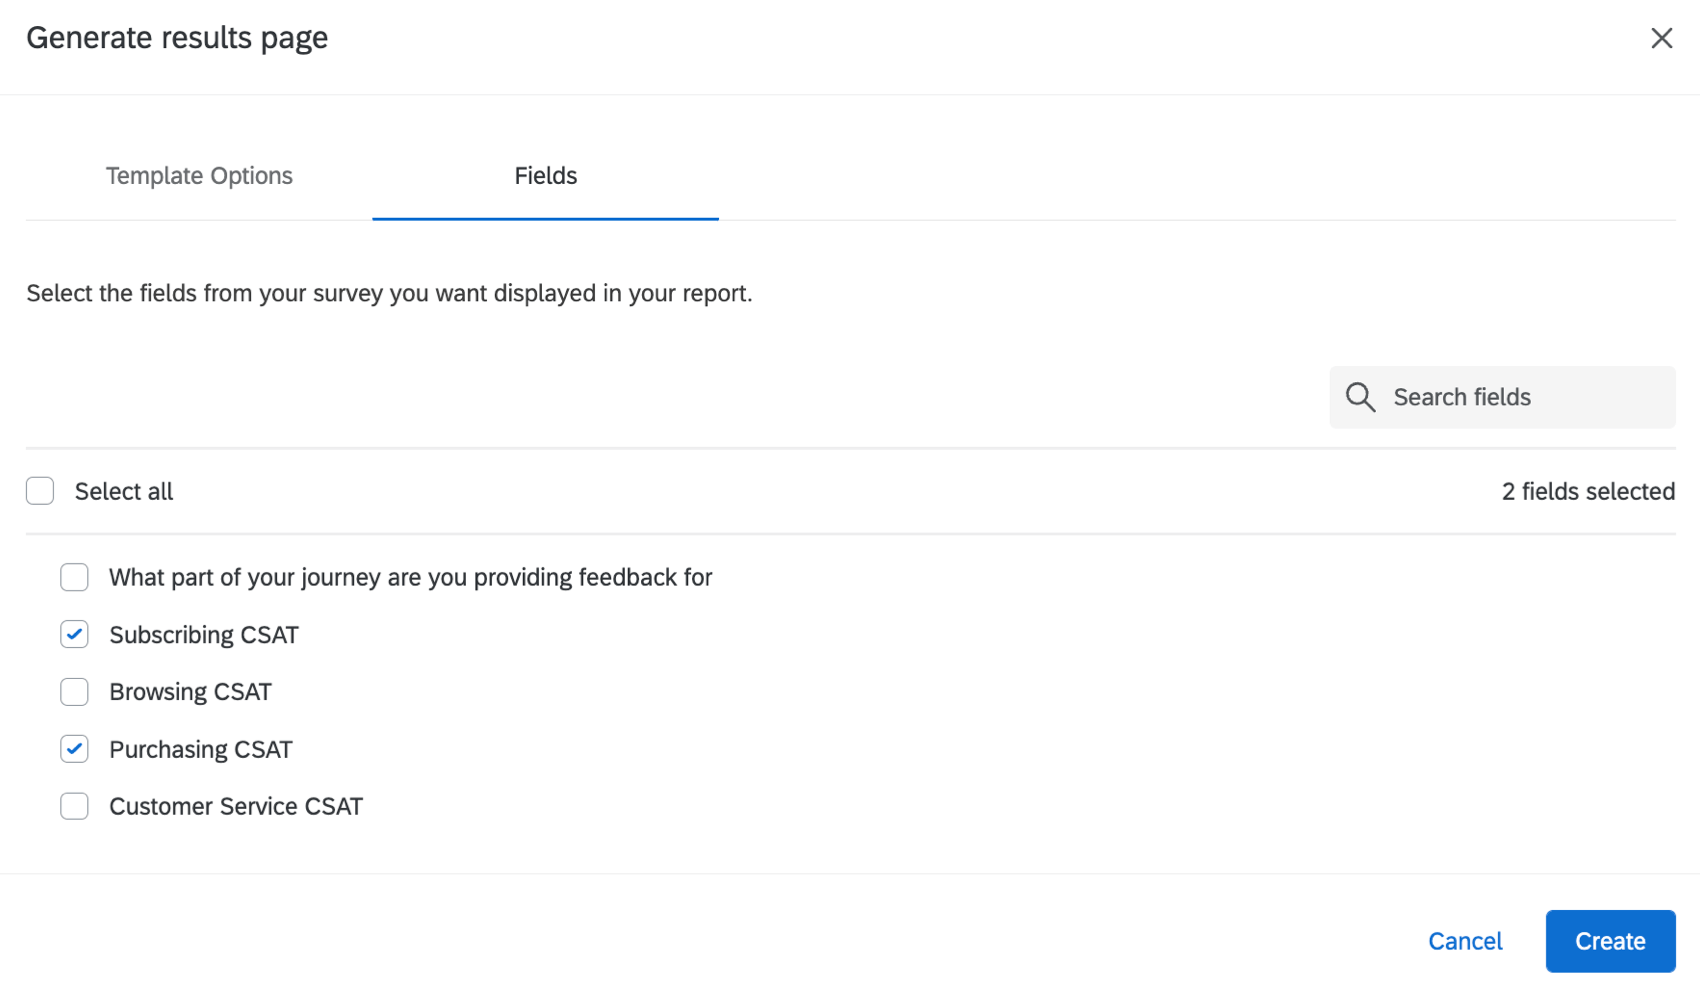
Report pages are default pages that the Results section generates for you. A report page is automatically included in every results dashboard, but you can also add additional report pages. There are several customization options available when you create a new report page. Once you’ve finished customizing your page, click Create to generate the page.
Template Options
These options let you specify how you would like the metrics and widgets configured throughout the whole page. The selections you make here will apply to every widget on the page.
- Metric Configuration: Select a default metric to use for all widgets on the page. The options are Count or Percentage.
- Breakout question by field: Check this option if you want to break out every widget by the same survey field.
- Widget Configuration: Select the chart type to use for all widgets on the page. Widgets will only be created for supported question types. The options are Horizontal bar, Vertical bar, Table (metric configuration), Table (statistics configuration)
- Show question number in widget title: Check this option if you want to include the question number in the title of each widget.
Fields
Select the fields from your survey you want displayed in your report. Click Select all to select every field in your survey, or select individual fields. You can also use the search bar to search for specific fields.
Creating Pages
You can create a new page by clicking Add and choosing your desired page type.
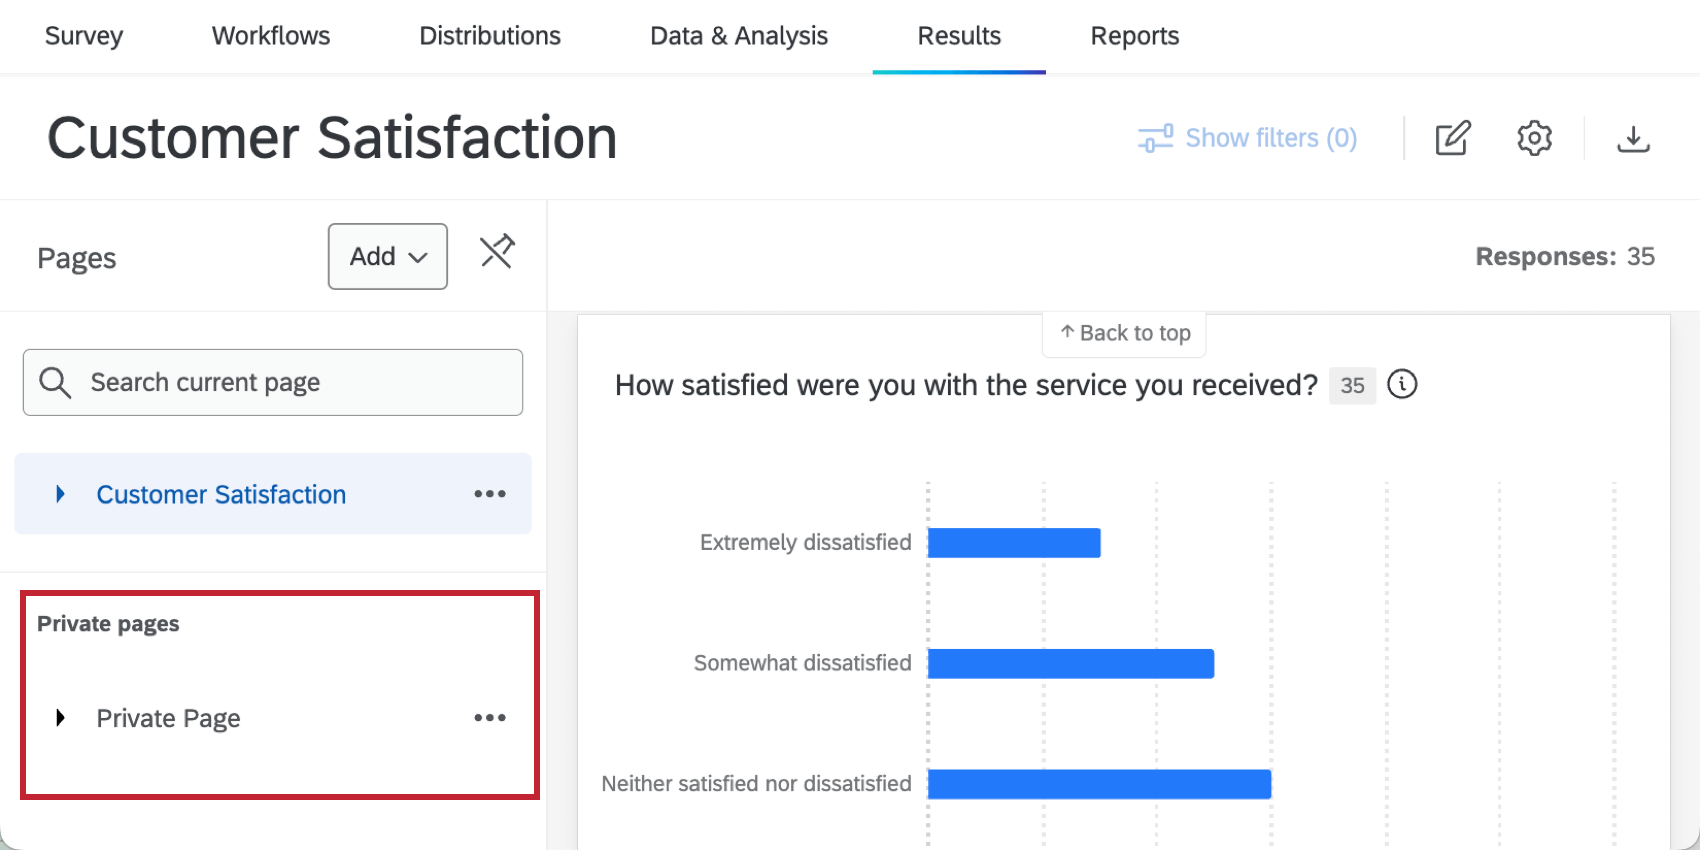
Private pages you create will be displayed within their own section.
Page Options
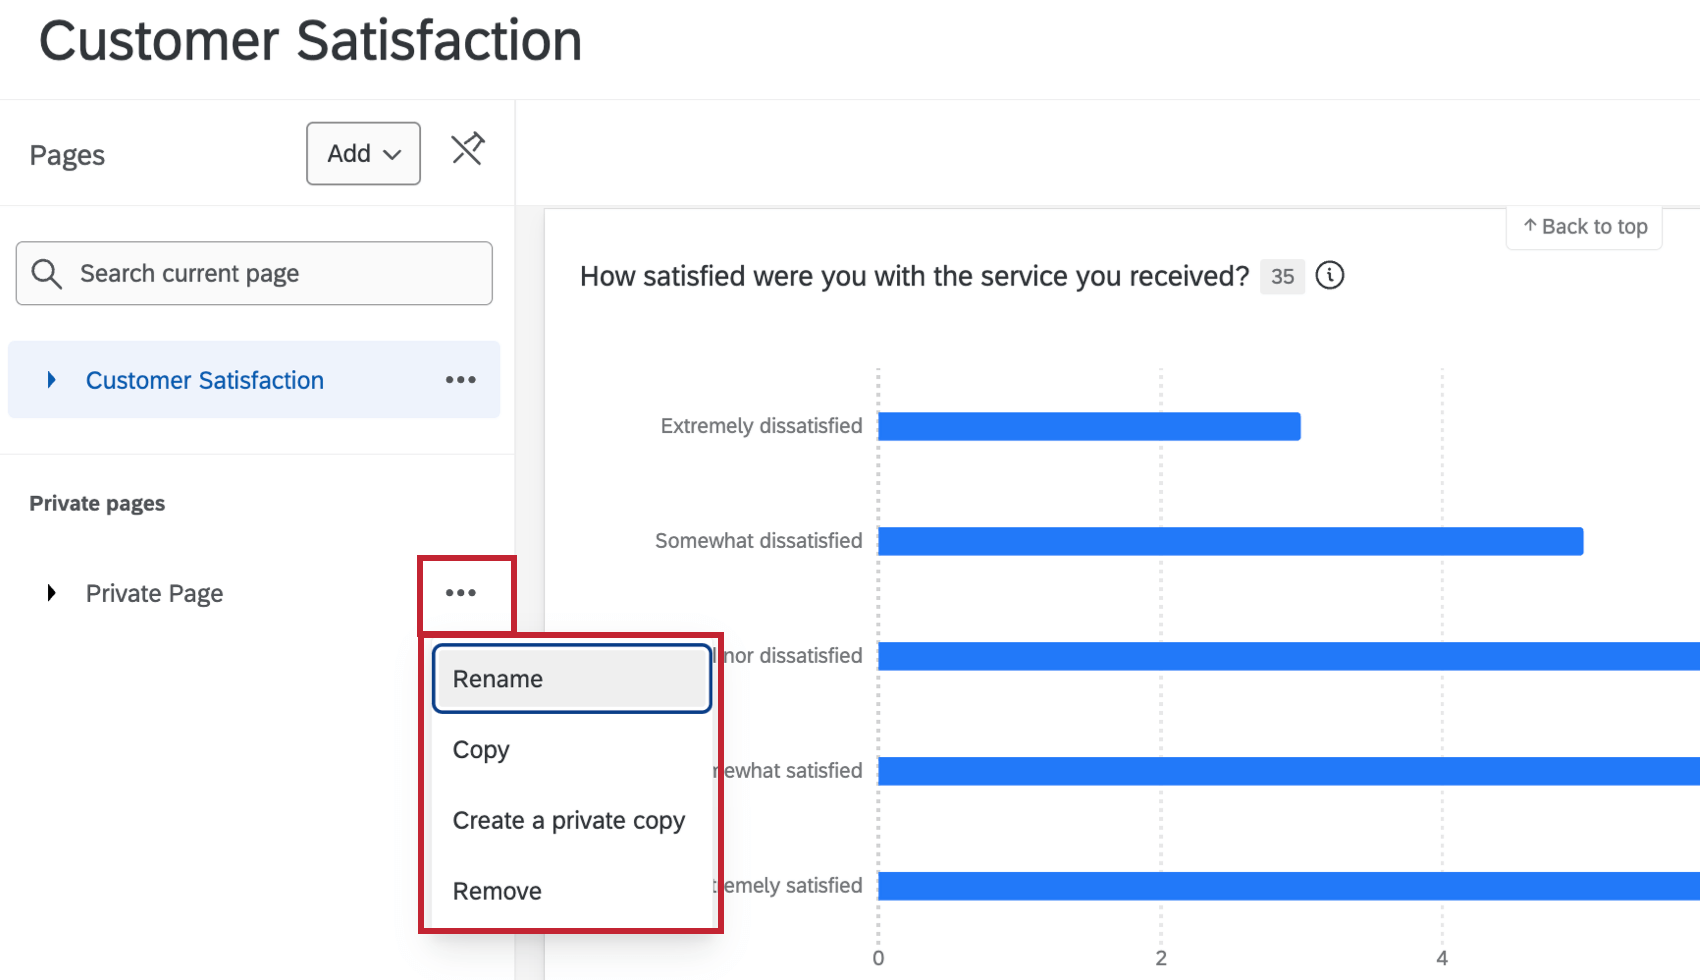
When you click the 3 horizontal dots next to a page title, the following menu will appear:
- Rename: Change the name of your page.
- Copy: Make a copy of your page. This will copy all widgets on the page.
Qtip: Copies of private pages will also be private.
- Create a private copy: Make a copy of your page that is only visible to you.
- Remove: Delete your page. This will remove all widget configurations and filters.
To move pages, drag and drop the page into your desired location. Report pages and blank pages can be moved amongst each other, but not mixed with private pages, and vice versa.
Dashboard Spot Check
Spot Check provides recommendations for improving your dashboard pages. Click the spot check button at the top of your dashboard to open it. Fore more information, see Dashboard Spot Check. Note that while the linked page is about EX Dashboards, the Spot Check functionality is the same across all dashboard types.
Adding Widgets
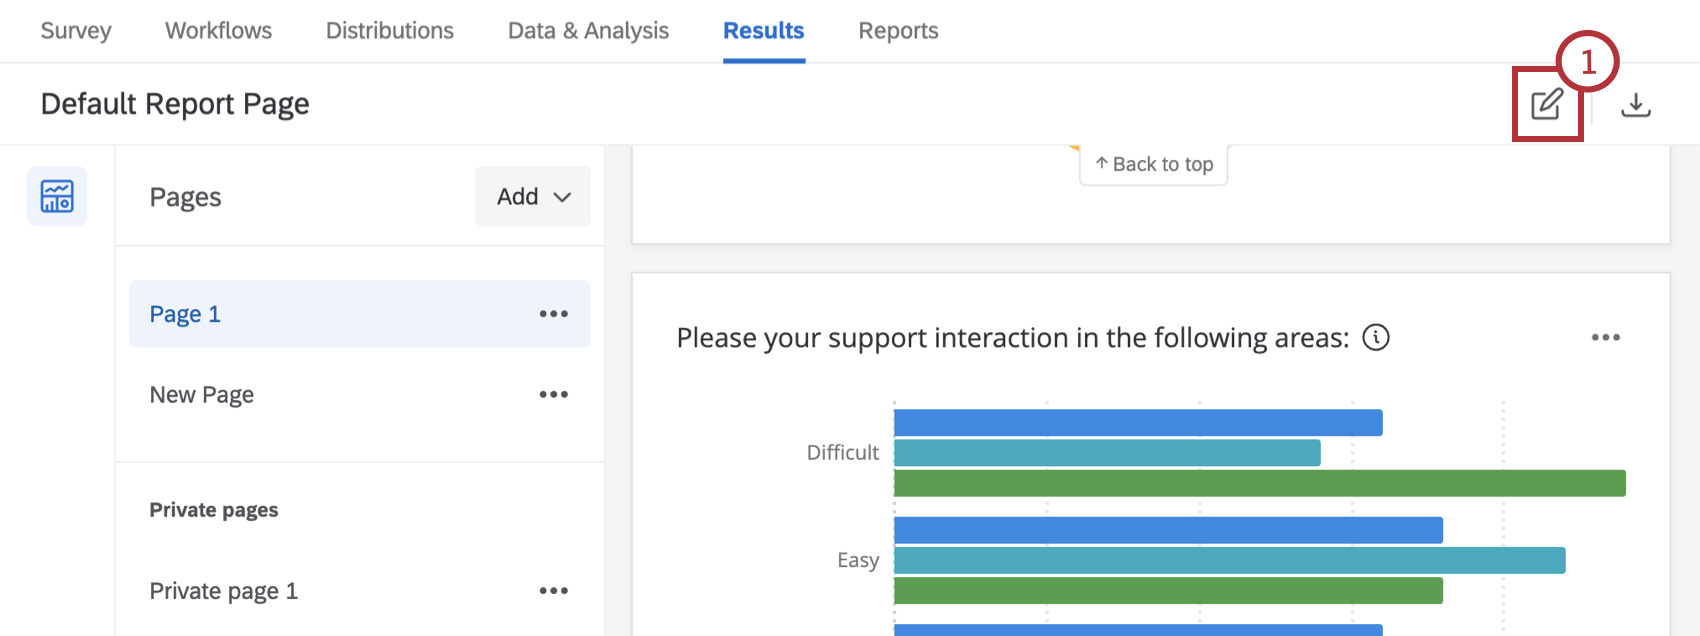
- Go to the desired page and click on the editing icon.
- After navigating to the bottom of the desired page, click Add Widget.
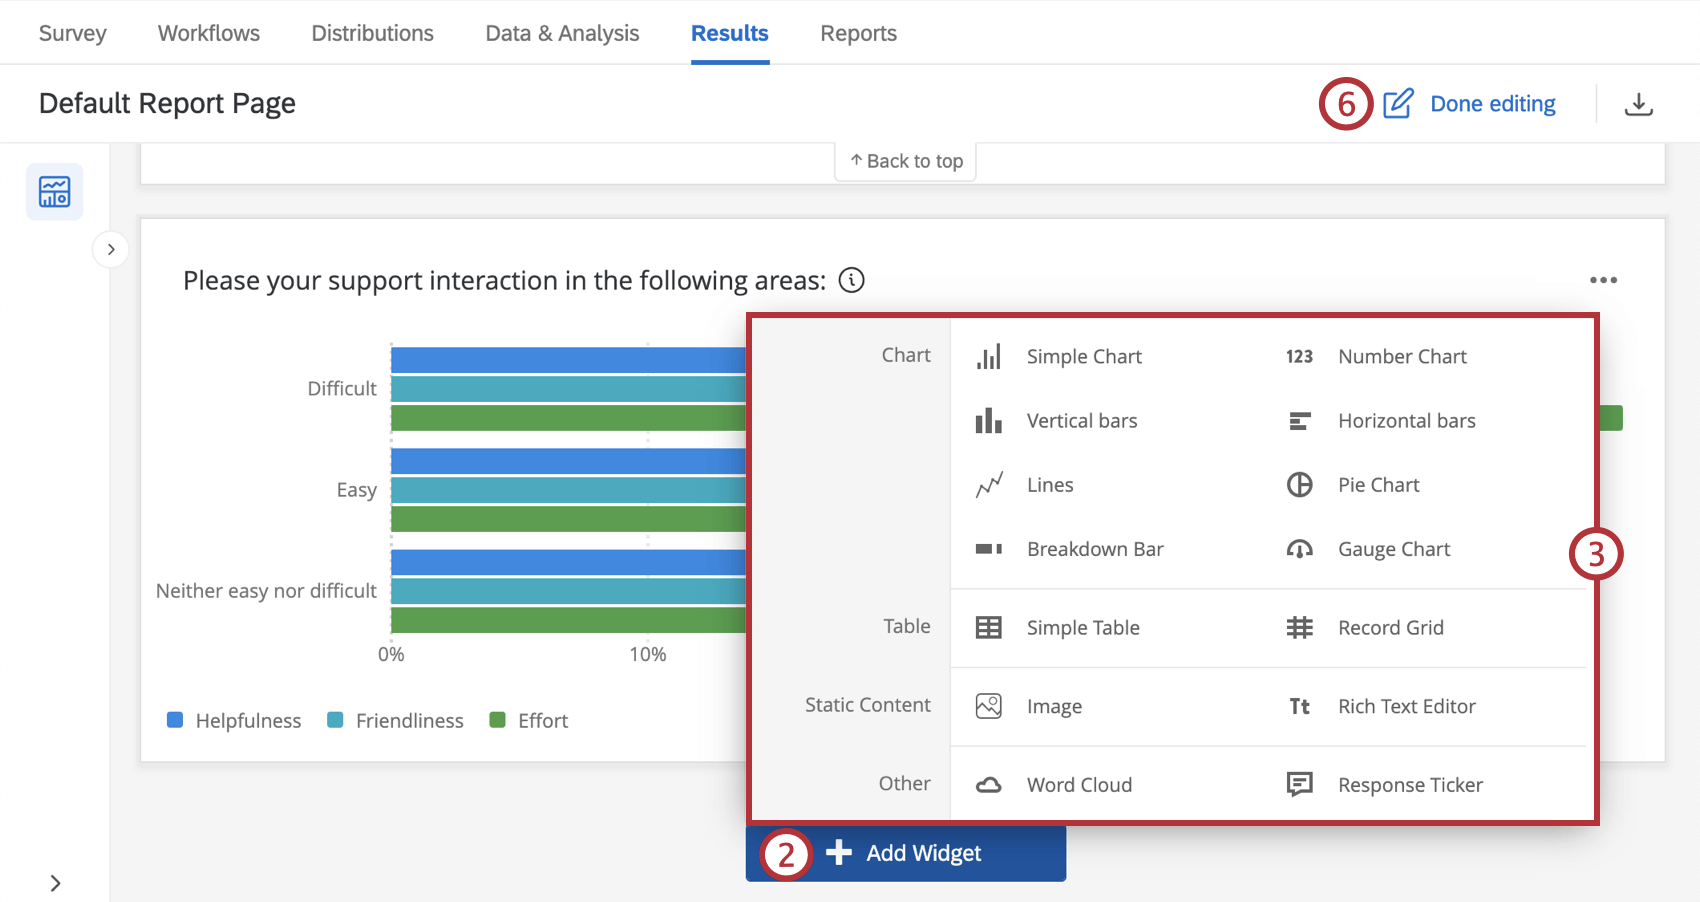 Qtip: In addition to adding widgets at the bottom of your dashboard, you can hover over the spot in your dashboard where you want to add a widget, click Add, and select Widget.
 - Select the widget type you want to add.
- Finish configuring the widget. See Editing Widgets for more information.
- Repeat these steps as desired to add as many widgets as you want.
- When you have finished adding widgets, click Done editing.
