Account Settings

About Account Settings
You can find useful settings and statistics for your Qualtrics account in your account settings. From here, you can perform basic tasks such as changing your password or changing your account language.
To access your account settings, click on the silhouette in the top-right corner of your account and select Account Settings from the dropdown.
User Settings
User Settings allows you to adjust a number of basic options.
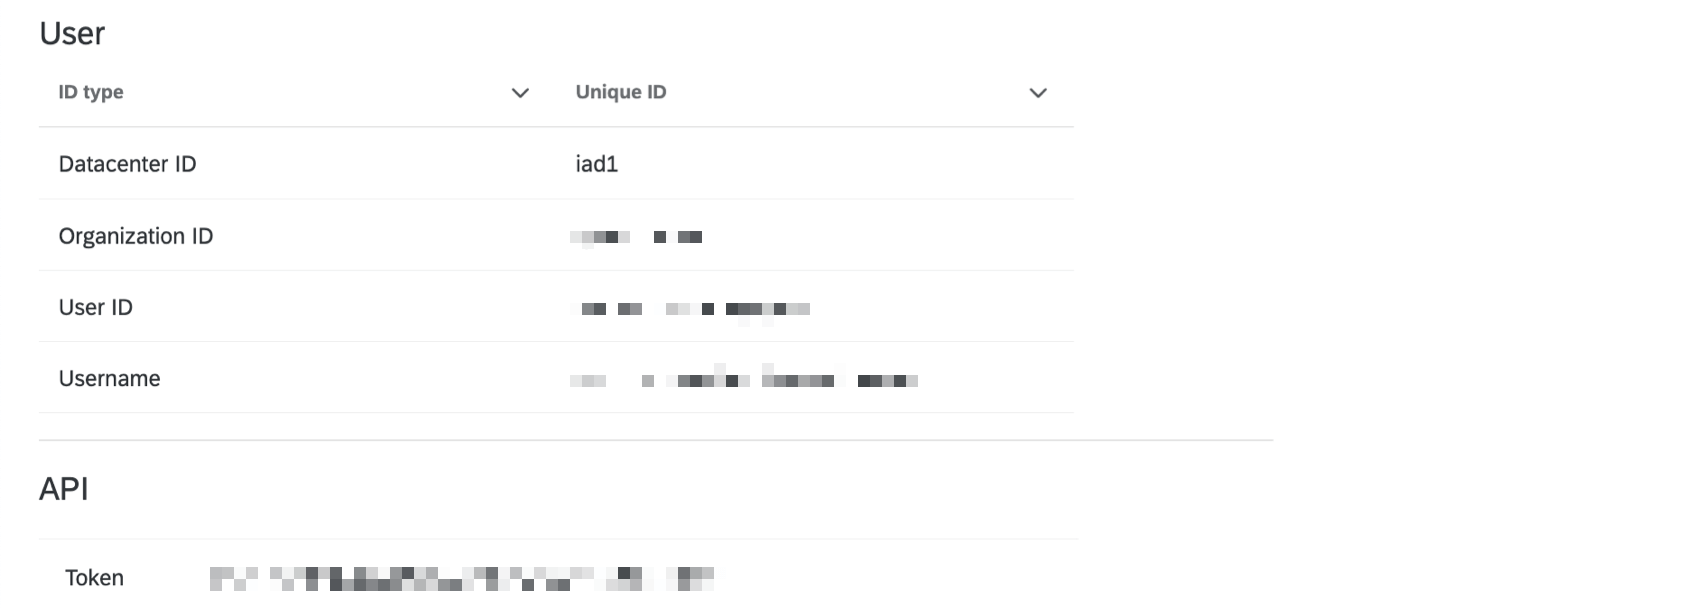
- User: View information about your user account.
- API: View and generate an API token for your account.
Attention: If you regenerate a token, the prior token will expire and need to be rotated with the newly-generated token.
- Change Password: Set a new password for your account.
Qtip: If your organization uses Single Sign-On (SSO), password changes can only be made through the SSO provider.
- Change Time Zone: Update the dates used throughout your account (timestamps for when surveys are submitted, survey availability dates, etc.).
Qtip: If your selected time zone observes an annual Daylight Saving or Summer Time, the dates and times displayed in Qualtrics will automatically adjust for annual time changes.
- Change Language: Update your entire account to be in this language (for new projects, the language set here will be the base language for all participant messaging, such as end of survey messages, though you can still adjust the language in your survey options). For a list of all the available languages you can change your account language to, see the XM Platform section on the Languages in Qualtrics support page. The linked page also contains information about which areas of the platform are available for partially-supported languages.
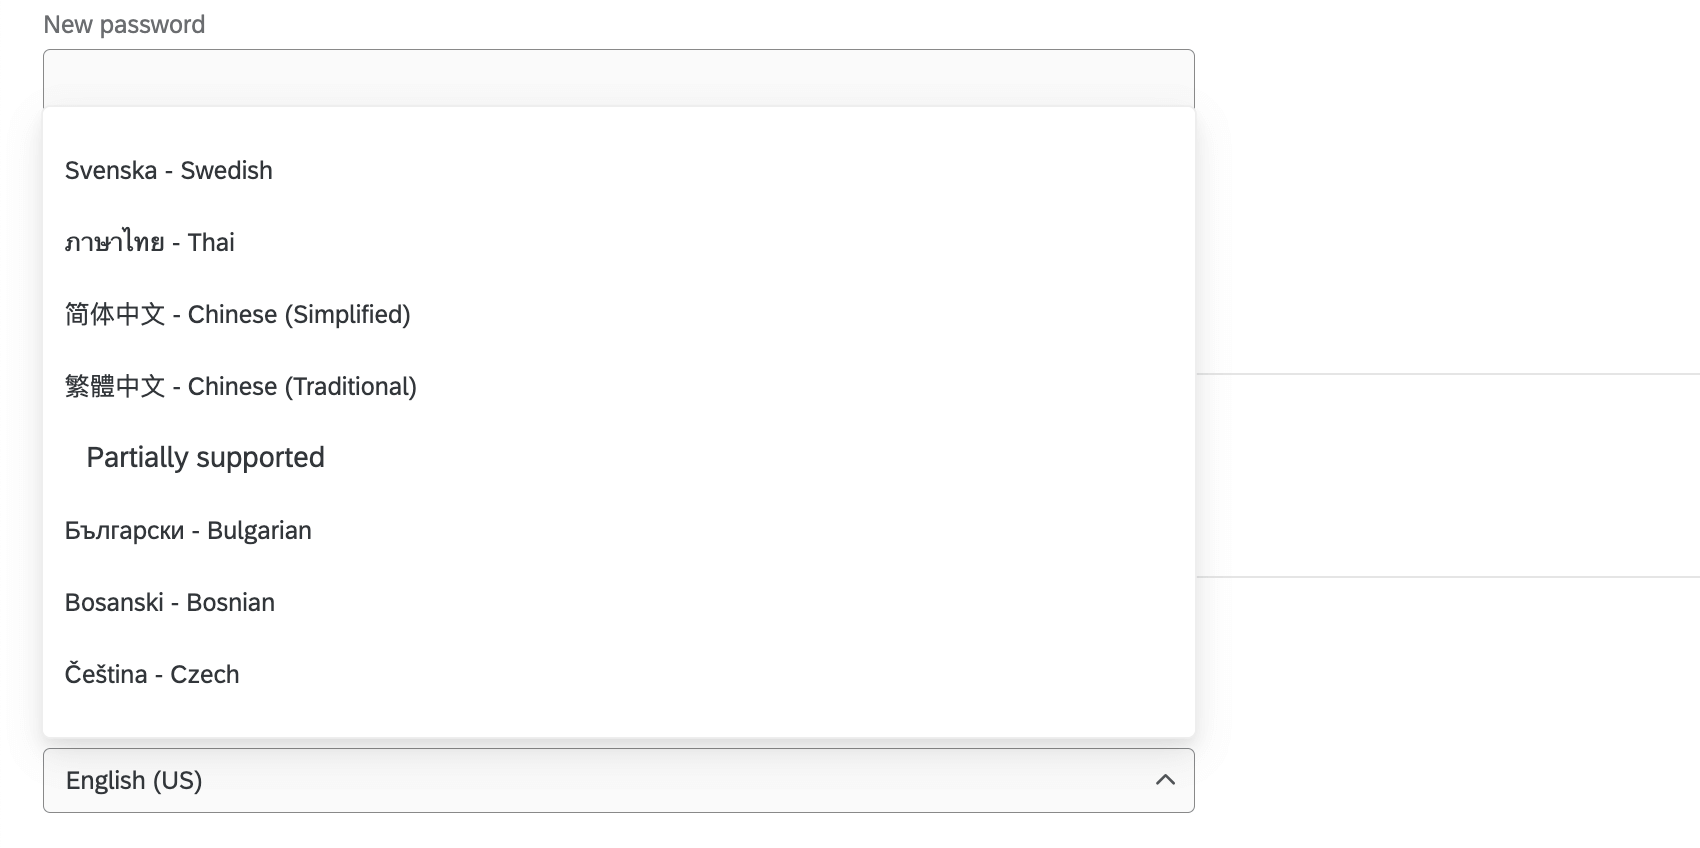 We offer 2 separate sets of languages:
- Fully supported XM Platform languages: These languages are fully supported languages across the entire XM Platform. For a list of fully supported languages, see the column labeled XM Platform in Language Availability.
- Partially supported languages: These languages are fully supported within CX and EX Dashboards, Following Up on Tickets, and the Qualtrics XM App. Note that they are partially supported across the wider XM Platform. The fallback language for product areas that are not fully supported will always be English (US). For a list of partially supported languages, see the column labeled CX/EX Dashboards in Language Availability
For new projects, the language that is set as your account language will be the base language for your surveys and all participant messaging, such as End of Survey messages, though you can still adjust the default survey language in your Survey Options).
- User Email Defaults: The default email addresses used for emailings in your account.
- Default From Email: The default from email address used for emails sent from your account. This setting is useful to configure for features that do not allow you to specify a from address, such as email triggers, thank you messages, and 360 and Employee Engagement messages.
Attention: If you’re using a custom domain (i.e. not a Qualtrics default domain), the domain must be properly configured for use within Qualtrics. For more information about using a custom domain, read our Using a Custom From Address page.Qtip: Brand Administrators can request a default from address be configured for their entire brand by contacting Qualtrics Support.
- Default From Name: The from name that appears in your recipient’s inbox.
- Default Reply-to Email: The email address that will receive replies to your email messages.
- Default From Email: The default from email address used for emails sent from your account. This setting is useful to configure for features that do not allow you to specify a from address, such as email triggers, thank you messages, and 360 and Employee Engagement messages.
- Grant Login Access: See Granting Login Access to Support.
- Recent Logins: See an audit of recent logins to your account to ensure there is no unauthorized access. Click More to see more entries. Entries are only accessible until pushed from the list by other logins.
- Link Account: Link your account with your legacy Qualtrics 360 and legacy Site Intercept products (if you have purchased them). Just input your 360/Site Intercept username and password.
Warning: This option does not allow you to merge the Survey Platform accounts! If you need to combine content from Qualtrics accounts, see our User Moves page.
Plans
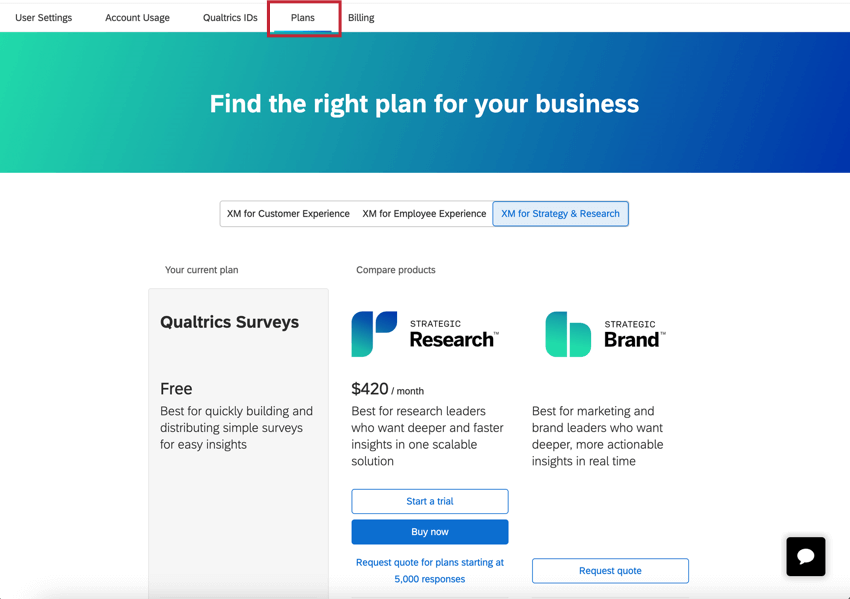
The Plans tab allows you to upgrade your account to a license that includes additional users, responses, and more features.
Explore the different product lines using the menu at the top of the page, and then compare your current plan with the other available offerings. You can view plans side-by-side to review the features and capabilities available in each plan. Select a new plan to purchase it online or to get in contact with our Sales team.
Below the plans, you can view FAQs to find answers to commonly asked questions about pricing, payments, and available plans.
Billing
Refresh Account
For the most part, the Qualtrics platform saves as it goes. However, sometimes there will be a delay between an action you perform in the software and the results appearing on the webpage. Sometimes your imported responses or responses in progress take a while to show up on your Data & Analysis tab. (This often looks like a grey number in parentheses in the upper-right of the Data section.) Sometimes a project that was shared with you doesn’t show up right away.
The best way to push these changes is to refresh your account. Access this option by clicking your account settings icon and selecting Refresh Account.
Account Usage (Legacy)
Account Usage shows you how many responses you’ve collected, how many surveys you’ve created, and other useful statistics. You can also use the filter to decide for what timespan you want to view this information.
- Total Allowed Surveys: How many surveys you’ve created, total.
- Allowed Active Surveys: How many of these surveys have a status of active.
- Allowed Responses: Across every single survey, how many responses you’ve collected on the Recorded Responses page, except preview data, test data, and imported responses.
Qtip: Contact Account Services or your Account Executive for pricing on importing. Imported responses are considered separate from and will not impact the account’s response limit in this legacy report.
- Total Allowed Outgoing Emails: Every email you’ve sent out of the total allowed of your lifetime limit. See Email Limits for more details.
- Weekly Allowed Outgoing Emails: Every single email you’ve sent in a week, out of the weekly limit. See Email Limits for more details.
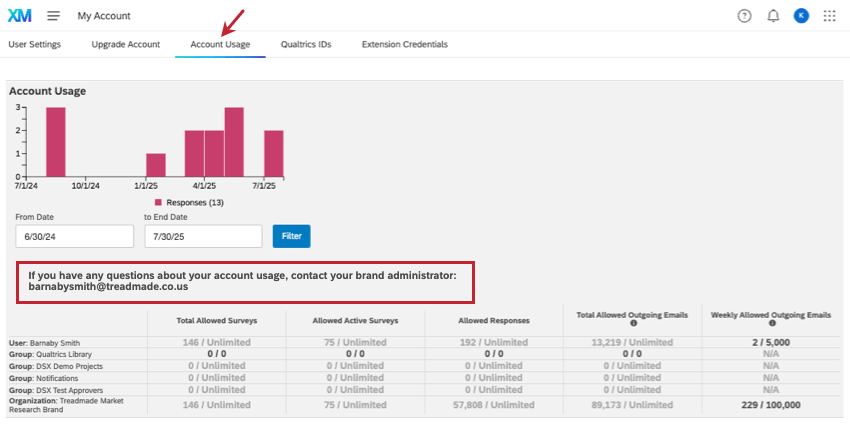
If your organization has a Brand Administrator, you can find their contact information here. Your Brand Administrator can assist with questions about your license and handle requests for changes in your account permissions.
Qualtrics IDs (Legacy)
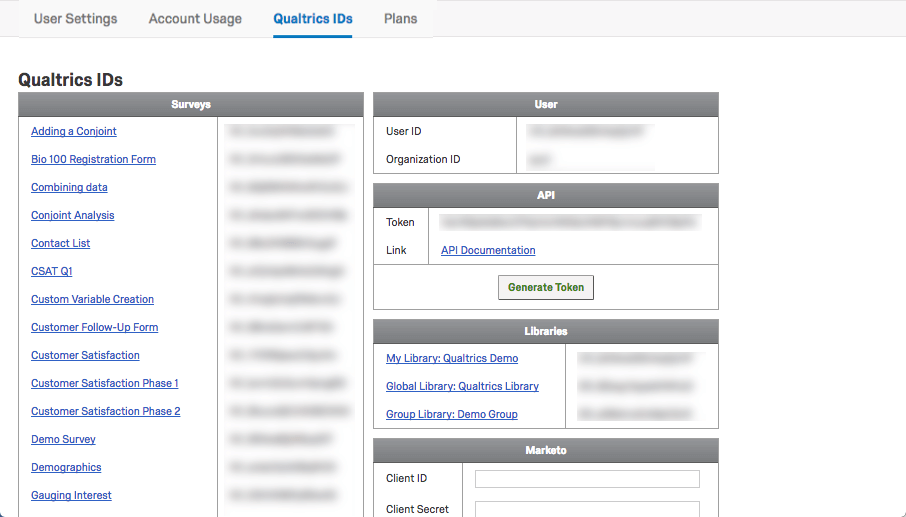
Qualtrics IDs lists all the IDs you’ll need when using the Qualtrics v3 API to connect your surveys with external systems. Here you can find and generate your tokens for API, Adobe Analytics, and the offline app. You can also input your Marketo Extension details (if you have purchased these features).
For more on these IDs, see Finding Qualtrics IDs.
Granting Login Access to Support
When troubleshooting an issue with Qualtrics Support or another Qualtrics employee, you may want to allow them to access your account to help test something with you. This section covers how to grant that permission.
- Go to the account settings icon.

- Click Account Settings.
- Make sure you are on the User Settings tab.
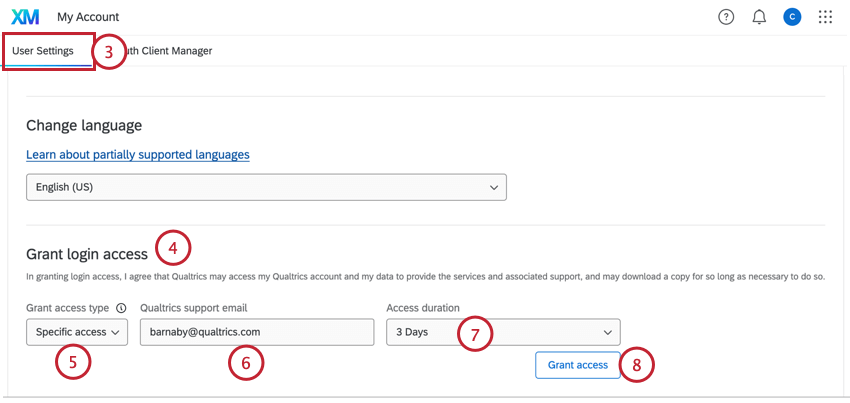
- Navigate to Grant login access.
- Choose your Grant access type:
- General access: Grant access to any member of the Qualtrics Support team.
- Specific access: Grant access to a specific Qualtrics employee.
Qtip: Specific access is recommended when working with your account team, while general access is recommended when working with Qualtrics Support.
- If granting access to a specific employee, enter their Qualtrics email address.
Qtip: Only a valid @qualtrics.com address can be entered here.
- Select how long you want the rep to be able to access your account.
- Click Grant access.
The chosen support reps will be able to access your account until the displayed date. You can immediately remove access at any time by clicking the Revoke access button.
