Load Users into EX Directory Task
About the Load Users into EX Directory Task
The Load Users into EX Directory task is used to save your employee data to your Qualtrics employee directory. To use this task, you must first load data into Qualtrics using a data extractor task.
Setting up a Load Users into EX Directory Task
- Create an ETL workflow.
- Select Data source (ETL extractor). In this step, you’ll extract data that you can load to another destination. See using Building ETL Workflows for more information.
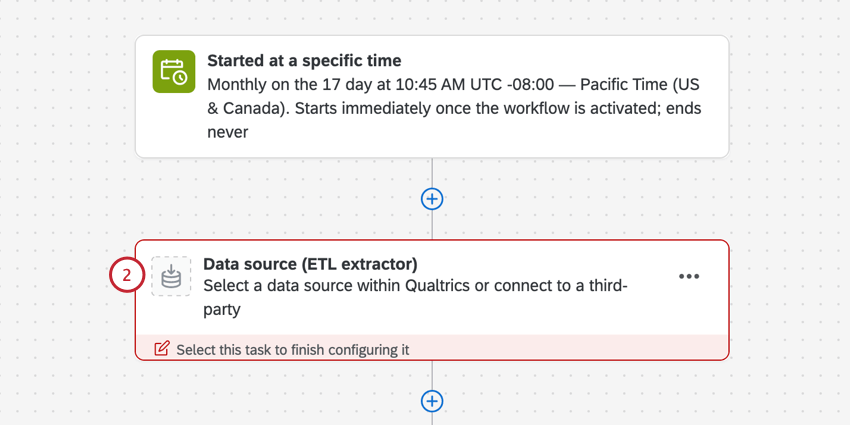 Qtip: Usually, this is the extract data from SuccessFactors task, but can be any data extractor task.
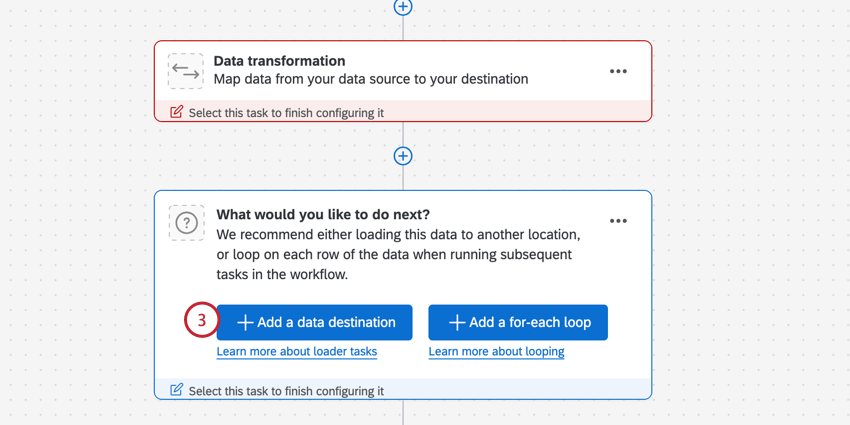
 - Click Add a data destination.
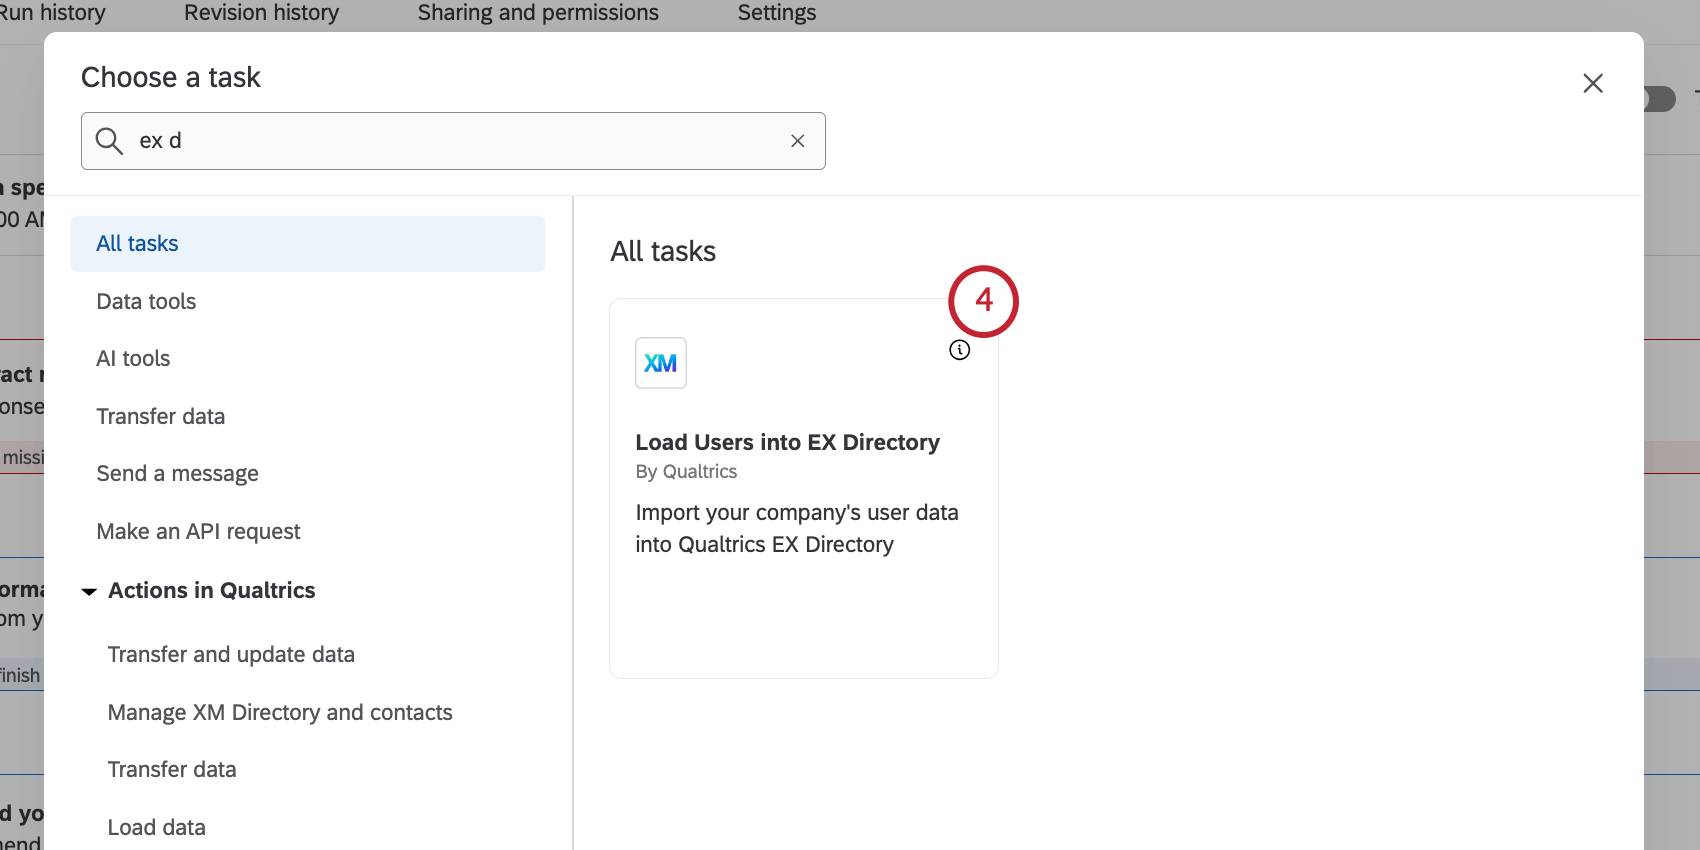
- Choose the Load Users into EX Directory task.
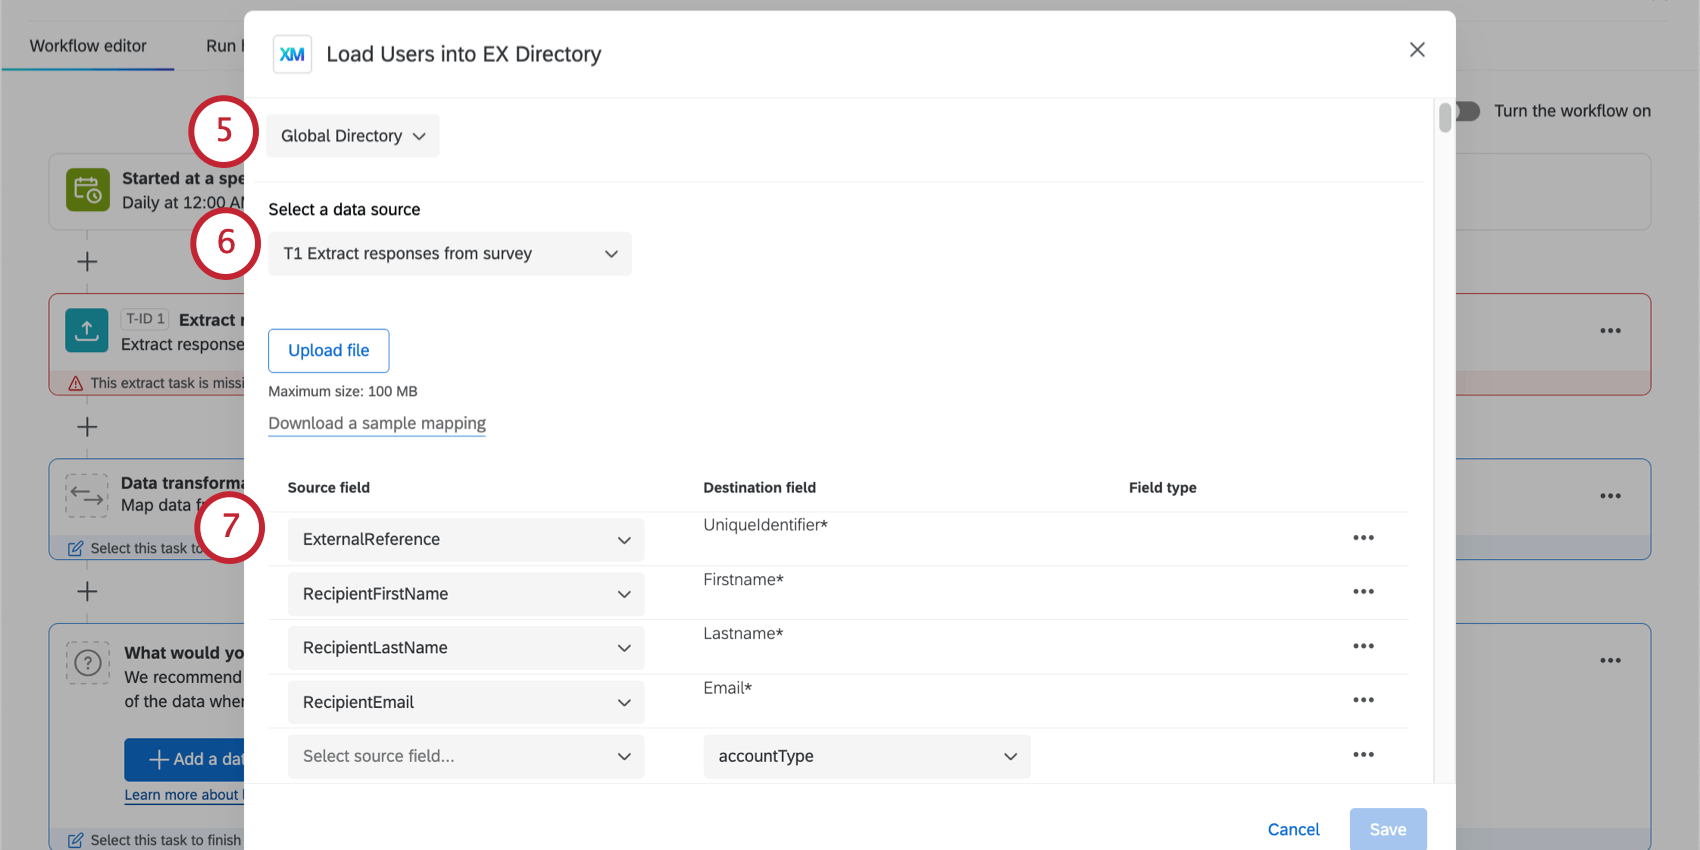
- Select where you want to save the data. You can choose your global employee directory, or a specific EX project.
 Qtip: When importing directly into a Lifecycle project, these participants ignore any participant import automation criteria.
 - Choose the task to import data from. This should be your data loader task.
Qtip: The maximum file size for the file in the data loader task is 1 GB.
- Map your source fields from SuccessFactors to your destination fields in Qualtrics. The pre-loaded fields are required, and below is our suggested mapping:
Source field Destination field /person/employment_information/user_id UniqueIdentifier /person/personal_information/first_name Firstname /person/personal_information/last_name Lastname /person/email_information/email_address Email - To import additional metadata fields, click Add field.
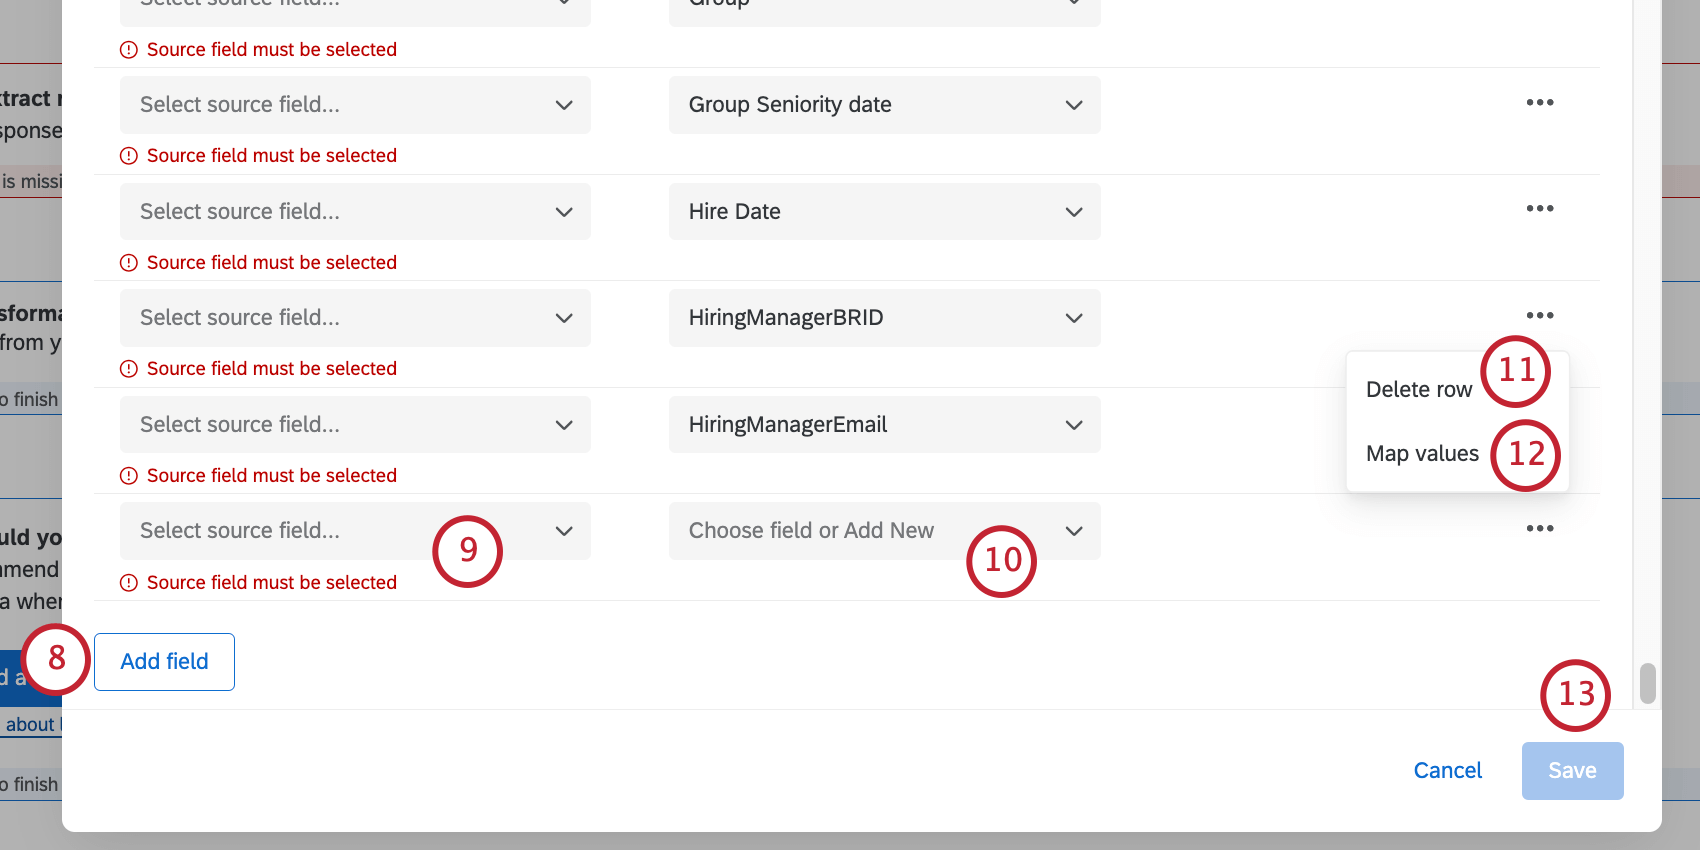
- For your additional field, select the source field from SuccessFactors.
- Use the Choose field or Add New dropdown to select a metadata field from your EX directory to save the data to. You also have the option to create a new metadata field instead.
- To delete an additional field, click the 3 dots menu and select Delete row.
- If needed, you can map specific values for your field by clicking the 3 dots menu. You can use this feature if you want to save your data with different values than they have in SuccessFactors.
Qtip: For more details, see Mapping Field Values for steps. While this link will take you to another task’s support page, the functionality is the same.
- When finished mapping fields, click Save.