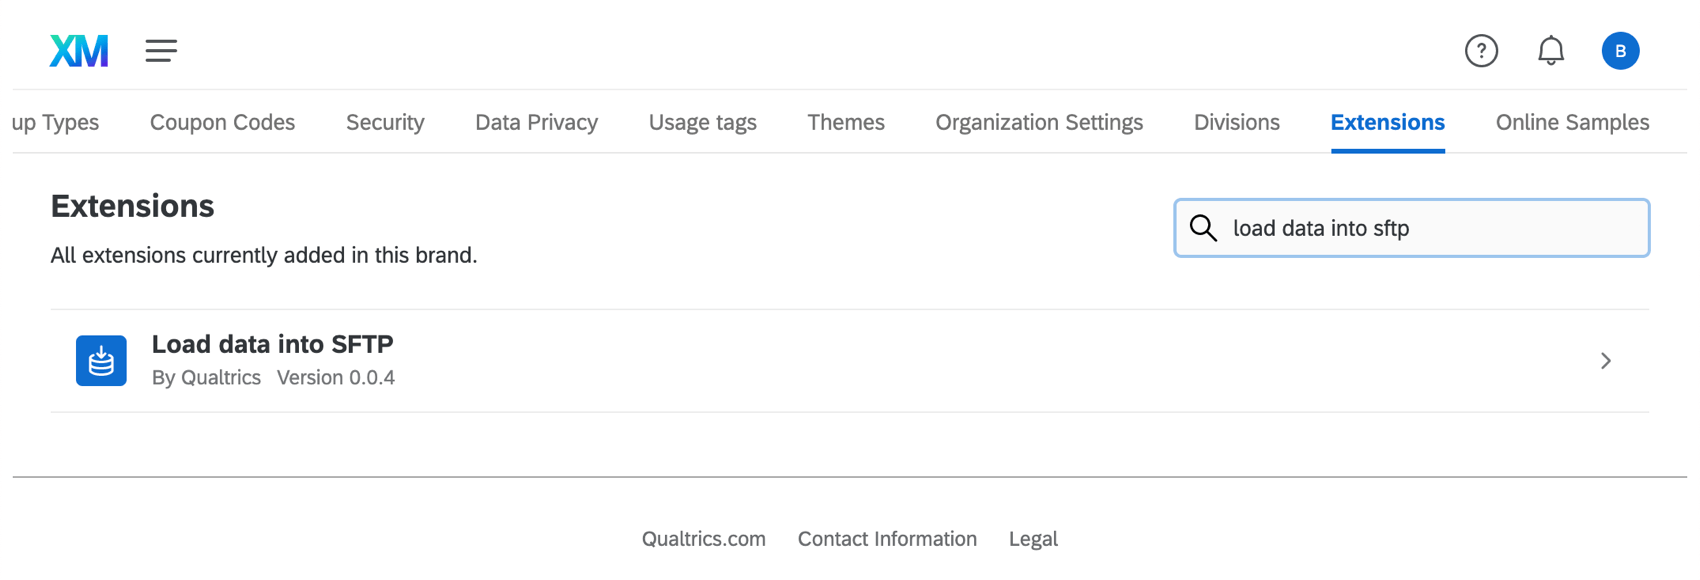
Load Data into SFTP Task
About Loading Data to an SFTP Server
Using workflows, you can upload data to your SFTP server on a regular schedule, or automatically once another event of choice has been executed.
These kinds of workflows are made using an ETL data loader task called “Load data into SFTP.” First, you must use an ETL data extractor task to pull data from a chosen location, such as a Qualtrics survey; then you can upload it to your SFTP using the data loader task.
For more information on SFTP setup and troubleshooting, see SFTP Troubleshooting.
Connecting a SFTP Account
Before you can use the “Load data into SFTP” task, you must connect an SFTP account so Qualtrics can load the data to it. Accounts may be added by Brand Administrators, or by individual users for their personal use.
This works exactly as it does for other SFTP-related tasks, except for one key difference: make sure that when you are adding a brand-wide plugin that you select Load data into SFTP.
To connect to an SFTP account, see Connecting a SFTP Account.
Extract Data to Upload to Your SFTP
Before you can upload data to your SFTP, you need to extract it from someplace. Consider where your data currently lives; is it inside a survey or XM Directory? Or is it not inside Qualtrics at all, but a third party, such as Salesforce or Google Drive?
Create an ETL workflow and add a data extractor task to it. For a guide to creating this kind of workflow, see Building ETL Workflows.
Loading the Data into an SFTP
Once you’ve created a workflow and added your data extraction task, it’s time to upload the data into your SFTP.
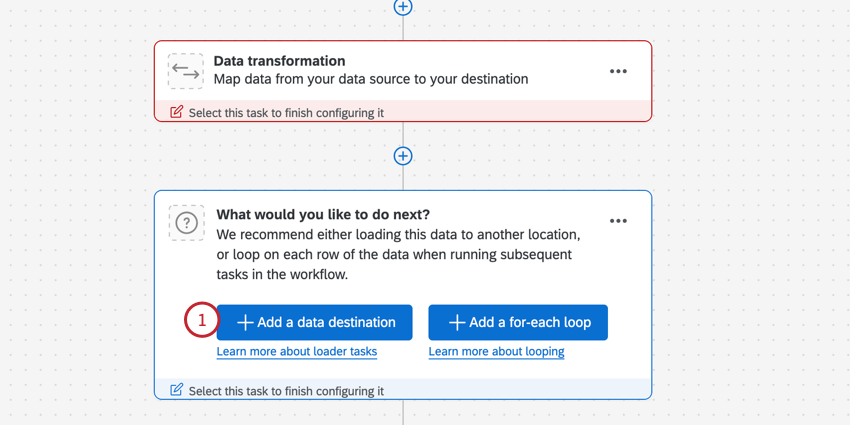
- Click Add a data destination.
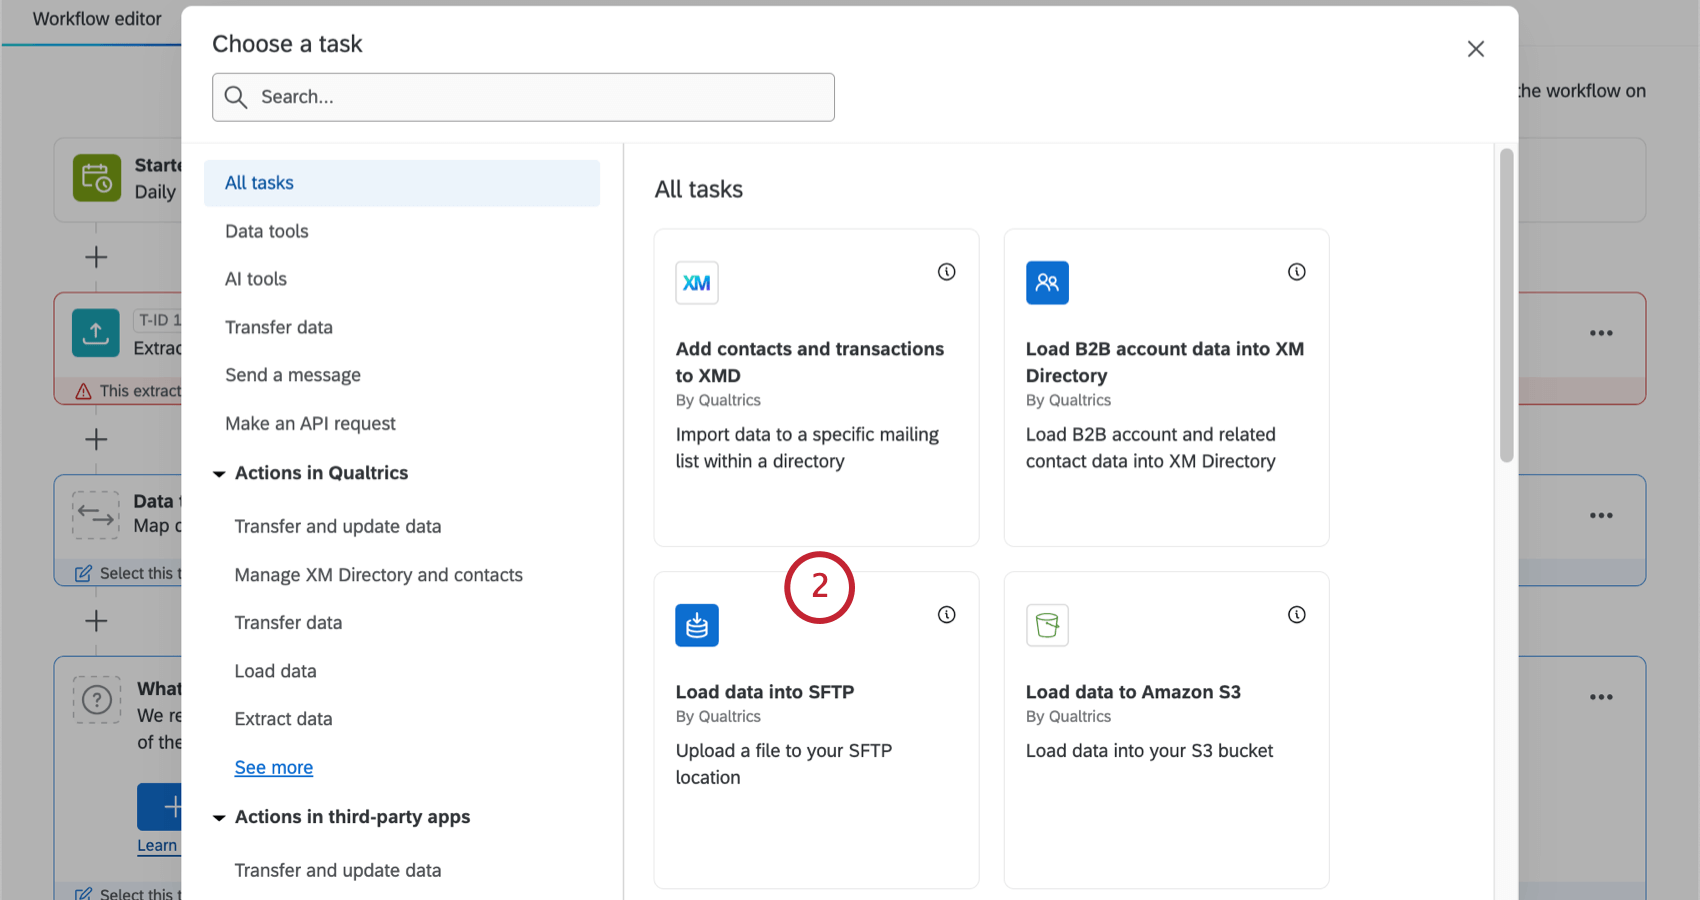
- Search and select Load data into SFTP.
- Choose an SFTP account to connect to.
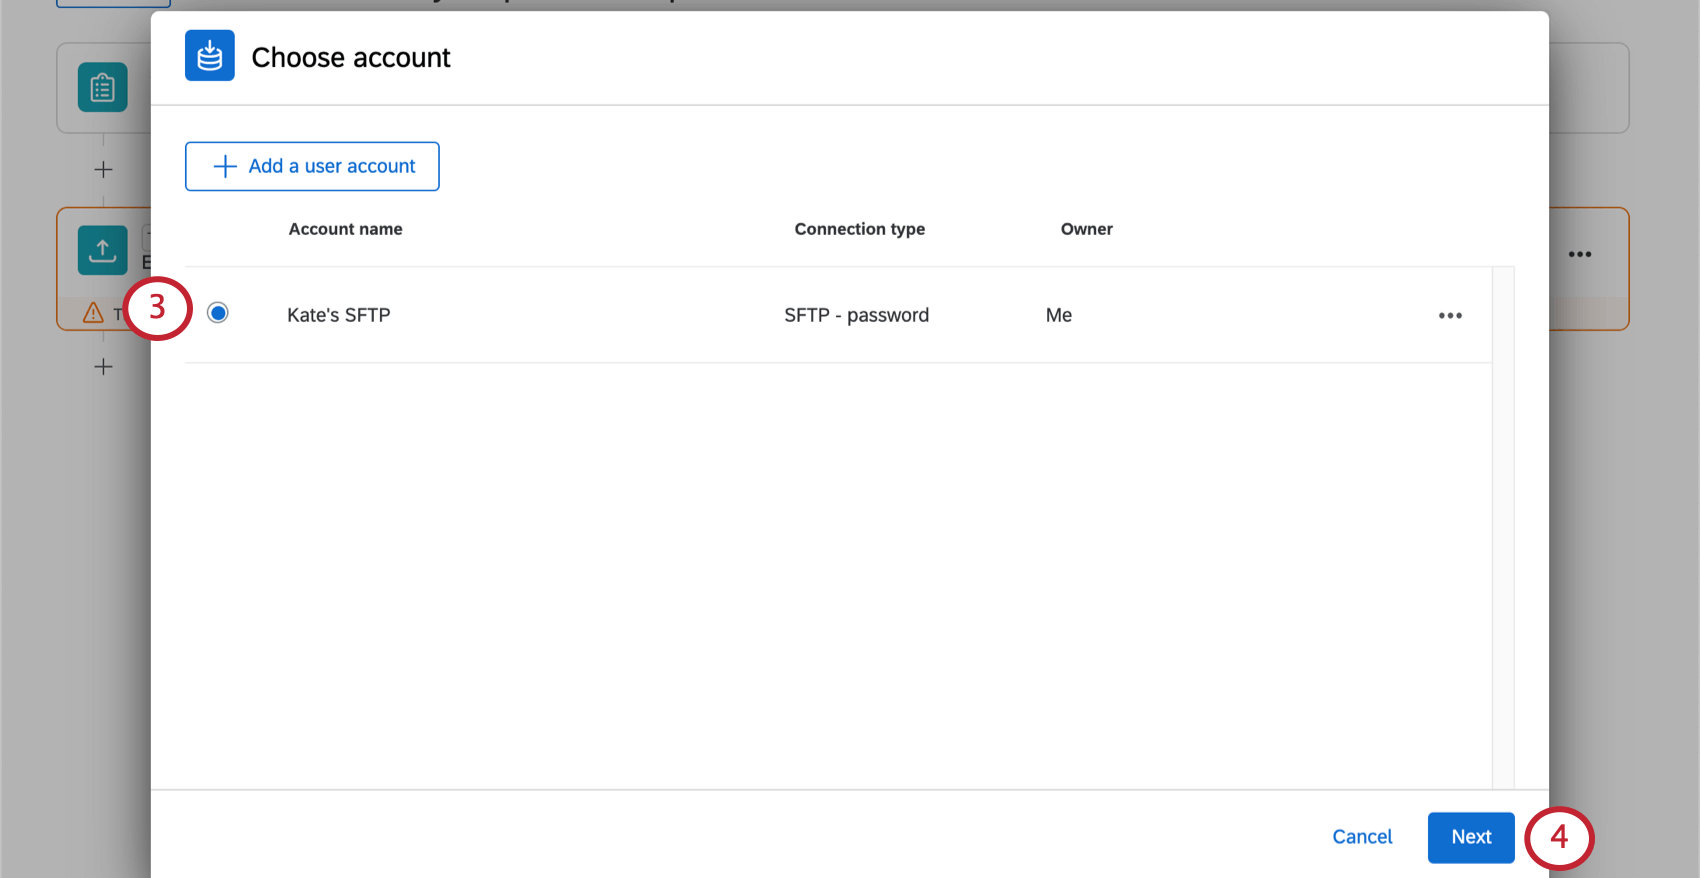
- Click Next.
- Choose your data source.
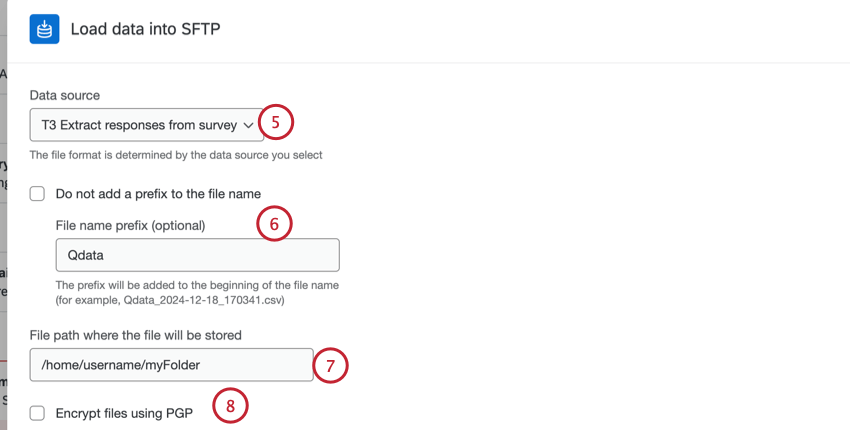 Example: We set up a survey extraction task, so we selected this task as the data source.Qtip: If you’ve only added one data extraction task, you’ll likely only see an option with “T1” in the name. Select this for the data source.
 - Type a file name prefix. This will be added to the beginning of each file that is processed by this task. If you do not want to add a prefix, then enable the Do not add a prefix to the file name checkbox.
- Enter the file path to where the file should be uploaded on the server. You may enter either a relative path or an absolute path.
Qtip: This directory path is case sensitive and must point to an existing folder or the workflow will fail. Qualtrics will not be able to access files if they’re in a higher level directory than the one specified in the drop-off directory.
Example: Depending on the path you enter, potential drop-off directories could be:
- /home/username/myFolder (absolute path)
- myFolder (relative path)
- Choose if you’d like to encrypt files using PGP. Encrypted files have added security. See PGP Encryption to learn more about this extra layer of encryption and data protection.
- Select a file type for the export.
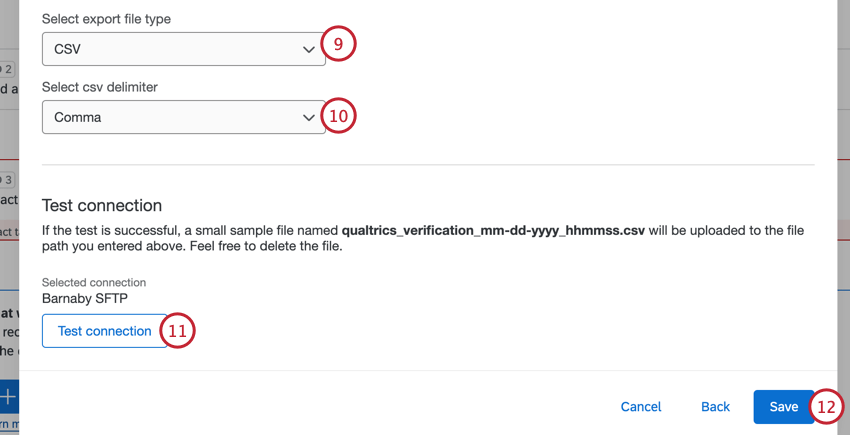
Your options include:- CSV
- TSV
- JSON
- If exporting to a CSV, choose the delimiter for the file. Your options include comma, semicolon, tab, and pipe.
- You can test your connection to your SFTP. Once you have a file path specified, click Test connection.
Qtip: If the test is successful, a small sample file named qualtrics_verification_mm-dd-yyyy_hhmmss.csv will be uploaded to the file path you entered above. Feel free to delete the file.
- Click Save to complete your workflow.
