-

Qualtrics Platform -

Customer Journey Optimizer -

XM Discover -

Qualtrics Social Connect
Extract Data from Tickets Task
About the Extract Data from Tickets Task
The Extract data from Tickets task allows you to extract your Qualtrics ticket data and then load it into another source using a loader task.
To use this workflow task, you must build an ETL workflow or scheduled workflow, which runs on a recurring cadence that you set.
Warning: Each ticket’s data can only be processed once per workflow. Once a ticket is processed, it won’t be picked up by the task again. Therefore, each time the workflow successfully runs, it only processes tickets that were created after the last successful workflow run. Please note that if a ticket does not match the task’s criteria and then the ticket is later updated in a way that makes it match, it does not mean the ticket will be picked up on the next run, since the ticket’s created date may be now out of range of what the run would ingest.
Attention: No more than 3 ticket export tasks can run concurrently on the same brand.
Qtip: For information on general limits that apply to ETL workflows, see Workflow Limits. For any task-specific limits, refer to the information on this page.
Setting up an Extract Data from Tickets Task
Follow the below instructions to use this task and choose which tickets are included in your workflow data payload.
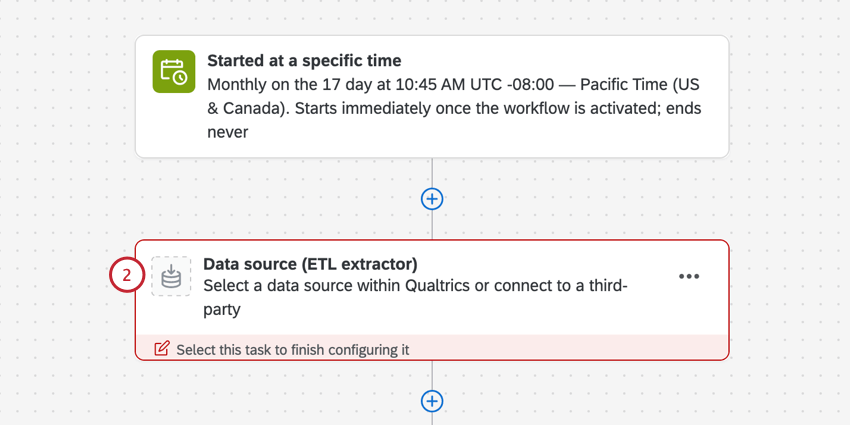
- Create an ETL workflow or workflow started by a schedule.
- Click Data source (ETL extractor).
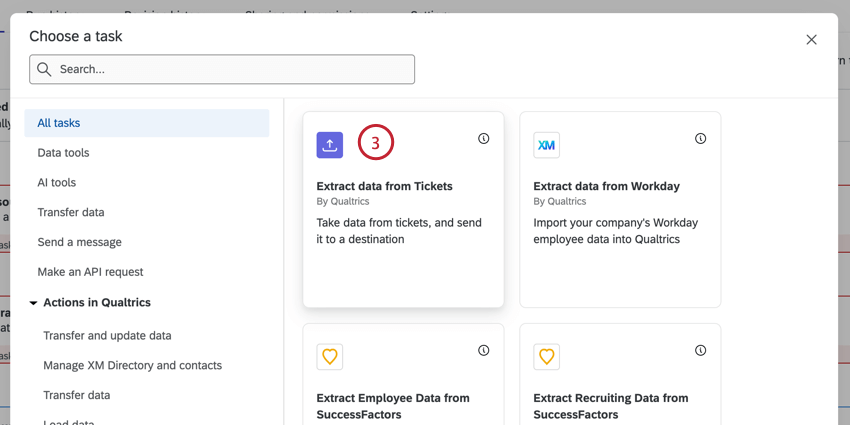
- Select the Extract data from Tickets task.
- Choose the Priority of the tickets included. You can choose multiple priorities.
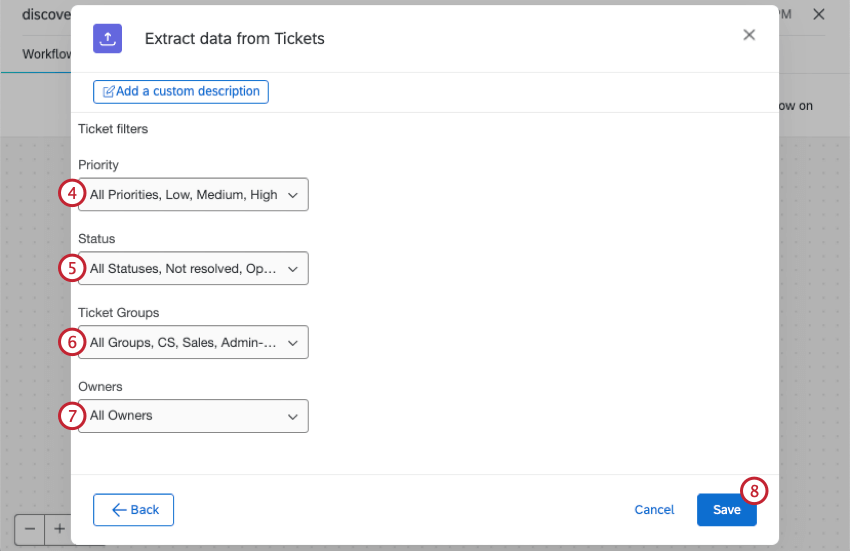
- Select the Status of the tickets to extract. You can choose multiple statuses, including custom ones.
- Choose which Ticket Groups you want to include. Only tickets belonging to these teams will be included.
- Select the Owners of the tickets to include. Only tickets assigned to these specific users will be included.
- Click Save.
- Next you’ll need to add a loader task to your workflow to save the data in a specific destination. Common destinations include:
Qtip: If your ticket dataset is exceptionally large, the task may fail or time out. To fix this issue, edit the task and change your selected ticket filters and fields (steps 4-9).