-

Qualtrics Platform -

Customer Journey Optimizer -

XM Discover -

Qualtrics Social Connect
Extract Data from Discover Task
About Extract Data from Discover Task
XM Discover analyzes customer feedback across various platforms including websites, social media, and more. Integrating Discover data into a Qualtrics workflow can give you access to greater capabilities, allowing you to perform helpful tasks like transforming your data or creating an SFTP task. With the Extract data from Discover task, you can use your Discover data in your Qualtrics workflows.
Discover Requirements
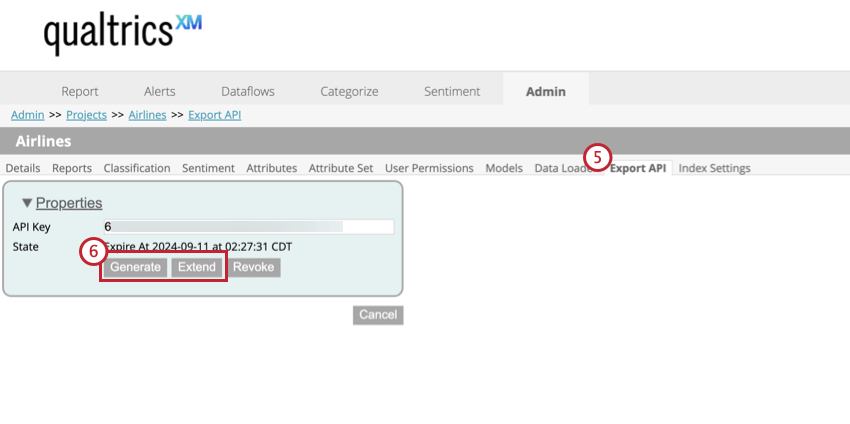
Before you get started extracting data from Discover, you need to export an API token. These expire every year, so ensure that it hasn’t expired before creating your task.

Setting Up an Extract Data From Discover Task
- Create an ETL workflow.
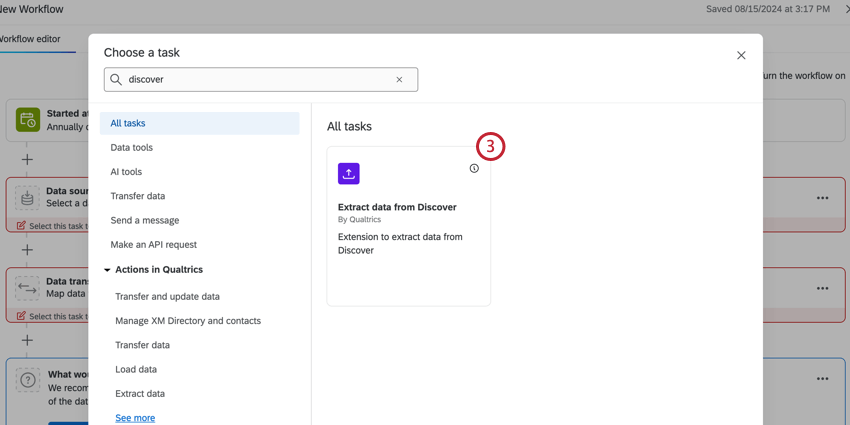
- Select Data source (ETL extractor).
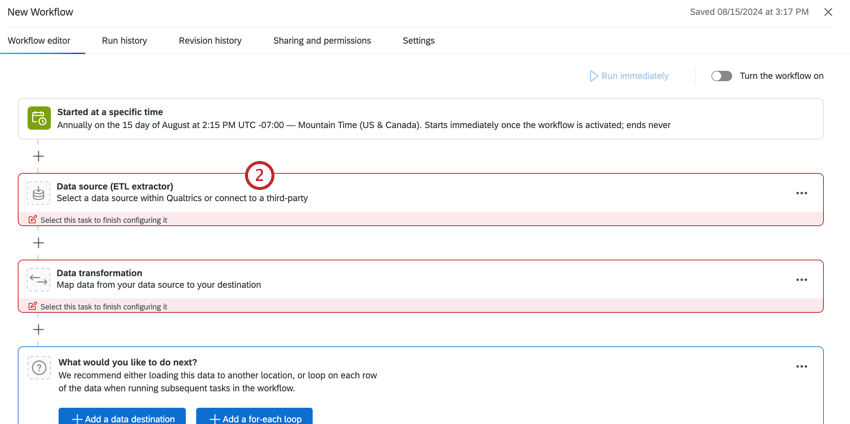
- Select Extract data from Discover.
- Select the Content provider.
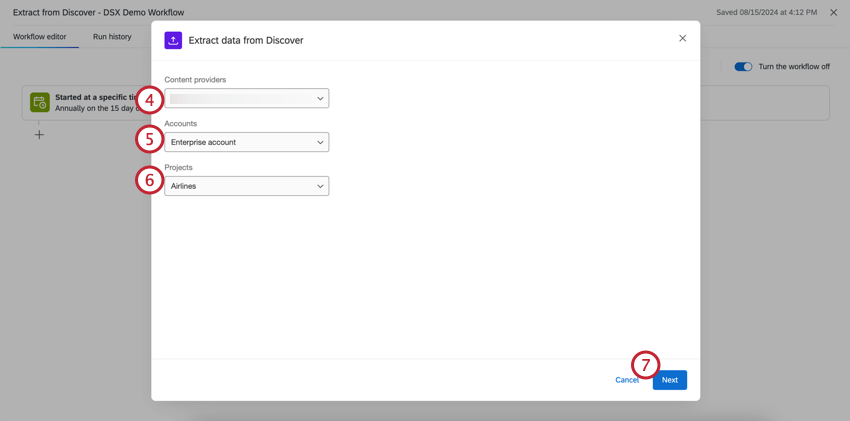
- Select the Account.
- Select the Project you would like to import the data from.
- Click Next.
- Select the type of data that you would like to extract.
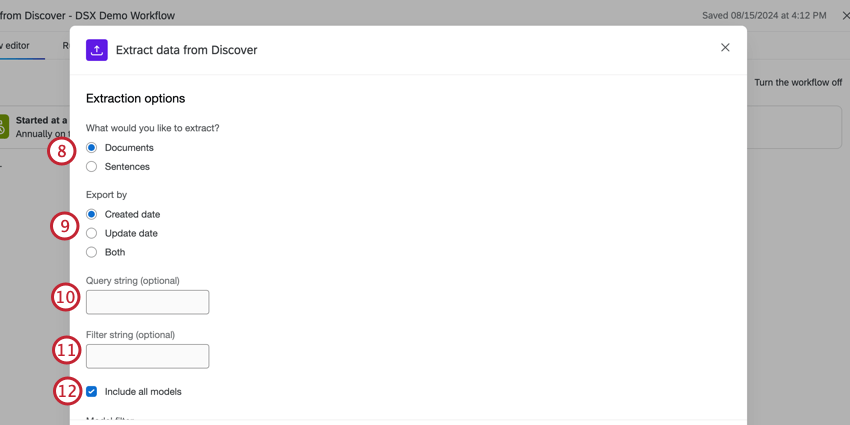
- Select which date you would like to export the data by.
- Created date: The date that the record was created in Discover.
- Updated date: The date that the record was last updated in Discover.
Qtip: If you export by created date, you will receive the record once. If you export by updated date, you might retrieve the record multiple times if it was edited since the last export.
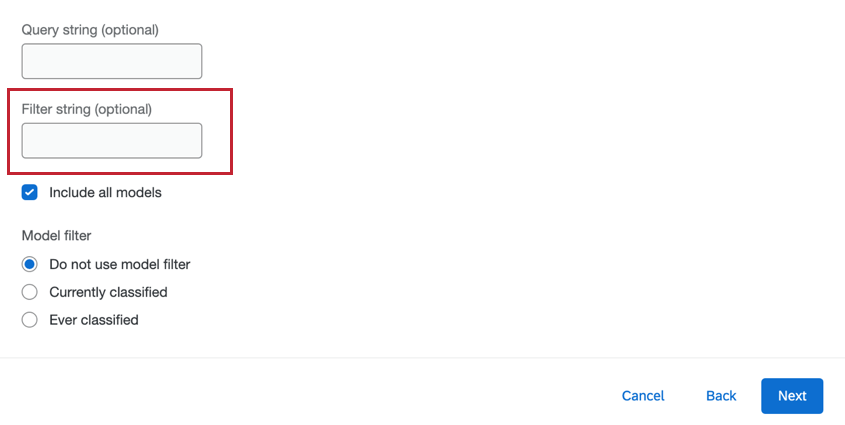
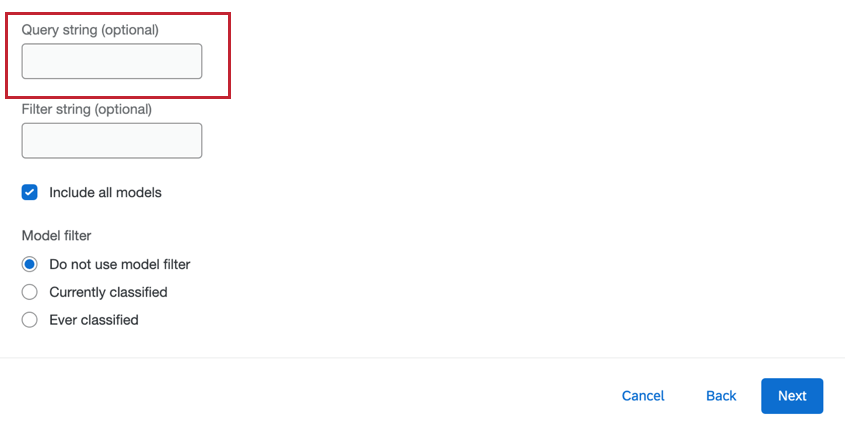
- Enter a Query string, if you want. For more information, see Query Strings.
- Enter a Filter string, if you want. For more information, see Filter Strings.
- Select if you want to include data from all models in this project. If you do not select this option, enter the models that you would like to include.
- Select the model filter you would like to export.
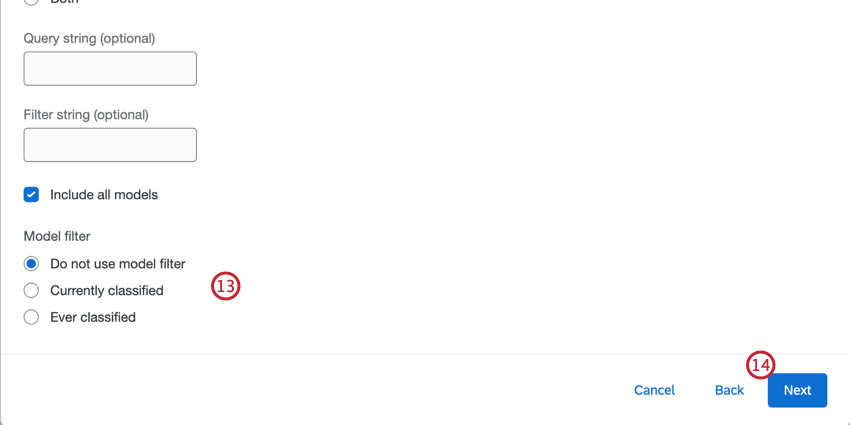
- Do not use model filter: No model filter is applied to the data export.
- Currently classified: Only documents that are currently classified by the specified models will be exported.
- Ever classified: Any documents that were ever classified by the specified models will be exported.
- Click Next.
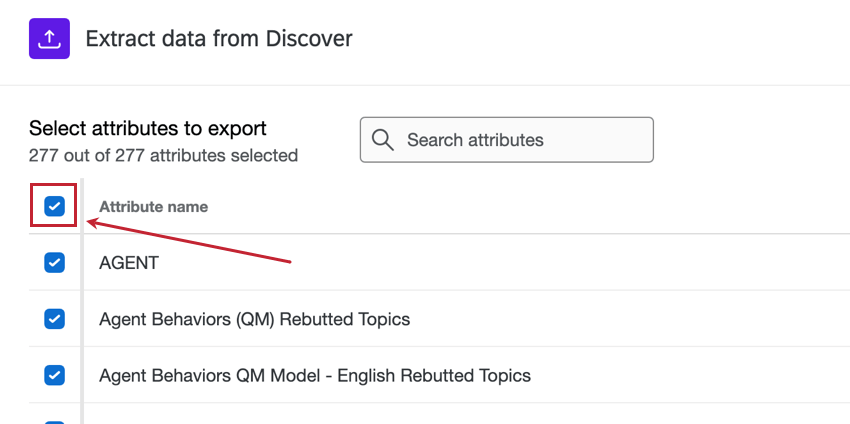
- Select the attributes you would like to export. You can search for specific attributes using the search bar.
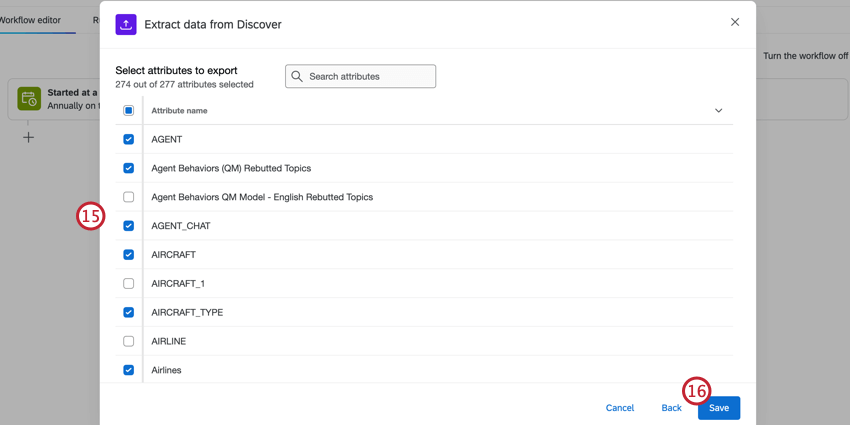 Qtip: To select all attributes, click the checkbox next to Attribute name.
- Click Save.
- After extracting data from Discover, you must tell Qualtrics where to save the data with a data loader task. See Available Loader Tasks for more information.

Query Strings
Queries let you control which data is imported into your workflow. In this task, you can enter a query to filter the data that is extracted from Discover. Only records that match the query will be included in the export.
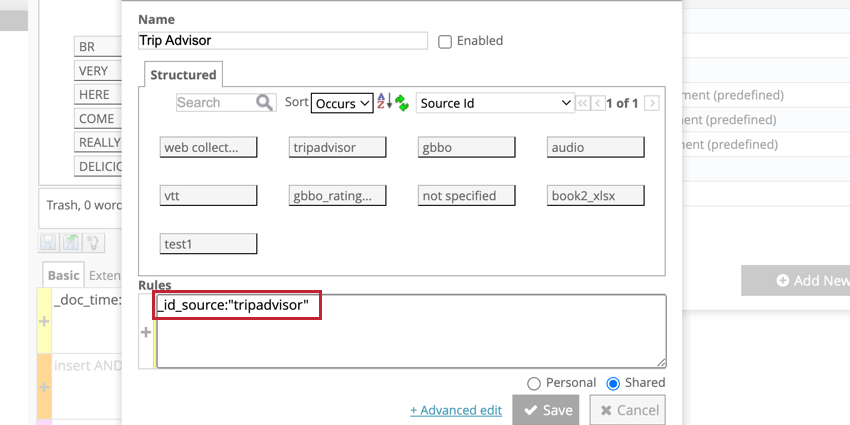
Filter Strings
Filters are built in Discover and can be used in the extractor to control what data is imported into Qualtrics. To use a filter, enter the title of the filter into the task.