Using Salesforce & Zendesk in the Inbox
About Using Salesforce and Zendesk in the Inbox (QSC)
Once an administrator has connected Salesforce or Zendesk to Social Connect, there are all kinds of benefits that become available to agents working in the inbox. For example, if your team already uses Salesforce to record and track customer issues, you can ensure all of your Support and Services teams have access to the same information, even if they’re not working on the same platforms. This also ensures that when a customer’s information is updated in Salesforce or Zendesk, it will be reflected in Social Connect, too.
On this page, we’ll talk about how to use Salesforce and Zendesk in the inbox.
Linking QSC Contacts to Salesforce
You can link contacts in Social Connect to a Salesforce entity. You can also create a new Salesforce entity from right inside your Social Connect inbox.
- Go to the inbox.
- Select a mention.
- Click the 3 dots icon.

- Select Salesforce.
- If Salesforce found an existing contact with the same name, you can connect them by clicking Link.
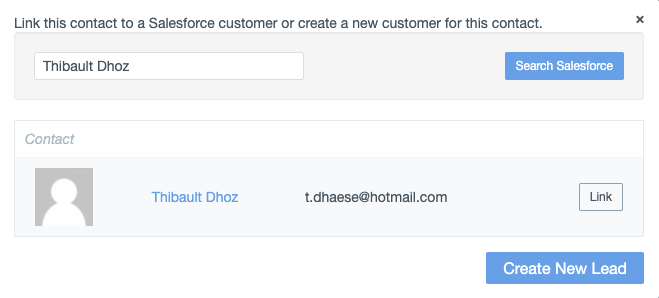
- If no entity was found, you can create a new lead by clicking Create New Lead.
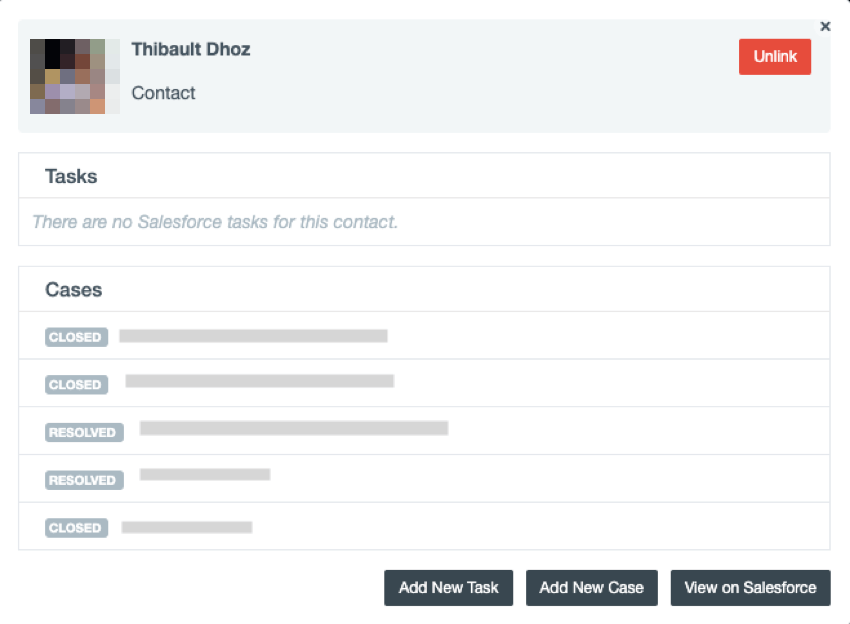
Once entities are linked, click the Salesforce icon next to a person to see their tasks, add a new task, add a new case, or view them on Salesforce.
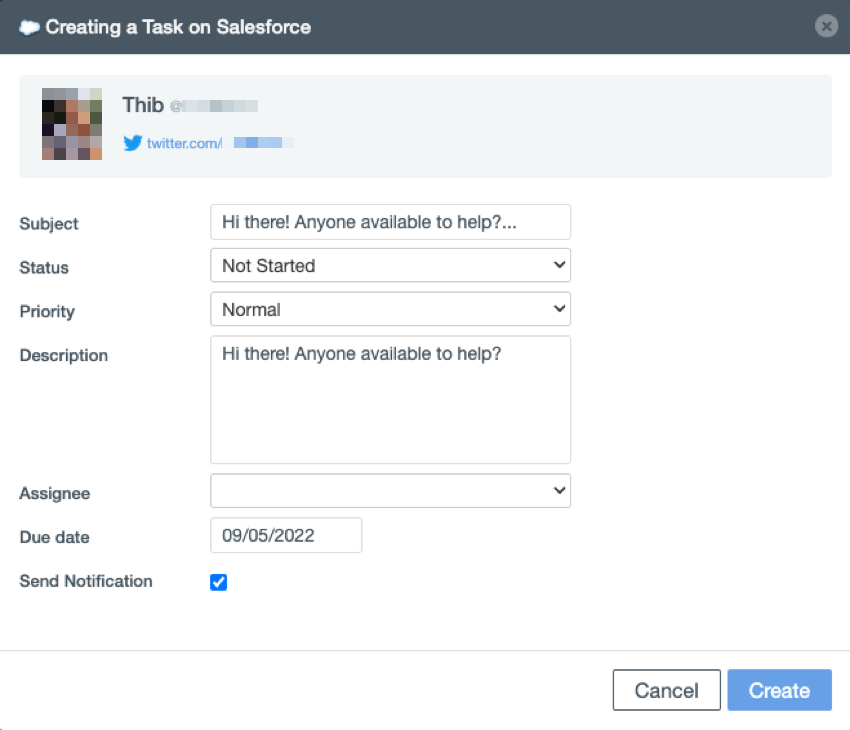
Creating a Salesforce Task
Creating a Salesforce Case for a Contact
- First, make sure you’ve linked a Salesforce contact.
Qtip: If you try to create a case from a lead, you will be able to convert them into a contact. You must convert the lead to a contact before you can create a case.
- Click the 3 dots below a mention.
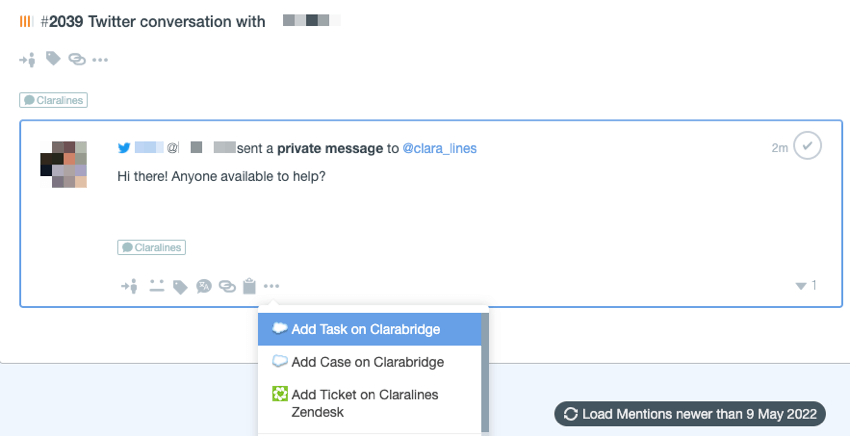
- Select Add Case on [Company Name].
- Fill out the required fields.
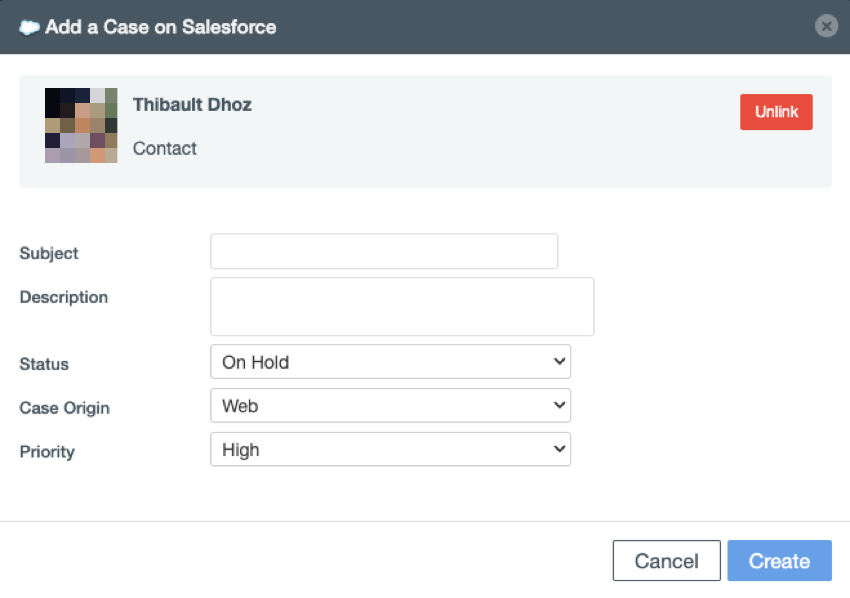
- Click Create.
Linking QSC Contacts to Zendesk Customers
Qualtrics Social Connect gives you link inbox contacts to existing customers in Zendesk. If the customer doesn’t exist in Zendesk yet, you can also create a new customer.
- Go to the inbox.
- Select a mention.
- Click the 3 dots icon.

- Select Zendesk.
- If Zendesk found an existing customer with the same name, you can connect them by clicking Link.
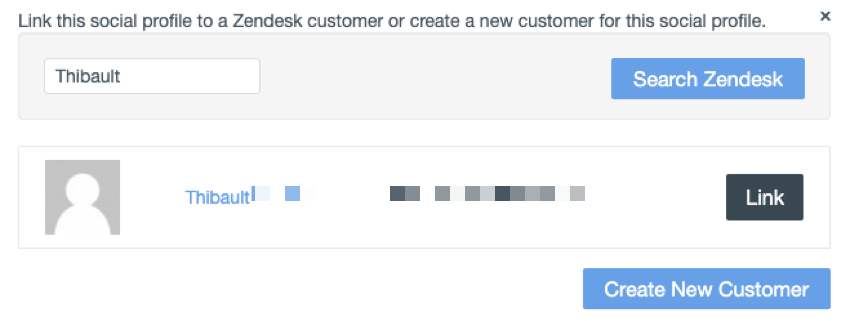
- If no customer was found, you can create a new one by clicking Create New Customer.
Viewing and Creating Zendesk Tickets
Once you’ve linked contacts in Qualtrics Social Connect to your customers in Zendesk, you can look at their existing tickets, or create a new ticket for that customer.
Click the Zendesk icon next to a contact.
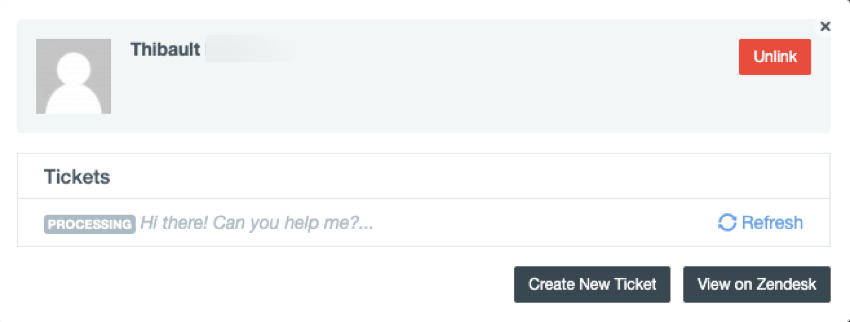
You’ll then see the tickets linked to the customer in Zendesk and their status.
You can also create a new ticket for this user in Zendesk by clicking Create New Ticket.
Converting an Inbox Mention into a Zendesk Ticket
- First, make sure you’ve linked a Zendesk customer.
- Go to the inbox.
- Select a mention.
- Click the 3 dots below a mention.

- Select Add Ticket on [Company Name]’s Zendesk.
- The 3 required fields will automatically fill out. You can edit them as needed.
- Click Create.
Qtip: A green banner will tell you that you’ve successfully created a new Zendesk case. You can click it to go to the ticket in Zendesk.
The mention’s subject, status and original message are copied into the new ticket. You’ll also see tags, the Account ID, Topic ID and Contact ID from Social Connect.

