-

Qualtrics Platform -

Customer Journey Optimizer -

XM Discover -

Qualtrics Social Connect
Configuring Location Experience Hub
About Configuring Location Experience Hub
Brand Administrators and other users with the relevant permission can manage how the Location Experience Hub appears to users. This includes choosing which tabs are displayed, and which content is displayed within those tabs.
Users with the permission to manage the Location Experience Hub can also activate and deactivate it for their organization. Once Location Experience Hub is activated, any changes will impact all users in the organization.
For more information on accessing and navigating Location Experience Hub, see Location Experience Hub Overview. For more information on configuring apps, see App Configuration Overview.
Accessing App Configuration
Once you have the necessary permission to configure Location Experience Hub for your organization, you can access it from the App Configuration menu.
- Using the global navigation menu in the top left, go to App Configuration.
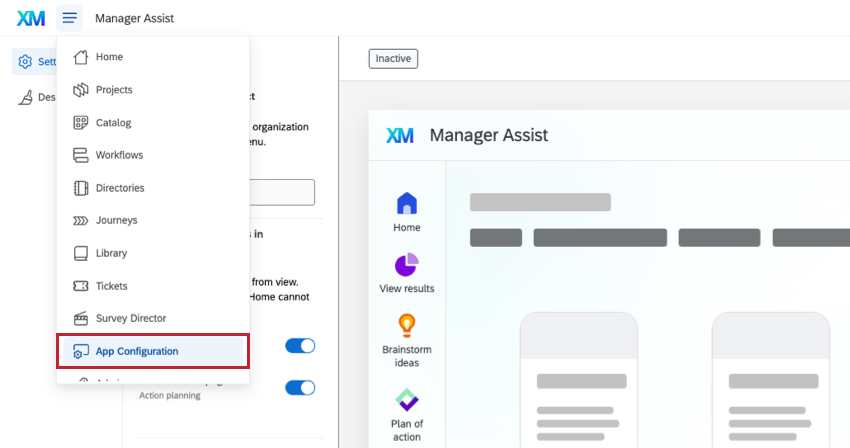
- Select Location Experience Hub from the Apps list.

Settings Tab
In the Settings tab you can customize which tabs appear in your Location Experience Hub, as well as the content of those tabs. For more information on the available customization options, see Settings Tab (Location Experience Hub).
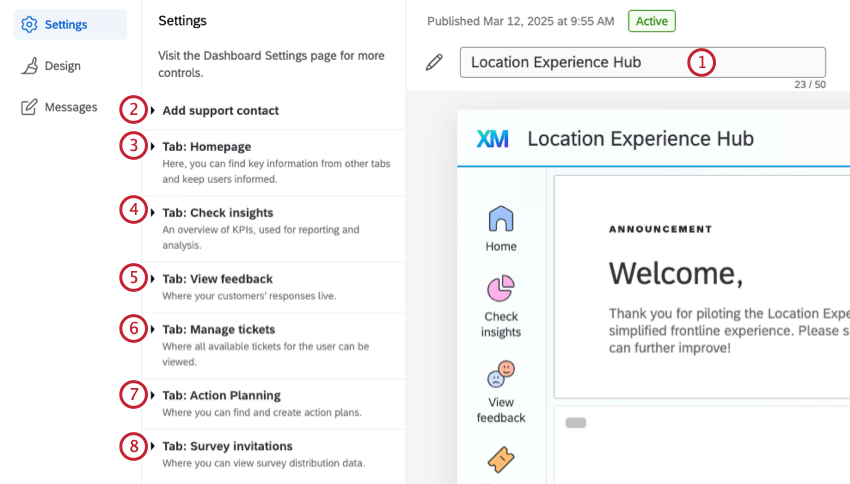
- Rename: Change the Location Experience Hub’s display name.
- Add support contact: Enter a contact email from your organization to appear in the help menu.
- Tab: Homepage: Customize the appearance of the Home tab, including adding actions and key metrics.
- Tab: Check insights: Select a CX dashboard to use within the Check insights tab.
- Tab: View feedback: Select a CX dashboard to use within the View feedback tab.
- Tab: Manage tickets: Enable the Manage tickets tab or hide it from view.
- Tab: Action Planning: Select a CX dashboard with action planning set up to use within the Action Planning tab.
- Deactivate App: Deactivate Location Experience Hub for your organization.
Design Tab
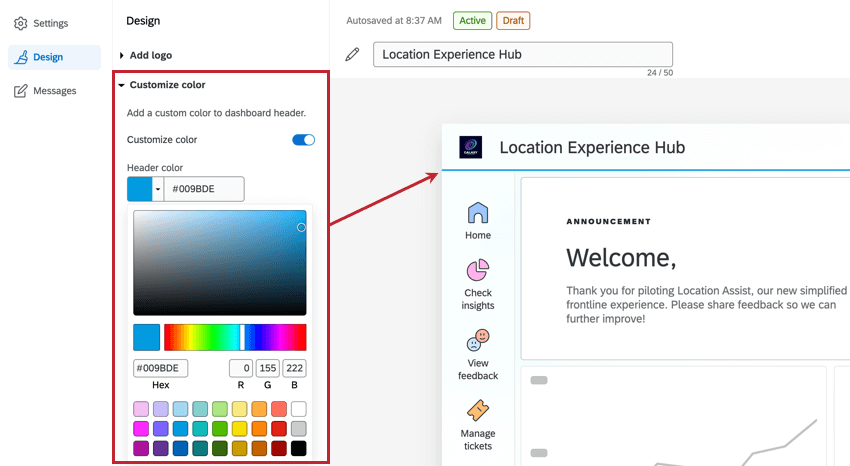
In the Design tab you can customize the appearance of your Location Experience Hub header to match your organization’s branding.
Add Logo
Here you can upload a logo that will appear in the header across every component of Location Experience Hub. Enter the URL of your logo and click Upload.
To use a logo from your Qualtrics library, upload the image and copy the graphic URL. For more information, see Adding a Graphic and Library Options.
![]()
Customize Color
Here you can add a custom color to the bottom of your header. Select Customize color, then select a color from the dropdown, or enter a specific hex code or RGB code.
Messages Tab
In the Messages tab you can select a message to appear to all users as a banner on the Home tab. You can choose the default message, create a custom one, or select no message.
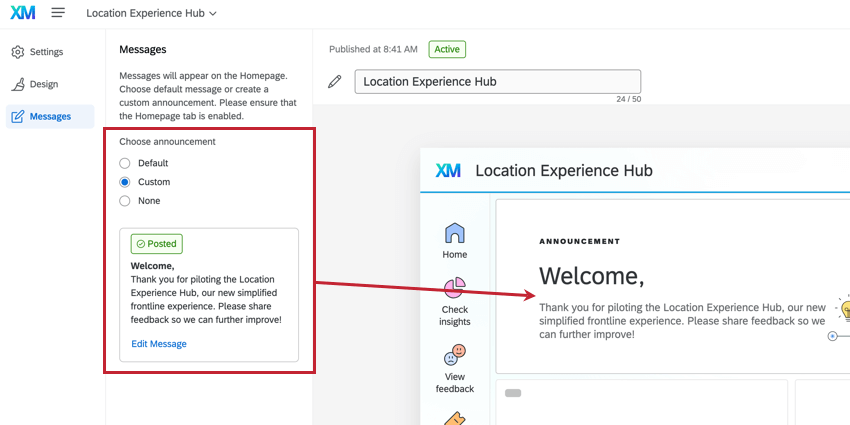
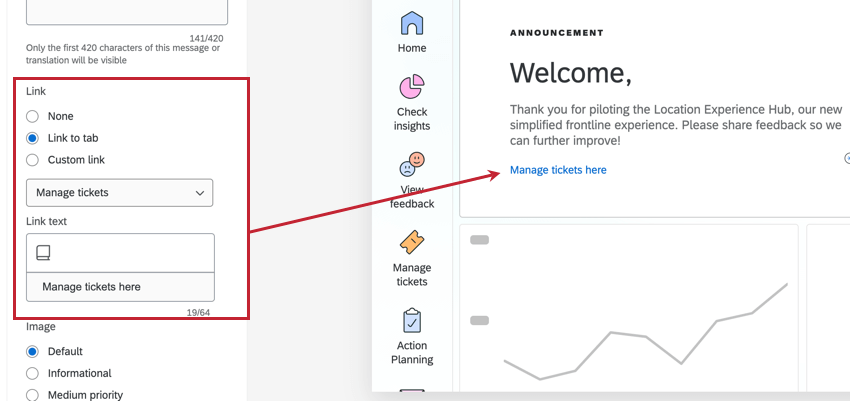
To edit the custom message, select Edit Message. You can then edit the headline and message body. You can also add a direct link to another tab within the Location Experience Hub, or a custom link.
To add a message expiration, select Set message expiration, and enter an expiration date and time. Once the message expires, it will reset to the default message.
Previewing Location Experience Hub
When you’ve finished configuring the Location Experience Hub, you can enable a preview for users with the Manage Location Experience Hub App permission before it is available for your whole organization. See Previewing Apps for instructions on activating the preview.
Activating Location Experience Hub
After activating the preview of the Location Experience Hub, you can activate it for your organization. Note that it will only be visible to users with the permission to access Location Experience Hub. See Activating Apps for instructions on activating the app.
For information on deactivating Location Experience Hub, see Deactivating Apps.
Sharing Location Experience Hub
To give individual users or a whole user type access to Location Experience Hub, assign them the necessary permission within the Admin tab.
To share a Location Experience Hub instance with a CX Dashboard Role, add the app to a role within the Role access tab of the app. See Role-Based App Access for instructions.
Note that each tab will retain the user access and data restrictions that are already in place. Users must also have the relevant dashboard selected for each tab shared with them to be able to view it.