-

Qualtrics Platform -

Customer Journey Optimizer -

XM Discover -

Qualtrics Social Connect
Step 1: Preparing Contacts for Distribution in XM Directory
Getting Started
Before you start sending distributions, you need to make sure you’ve got your contacts uploaded to Qualtrics with all of the information you need. To do this, head over to the Segments & lists tab of your directory.
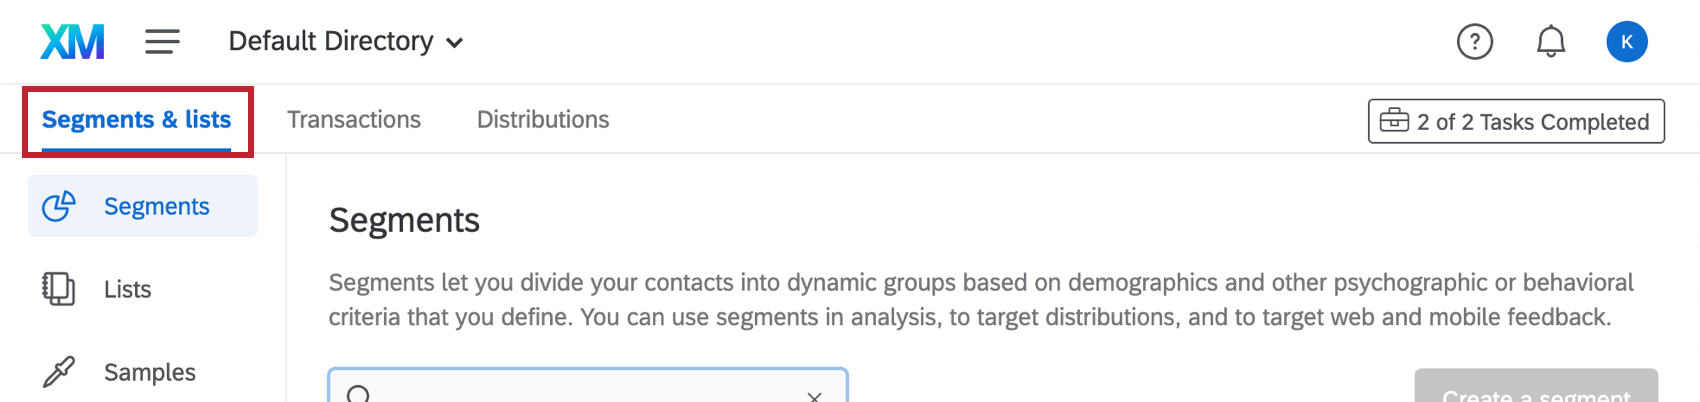
This tab has three different sections: Segments, Lists, and Samples. In the following section, we’ll talk more about these different features and when you might use one or the other.
Segments
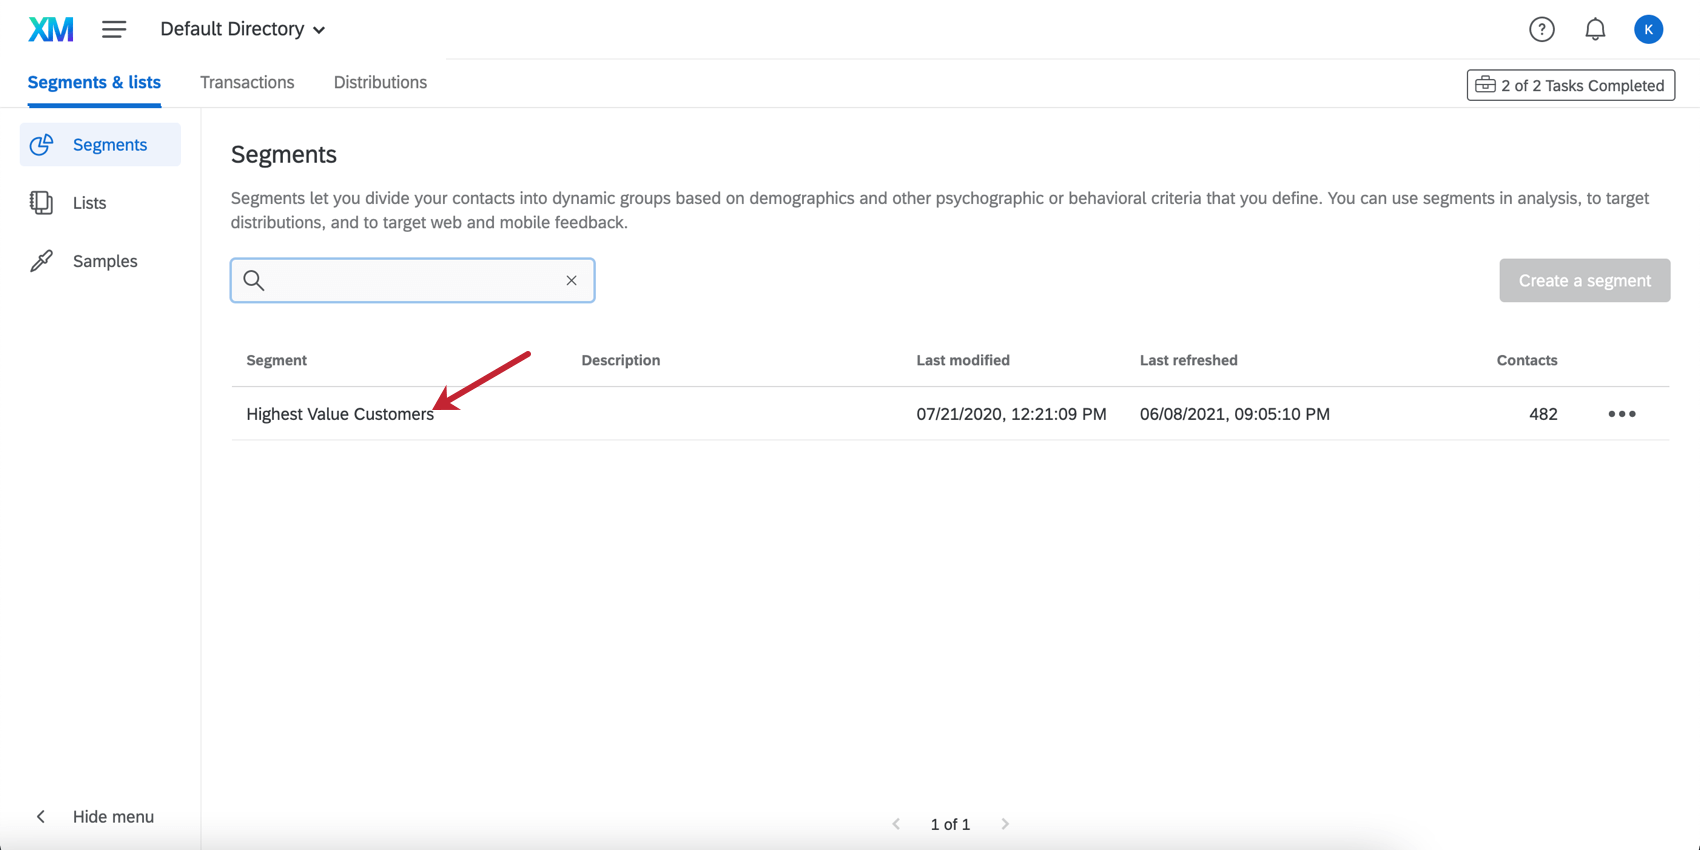
Segments are groups of contacts that share attributes such as demographics, needs, or priorities. They are a great way to identify what key groups your organization wants to gain insights from. Segments are automatically updated on a daily basis (or manually, as needed) to include all contacts in the directory that fit its criteria. Thus, if a contact is updated with new information and now belongs to the segment, they’ll be added; contacts who no longer fit the segment’s criteria will be removed.
Only directory administrators can create or edit segments, but anyone with access to the directory can distribute surveys to them. If you’re curious what criteria is being used to determine a contact’s membership within a segment, read the description, or click on its name to see the criteria.
Lists
If all you want to do is distribute to a set list of contacts, you should start with a mailing list. When you create contacts using a mailing list, you can include any information you want to associate with them, from email addresses, to phone numbers, to additional attributes (called “embedded data”).
Unlike the directory, mailing lists are individually owned, so creating a list in your account does not automatically mean another user in your brand will be able to use or edit that list.
If you’ve created a mailing list in the past, you can always reuse it. Reusing existing lists is a good idea when you want to keep track of response rates and distribution history for the members in that specific list. If you are sending a distribution to an entirely new set of contacts, a subset of an existing list, or want to keep distribution history separate for certain distributions, then creating a new list is the best practice.
Creating Mailing Lists
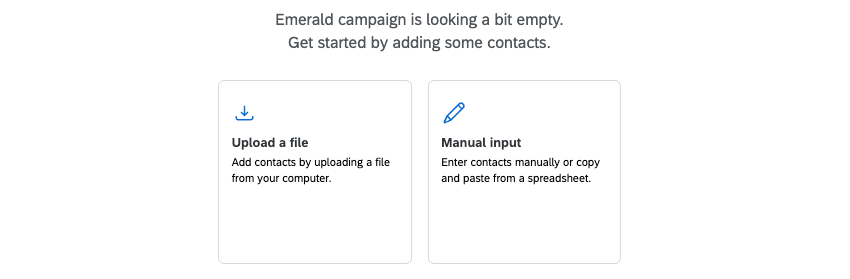
There are two options for adding contacts: uploading a file or manually entering the contacts. Manual input is used when typing contacts from hand or copying from an Excel sheet. It is not recommended for large numbers of contacts. The file upload option will prompt you to upload a file containing your contacts. We recommend you download and use the example document provided, since mailing lists require a specific format to upload successfully.
If a contact you add doesn’t exist in the directory at the time of import, that contact will automatically be added to the directory. If the contact already exists in the directory, the contact will be updated in the directory. That means if another user has that contact in one of their individual mailing lists, that contact’s information will be updated in their mailing list.
Samples
Instead of creating additional mailing lists, you can create samples of already existing lists. To do this, navigate to the Samples section. It is best to create samples when you want to pull from certain contacts in a list or create a randomized sample of an existing list.

A common use case for samples is for follow-up surveys. For example, your brand might have sent out a survey to those who had visited your website and indicated that they had purchased something. You might want to survey those people in the future to ask how they felt about their purchase or if they have continued to buy from your website. You could create a sample from the original mailing list by using the criteria that they had purchased something from your website in the past.
Shared Lists
As earlier noted, segments are available directory-wide, while mailing lists and their samples initially only belong to the person who created them.
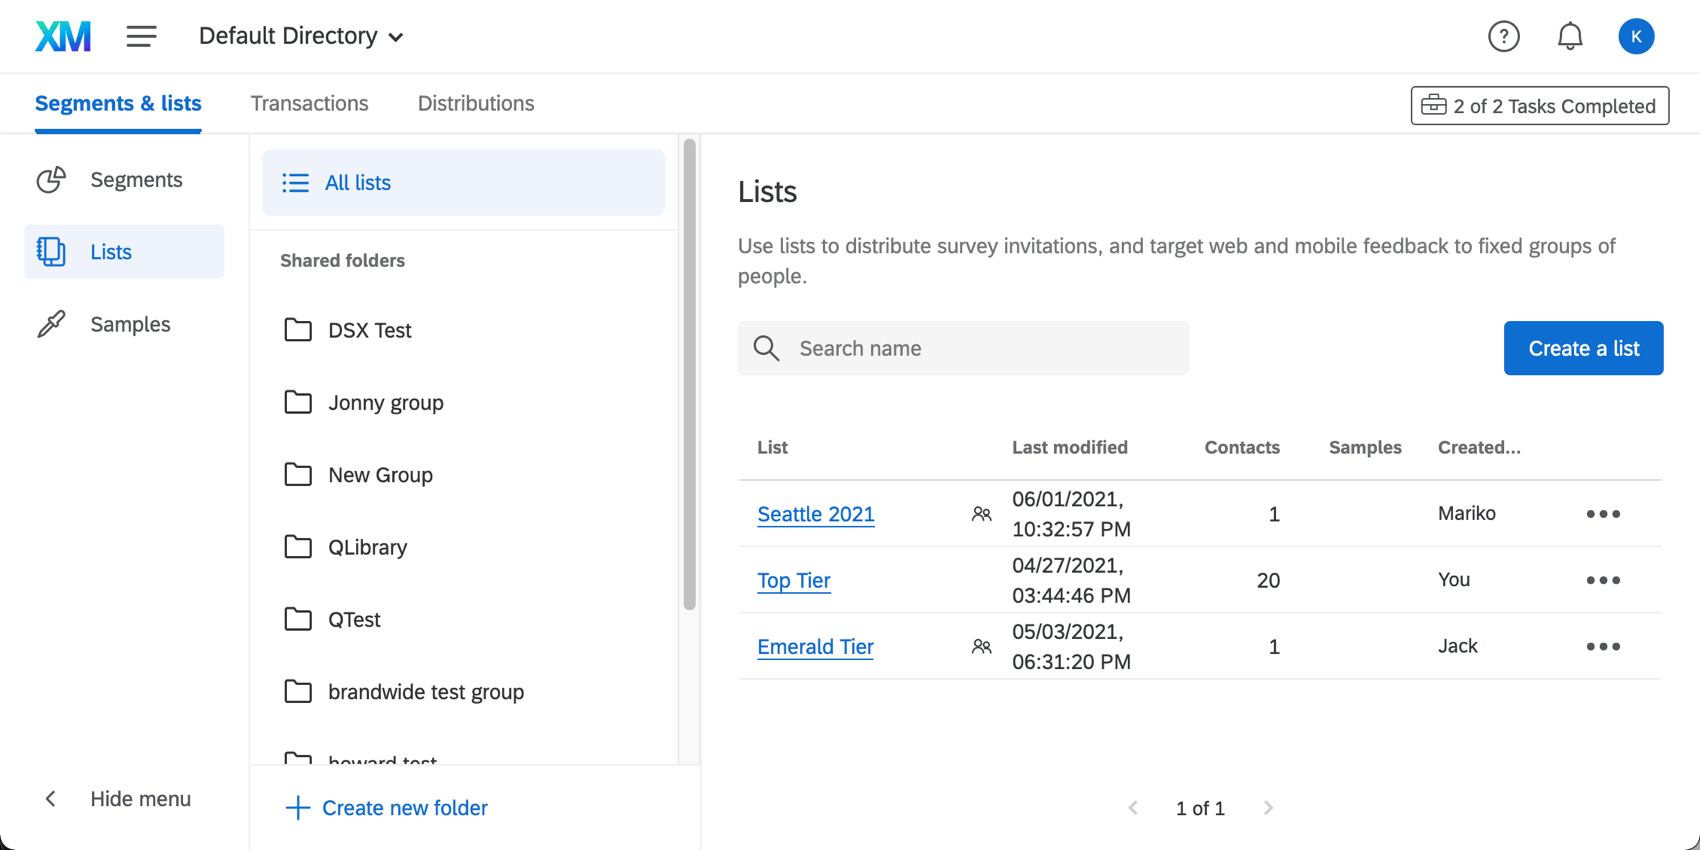
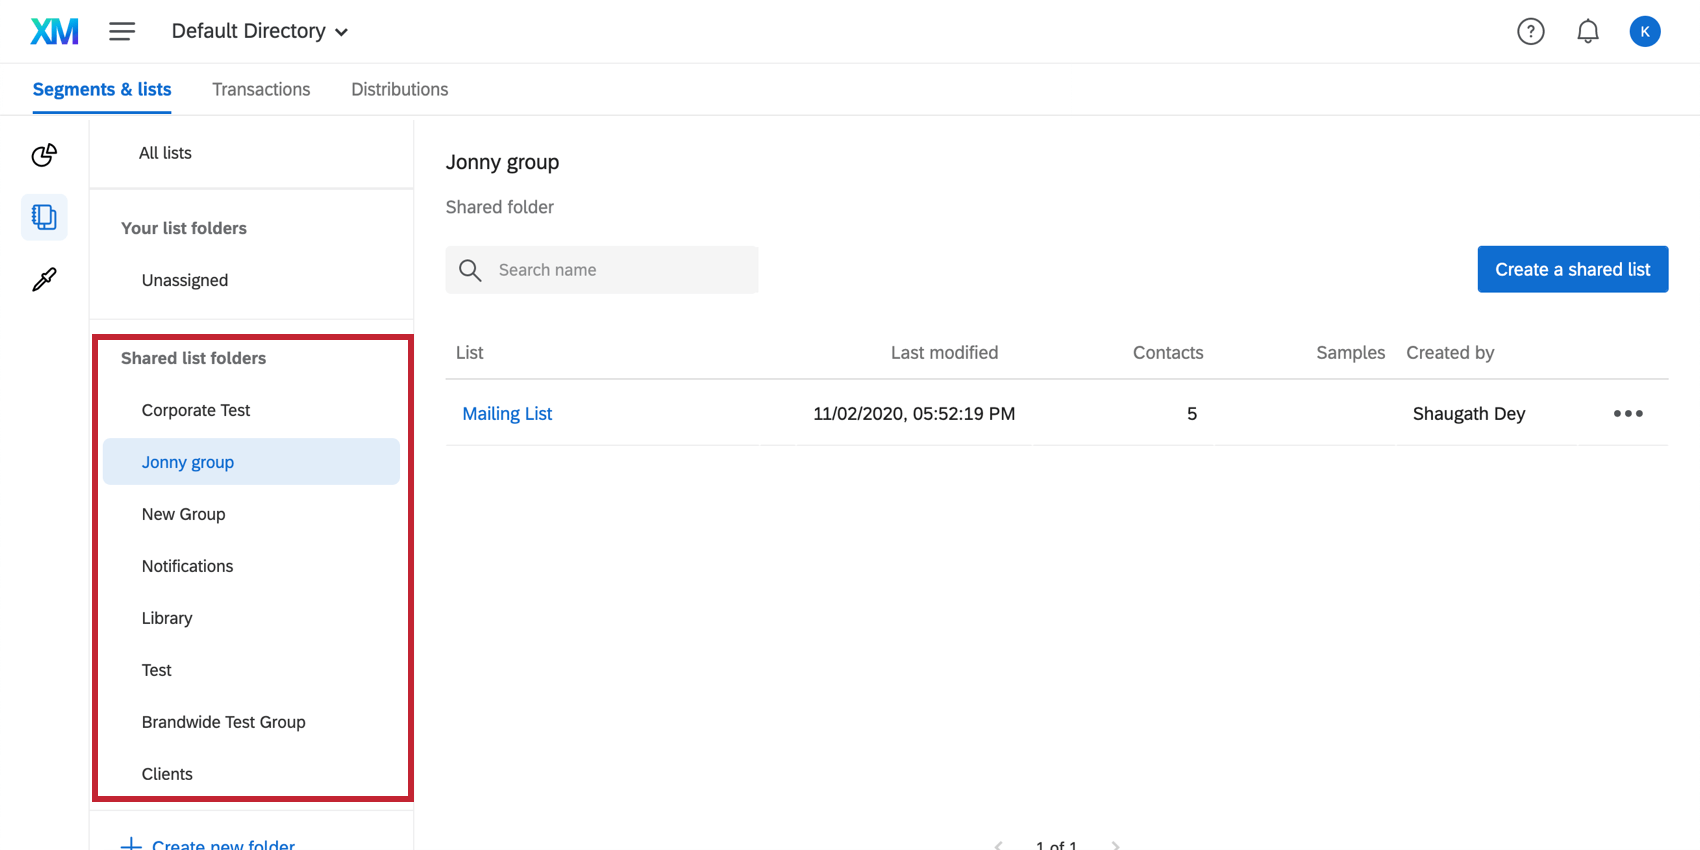
If you belong to a group, however, you can share mailing lists you’ve created with the group, as well as create new shared lists, and see what’s already been shared with the group. In the Lists tab, click Shared list folders and select a library (if any) to which you belong.
Next Steps
Now that you’ve got your contacts ready for distribution, head over to Step 2: Distributing to Contacts in XM Directory.