
Responding to Online Reviews with Qualtrics Tickets
What's on this page
About Responding to Online Reviews with Qualtrics Tickets
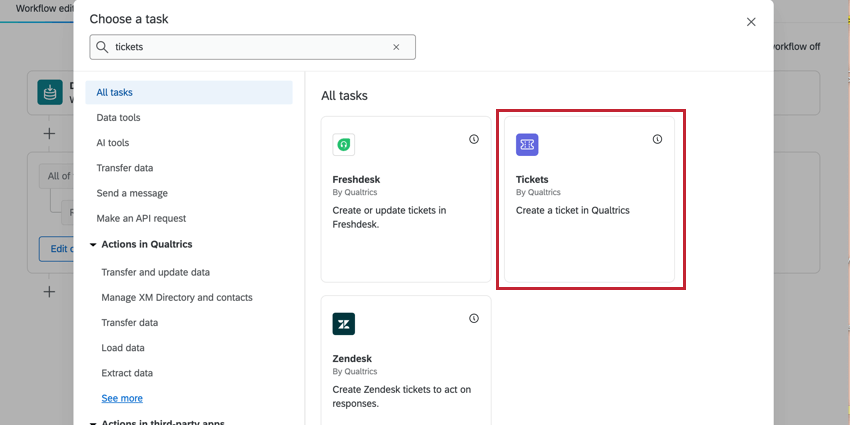
You can use the ticket task inside a Qualtrics workflow to create a ticket that notifies your team when an online review or social media post is flagged. Tickets provide a single hub for collaborating with your team to efficiently engage with customers and quickly respond to newly posted online reviews.

Qtip: The setup on this page requires an active ORM project and access to Qualtrics ticketing.
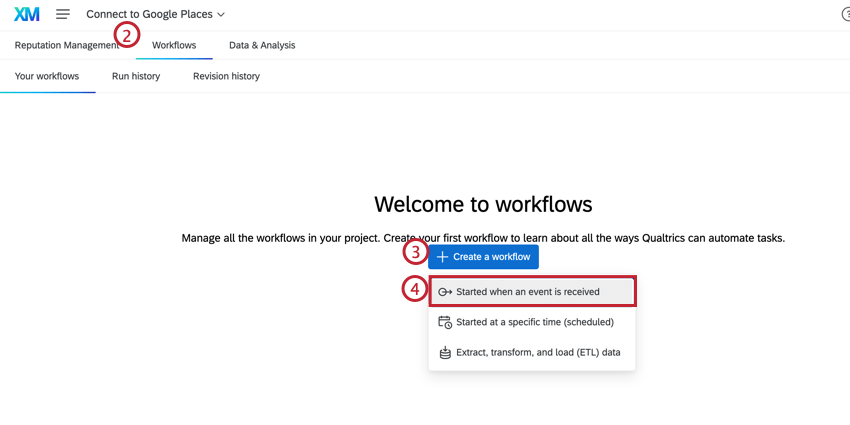
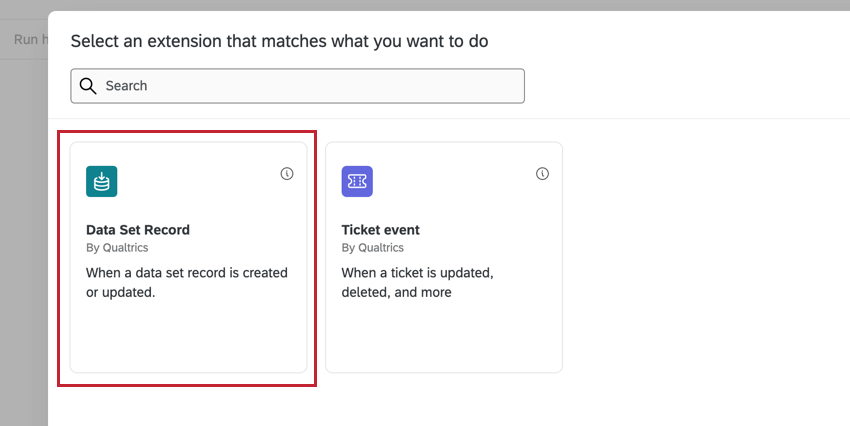
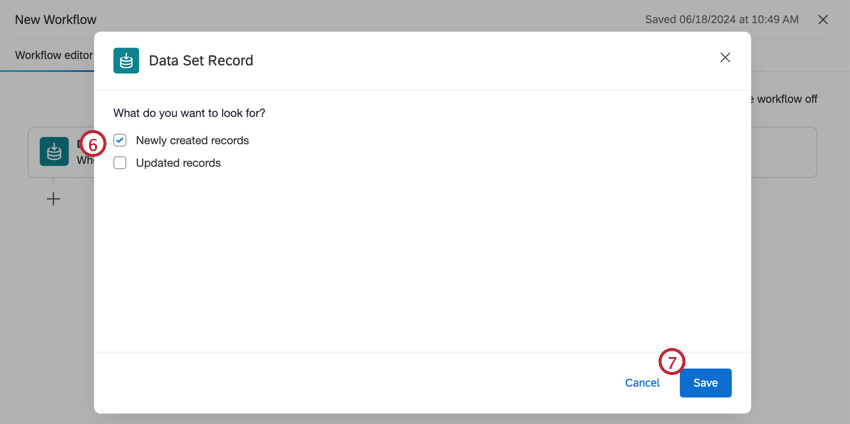
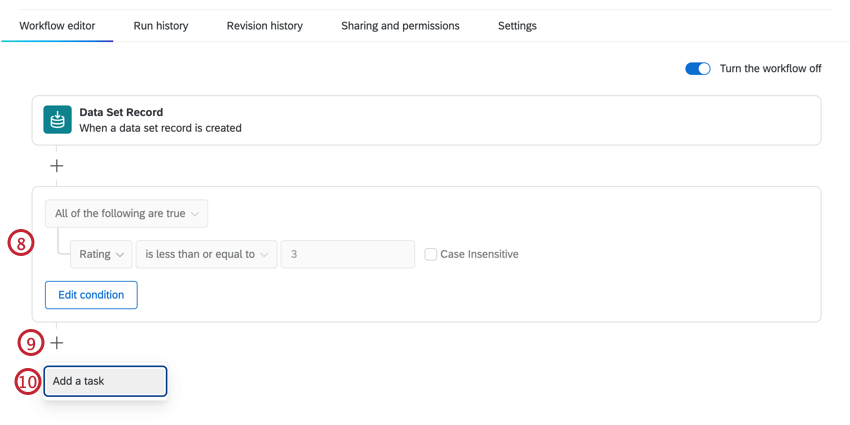
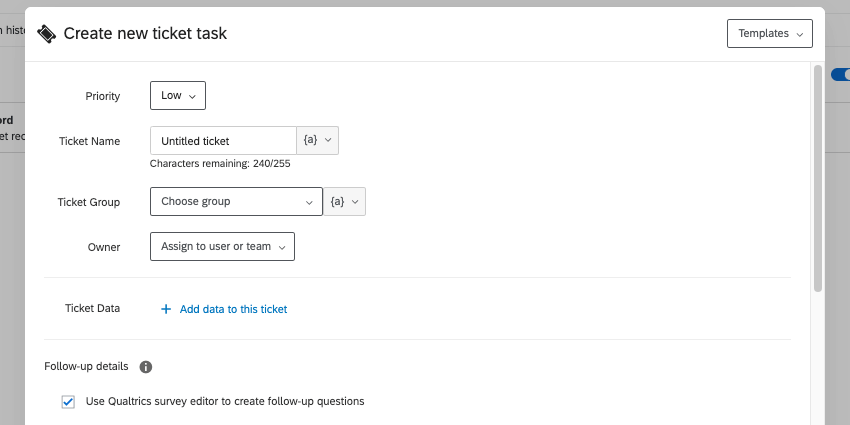
Setting Up an Online Reputation Ticket Task
Viewing Online Reviews in Tickets
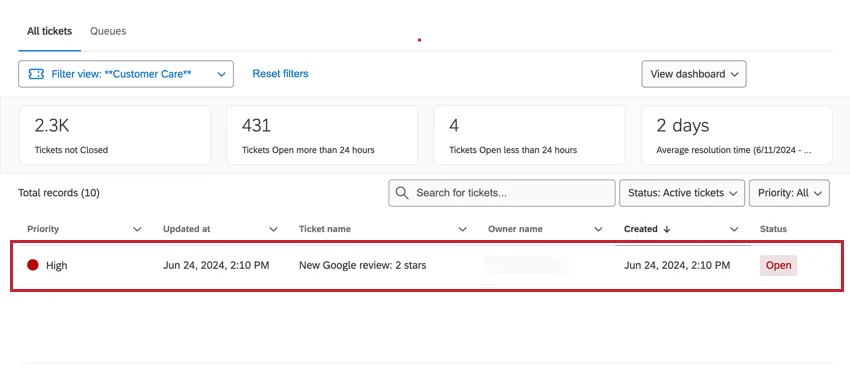
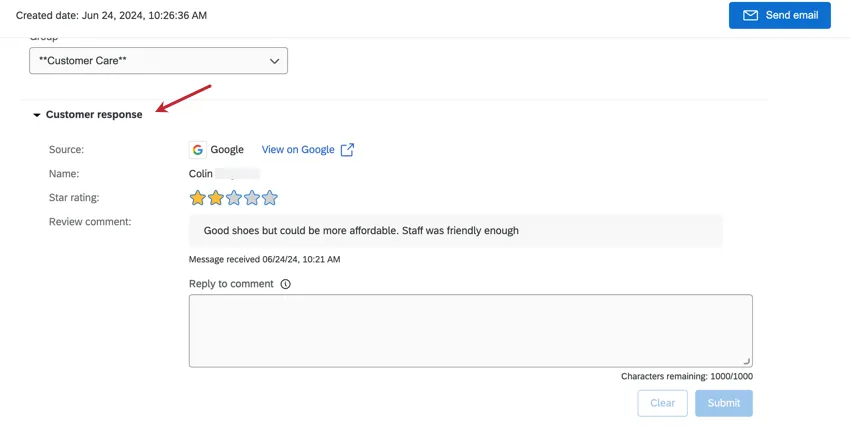
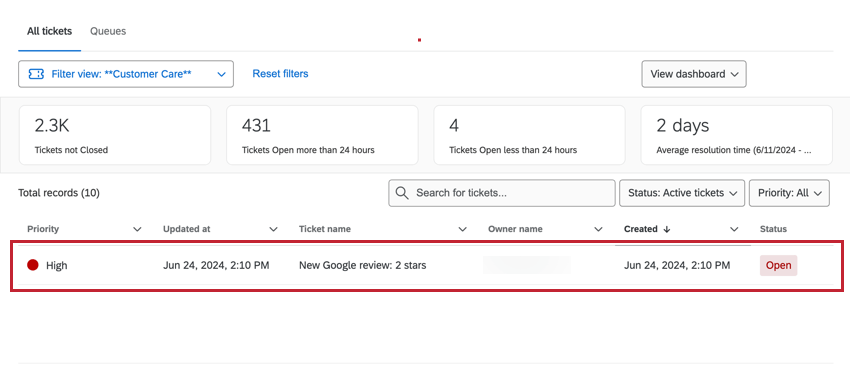
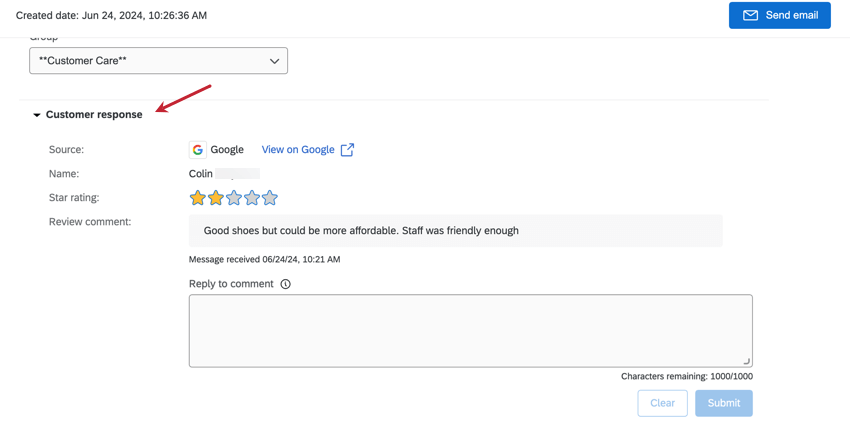
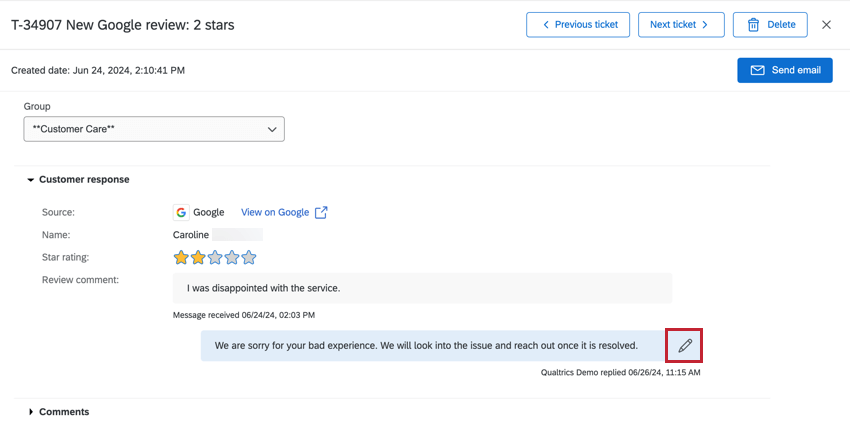
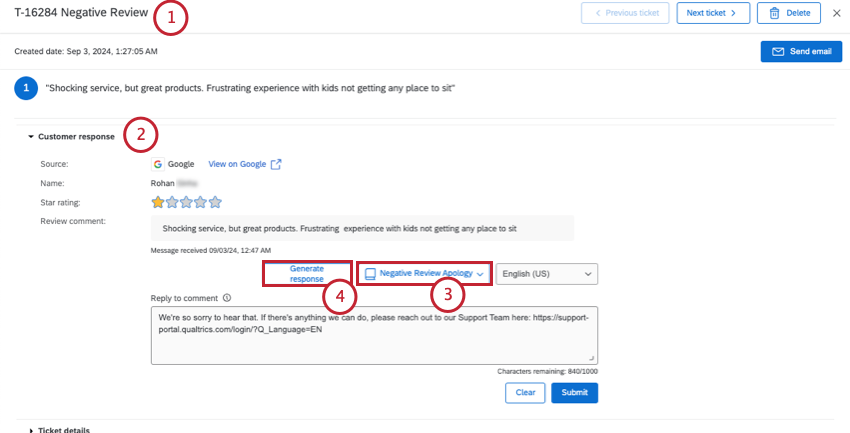
Once the ticket task in your online reputation workflow is triggered, a ticket will be created in the ticket follow-up page. Click on the ticket to expand it.
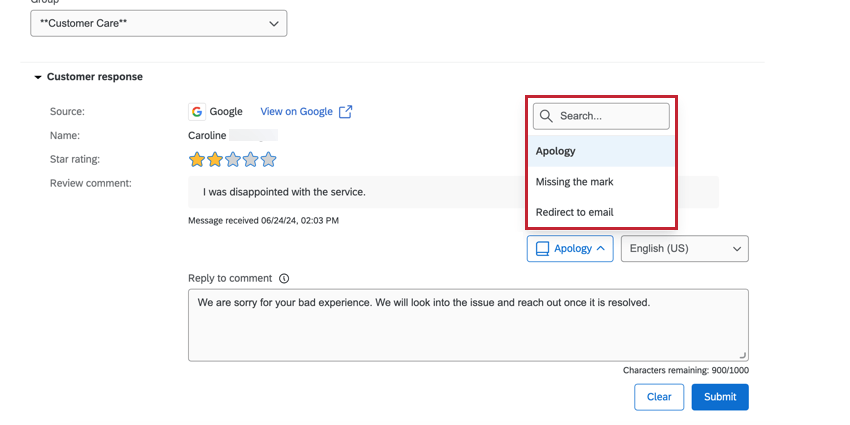
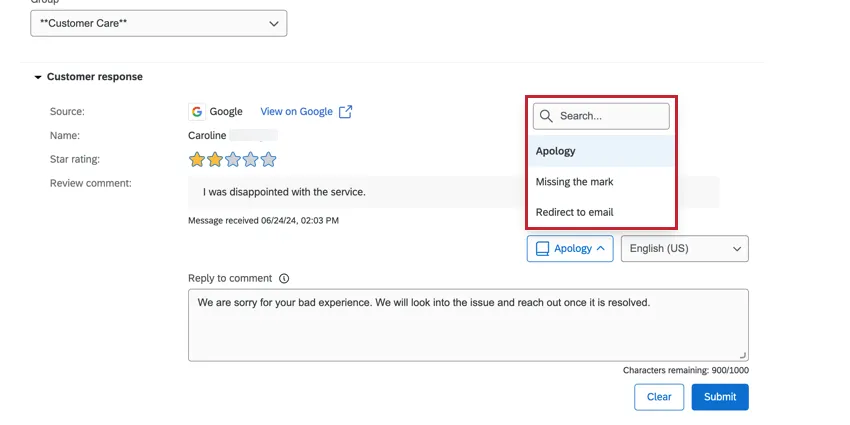
With the ticket open, select the Customer response section to view the response in the ticket. To reply to the comment, type a response into the text box then click Submit.
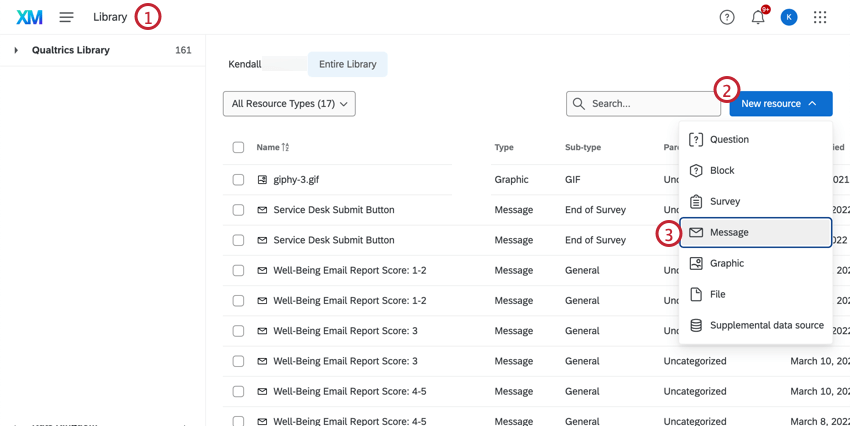
Message Templates
You can add message templates from your library to the ticket task in order to easily respond to positive or negative reviews.

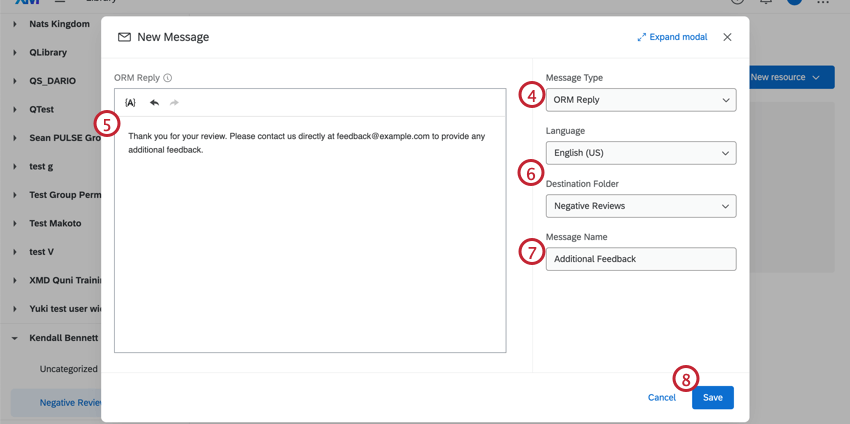
Qtip: You can use piped text ( { A } ) to pull useful information from your review data into the ticket.
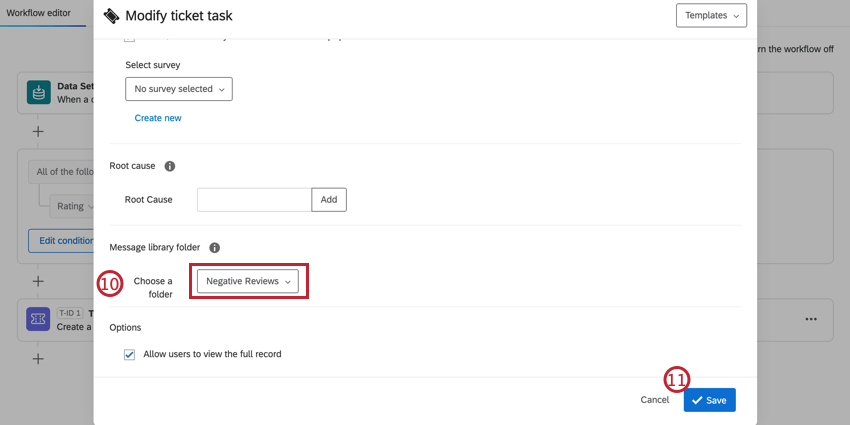
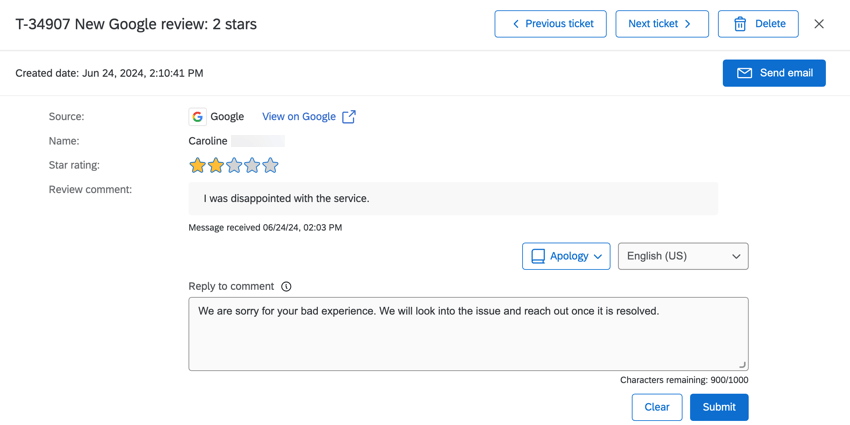
Once a ticket is created, ticket owners can select a template message from the folder assigned in the ticket task. Messages can be edited in the textbox before you click Submit.
Once you reply to the review, you can decide whether to close the ticket. To edit a reply, click the pencil icon.

Using AI to Generate Replies to Reviews
Attention: This feature is only available to users on the new simplified pricing and packaging plans or customers who actively participated in the Preview Program for this feature. (For more information, see Qualtrics Public Preview.) If you have questions about your Qualtrics pricing and packaging plan, reach out to Account Services.
When tons of reviews are coming in and each one needs a reply, your representatives can use AI to create responses right in-product. Using generative AI can help your representatives save time and mental energy best spent elsewhere, and if you have message templates saved, you can even get the generative AI responses to follow your unique brand voice.
This feature is developed for reviews and replies written in English, Japanese, German, and Spanish. You can use this feature with other languages, but keep in mind that these other languages have not been as thoroughly tested and may not give expected results.
Qtip: To use this feature, a Brand Administrator needs to enable it for the organization. See Artificial Intelligence (AI) Administration for more information.
Qtip: To use this feature in tickets, a user must have the Review Response Generation using AI permission.
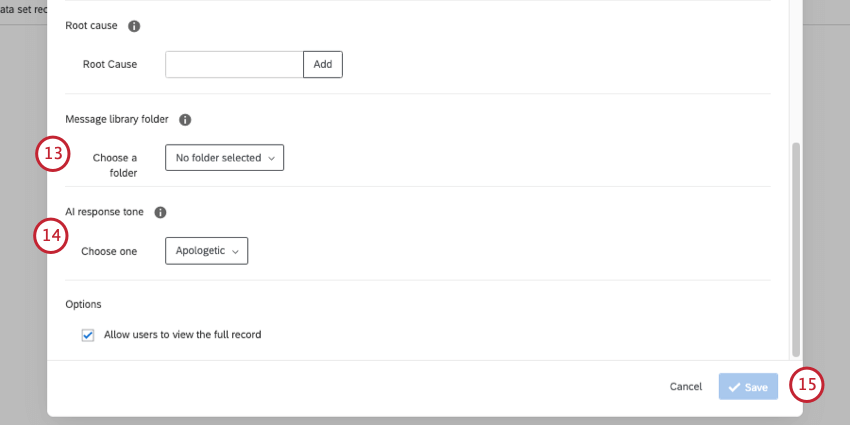
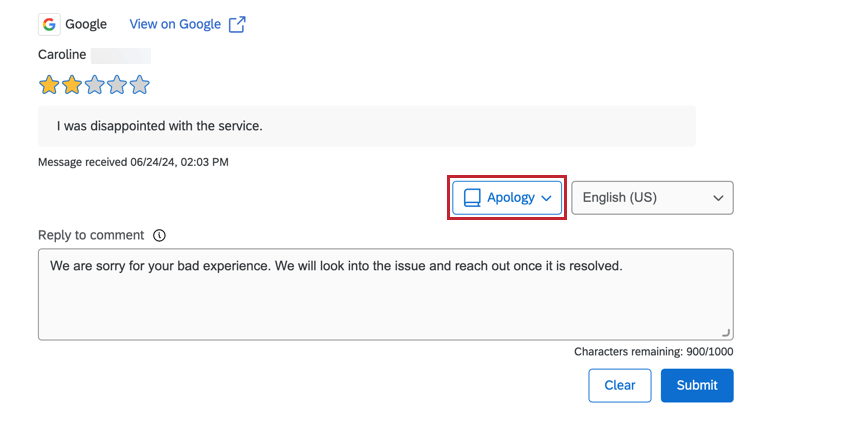
Setting a Tone for AI responses
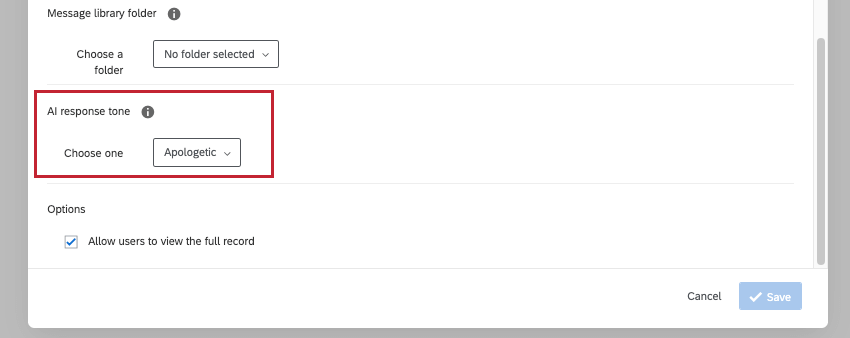
You can specify a tone for tickets responses generated by AI. During ticket task setup, Under AI response tone, you can choose from default, apologetic, empathetic, or direct tones, depending on your use case.
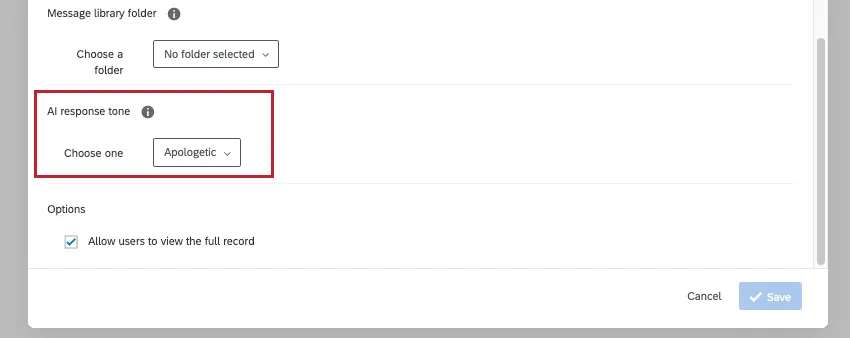
Example: Tickets created from negative reviews might need an apologetic or empathetic response, whereas a support ticket might need more direct instruction.
Using Generative AI to Respond to Tickets
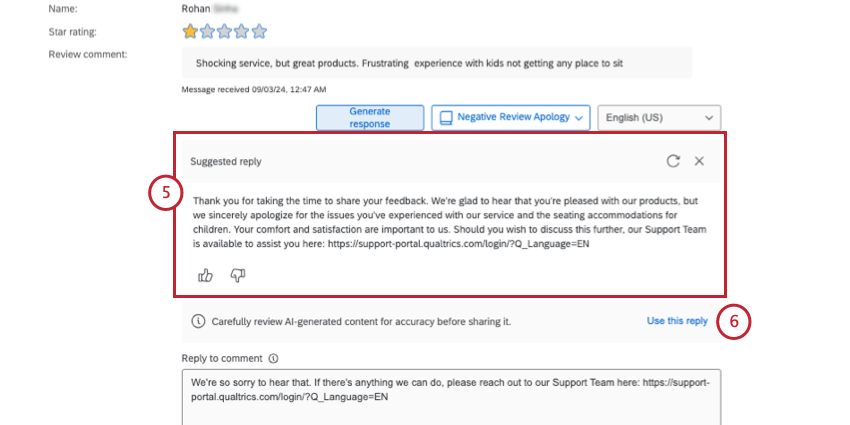
Qtip: If you’d like to regenerate a response, try the refresh button, represented as a circular arrow.

Qtip: While we have guardrails in place and are continually refining our products, artificial intelligence may at times generate output that is inaccurate, incomplete, or outdated. Prior to using any output from Qualtrics’ AI features, you must review the output for accuracy and ensure that it is suitable for your use case. Output from Qualtrics’ AI features is not a substitute for human review or professional guidance.
That's great! Thank you for your feedback!
Thank you for your feedback!