Rich Text Editor Widget (CX & EX)
About Rich Text Editor Widgets
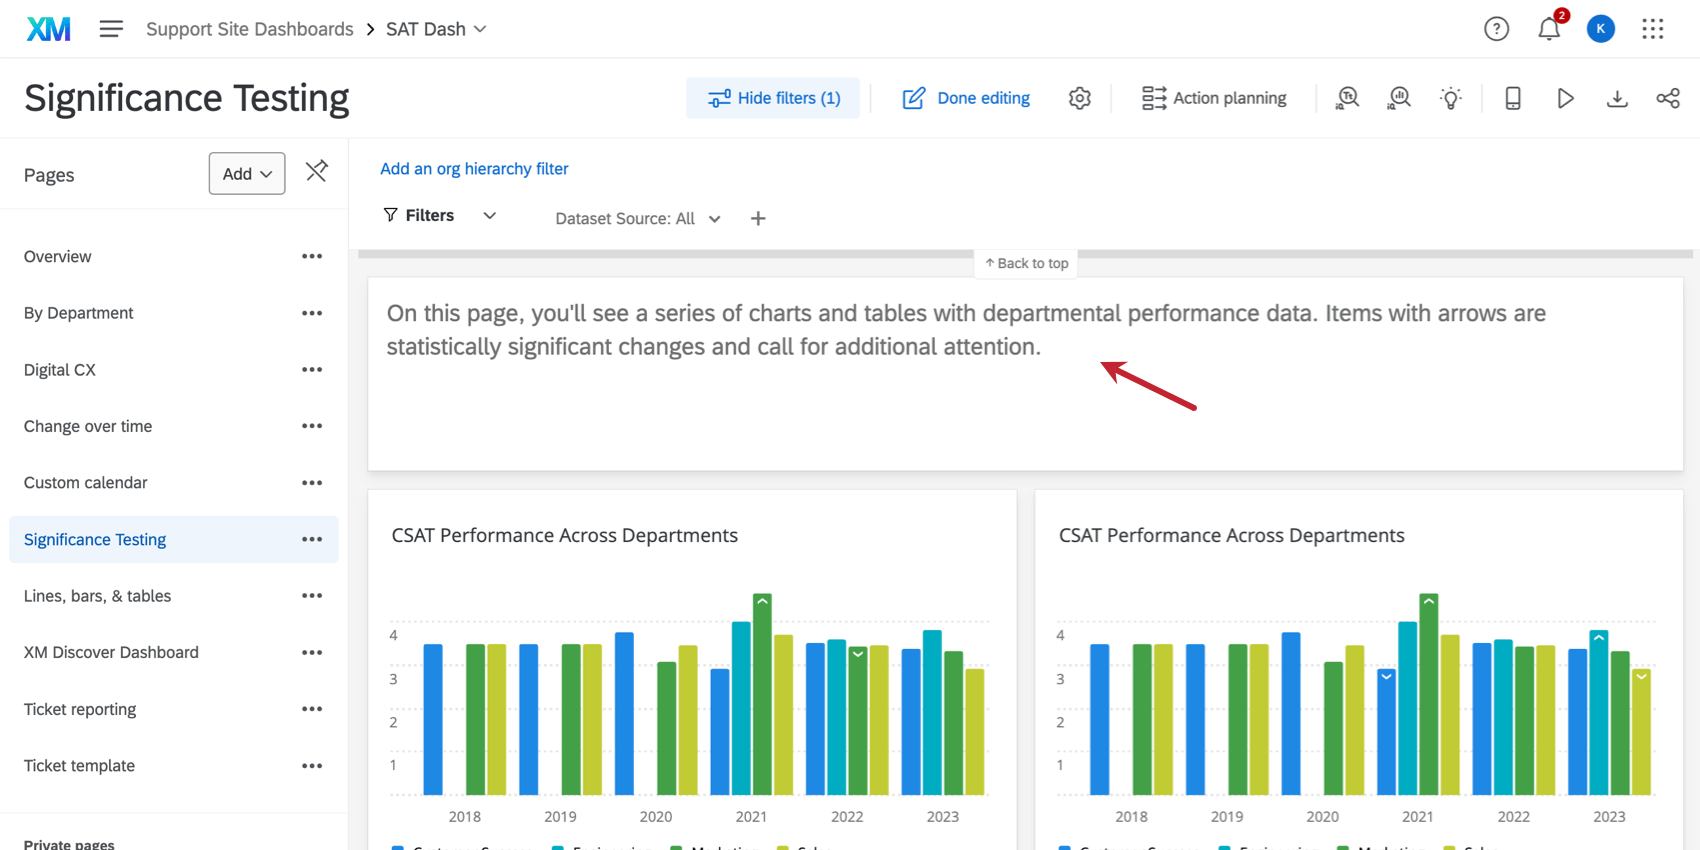
The rich text editor widget allows you to display text in your dashboard.
Types of Dashboards
This widget can be used in a few different types of dashboard. This includes:
Field Type Compatibility
The rich text editor widget allows you to type in your own text. This can be helpful for adding section headers, descriptive information, or even special messages for your dashboard viewers.
You can display date and metrics data by adding dynamic text to the widget. For more information, see Adding Dynamic Text.
Widget Customization
To add text to the widget, click the default text and start typing. You can add line breaks as needed by pressing Enter on your keyboard.
You can format the content displayed in the rich text editor widget by highlighting your text and selecting the option you want to apply. The following options are available:
Text Type
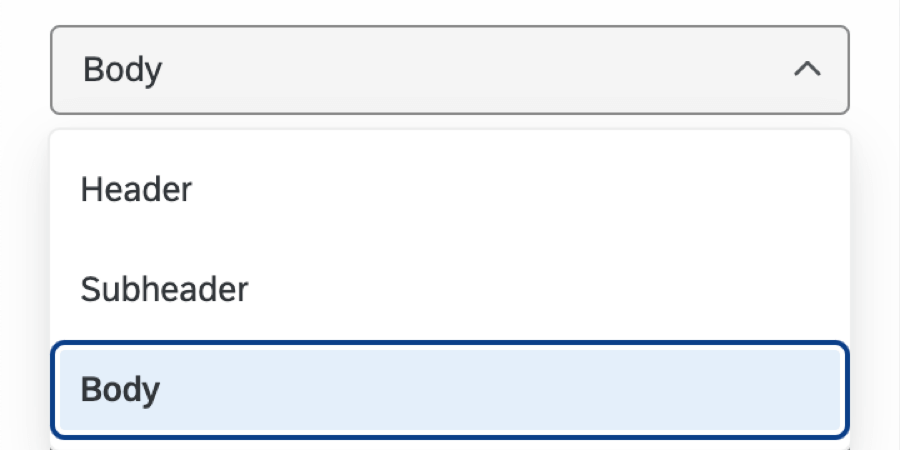
Choose from Header, Subheader, or Body text types. Selecting a different type will change the size of your text.
Font size
Choose a font size ranging from 9 pixels to 64 pixels.

Font
Choose from many different fonts, including Sans Serif, Helvetica, and Monospace.
Font characteristics
Add bold, italicize, underline, or strikethrough elements to text. Change the text color or background color by selecting a color from the palette or by manually adding the hex color code.

PARAGRAPH STYLES
Select left, center, or right justification for your text. You can also choose between turning your text into a bulleted or numbered list.
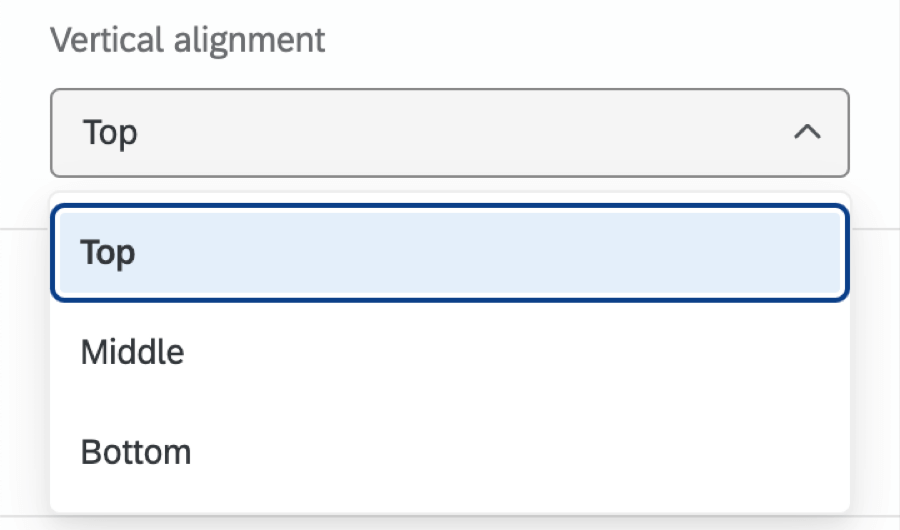
Vertical alignment
Select Top, Middle, or Bottom alignment for your text.
Content
Add a hyperlink to your text by adding the link or email your text should redirect to.
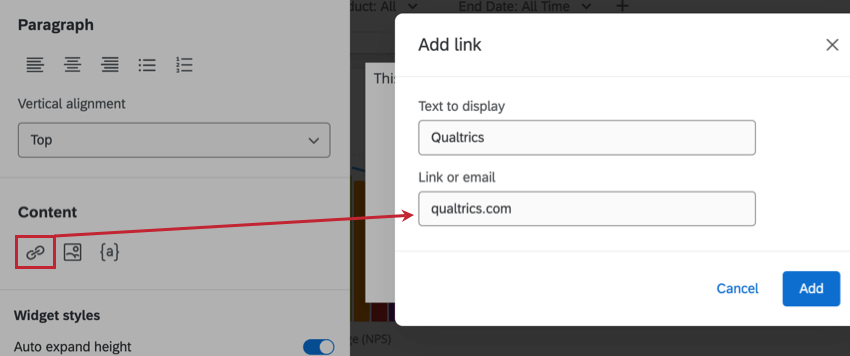
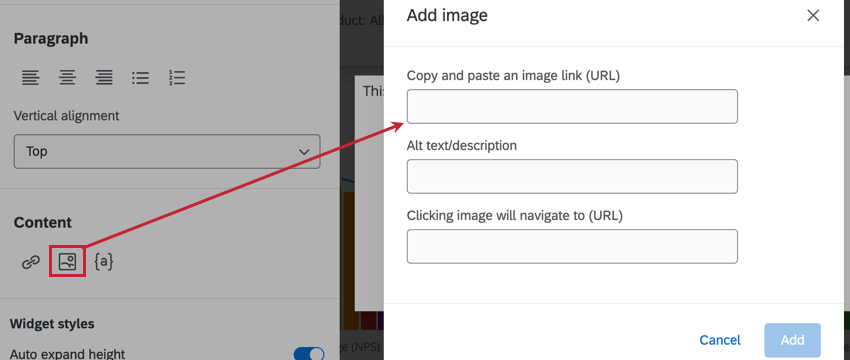
Add a static or dynamic (GIF) image by pasting in the image URL.
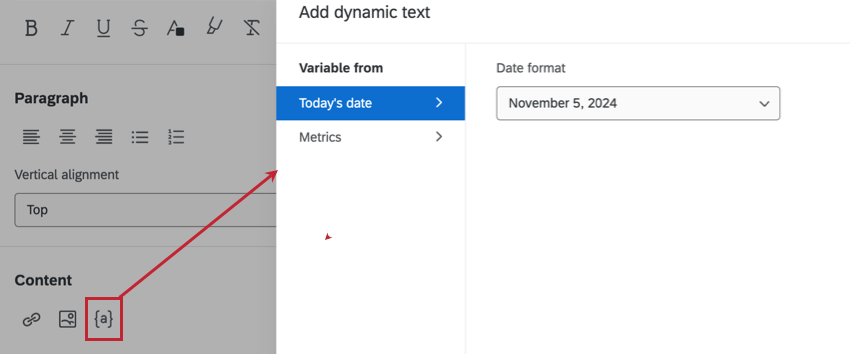
Add dynamic text to your widget. See Adding Dynamic Text for more information.
Widget Styles
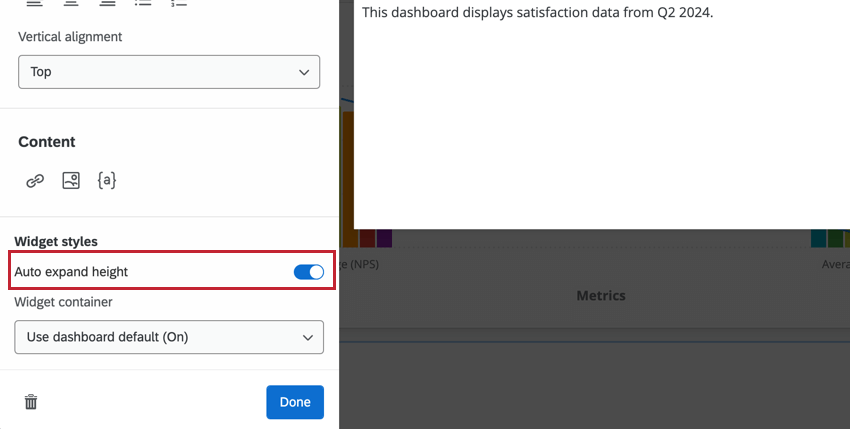
Decide if you want the height of your widget to be automatically expanded based on the length of the content in the widget. When this option isn’t selected, your widget will stay the same size.
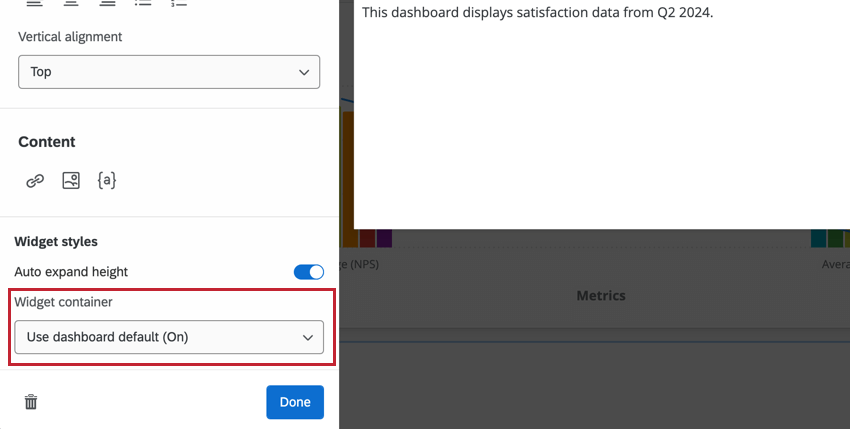
Select the container for your widget. See the Widget Style section of Editing Widgets for more information on these options.
Adding Dynamic Text
Add dynamic text to your widget to pull in data and display up-to-date information in your dashboard. This can be helpful if you want to display the current date, response count, or calculated metric.
- Edit your widget.
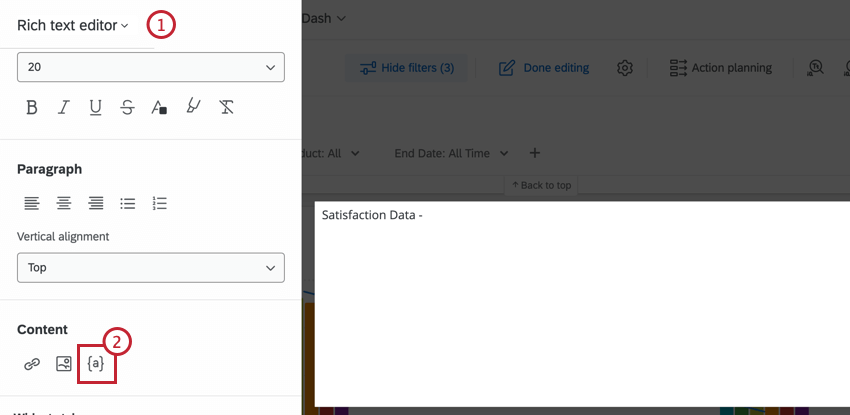
- In the Content section, click the dynamic text icon ( { a } ).
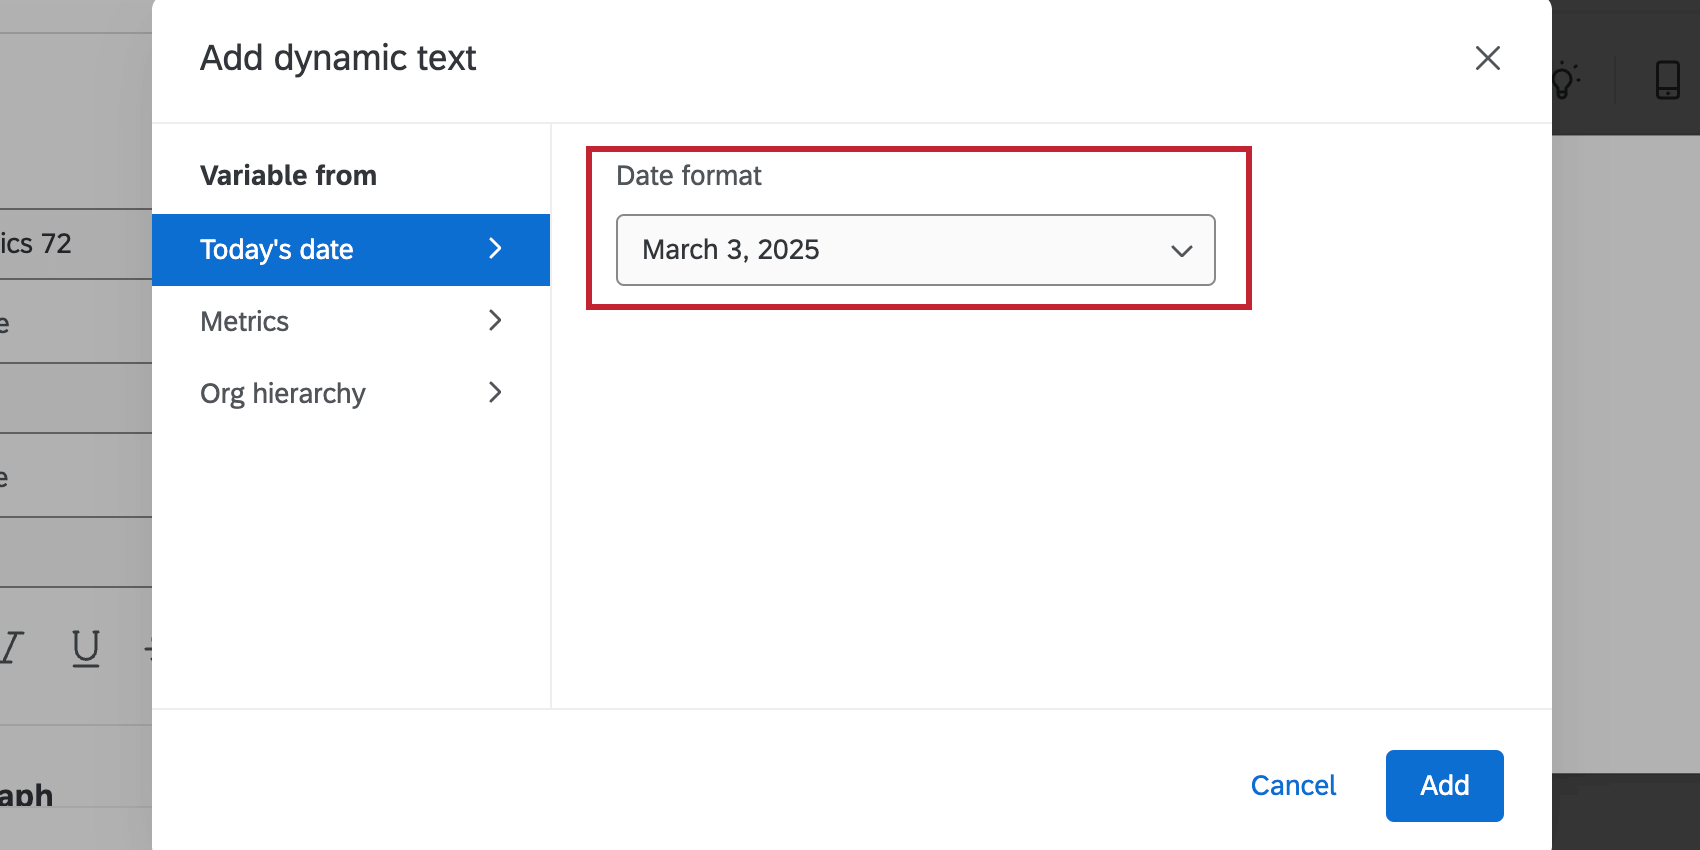
- To add the date, select Date format from the dropdown menu.
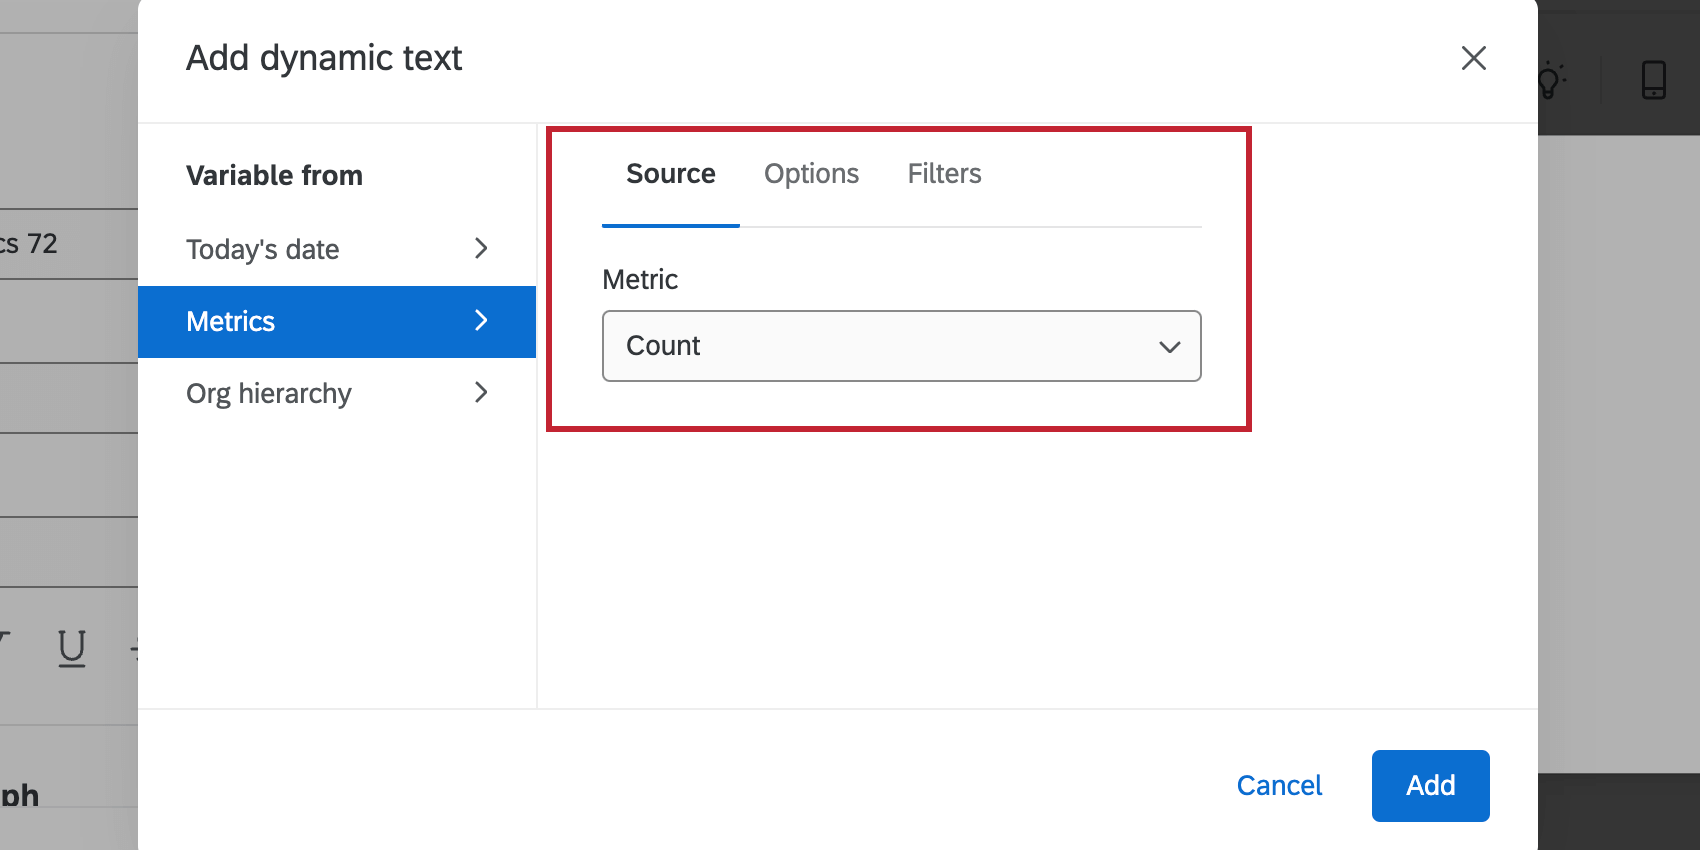
- To add a metric, configure the metric that you would like to display. For more information, see Widget Metrics.
- To add an Org Hierarchy, select a hierarchy from the dropdown menu.
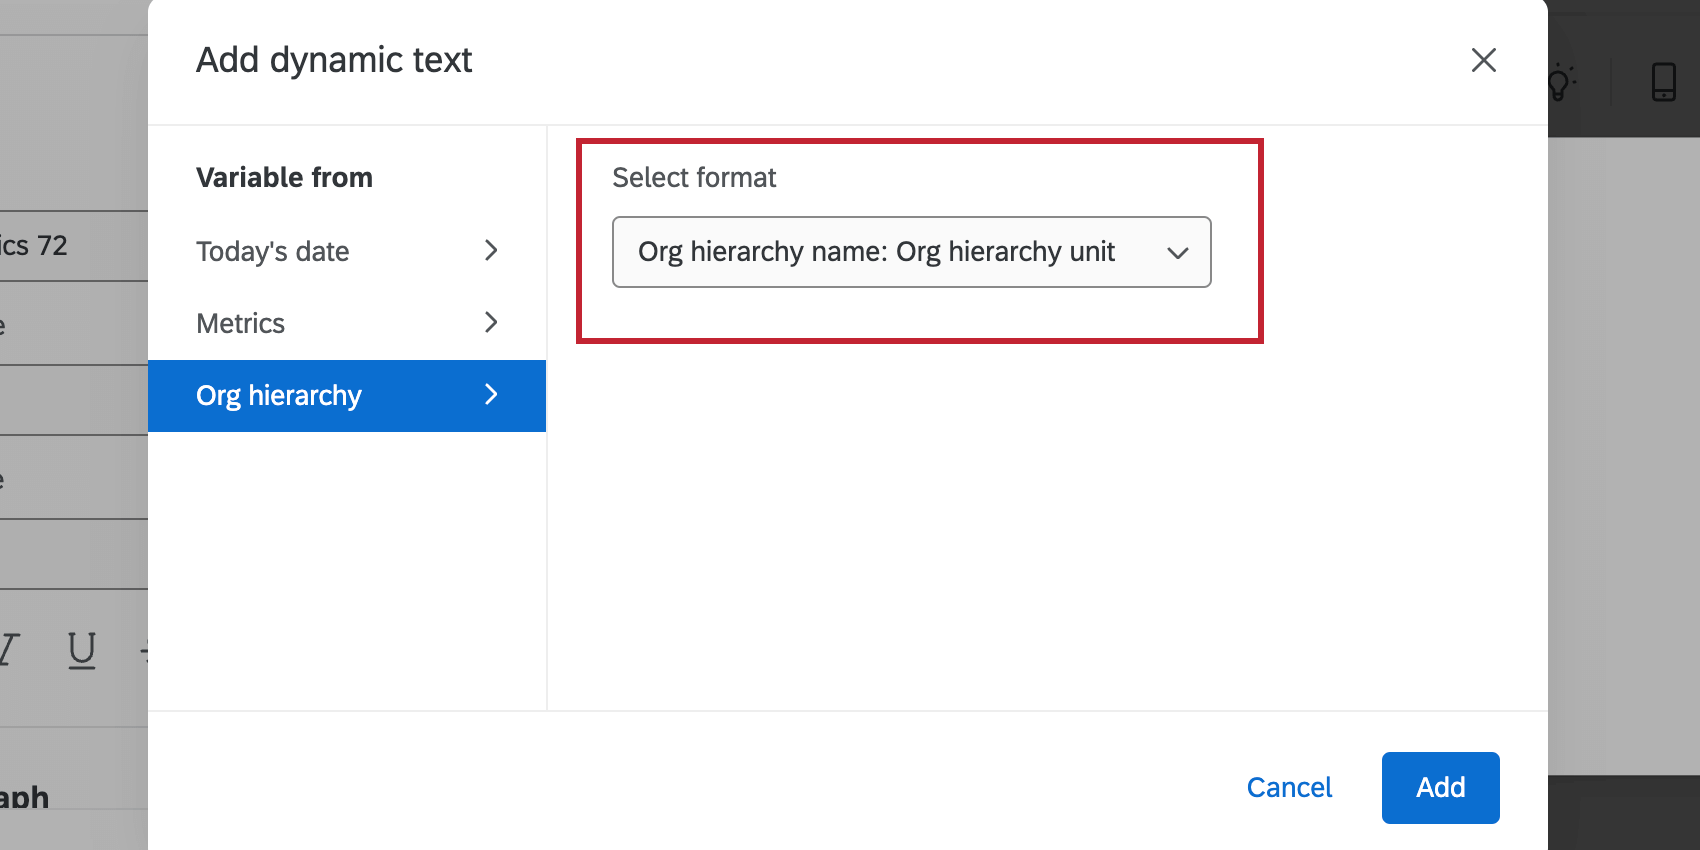
- Click Add.
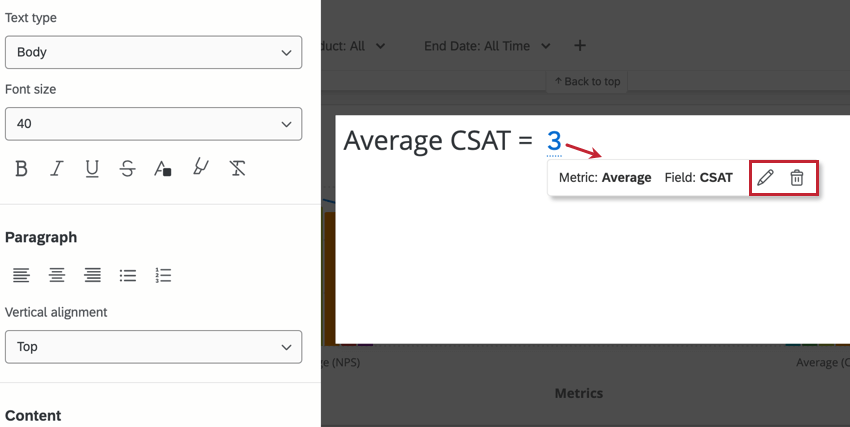
The data pulled in by the dynamic text will display in your widget. Click on the underlined dynamic text to edit or delete it.
