Action Plans Dashboard Settings (EX)
About Action Plans Dashboard Settings
When you’ve reviewed your dashboard data and noticed areas of your company that can use improvement, you can set up action plans to detail how you’ll improve these areas.
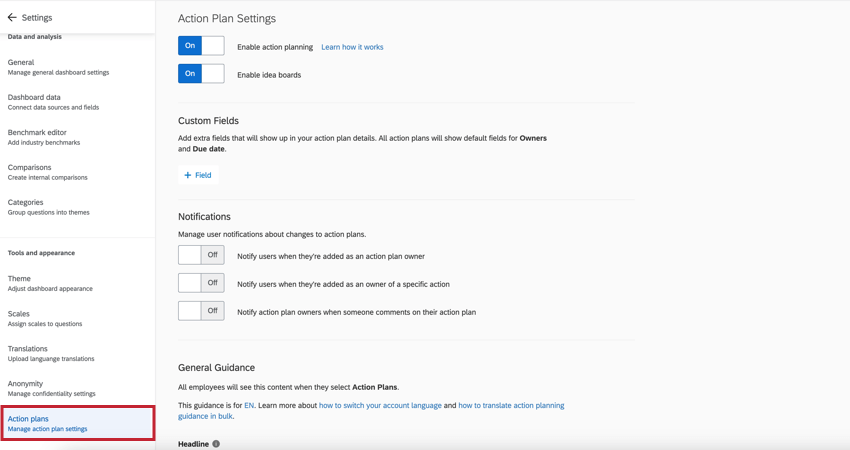
Inside the Action plans section of your dashboard’s Settings, you can customize which items in your dataset are available to make action plans for. You can also add additional information and fields that show up when your dashboard viewers are creating action plans.

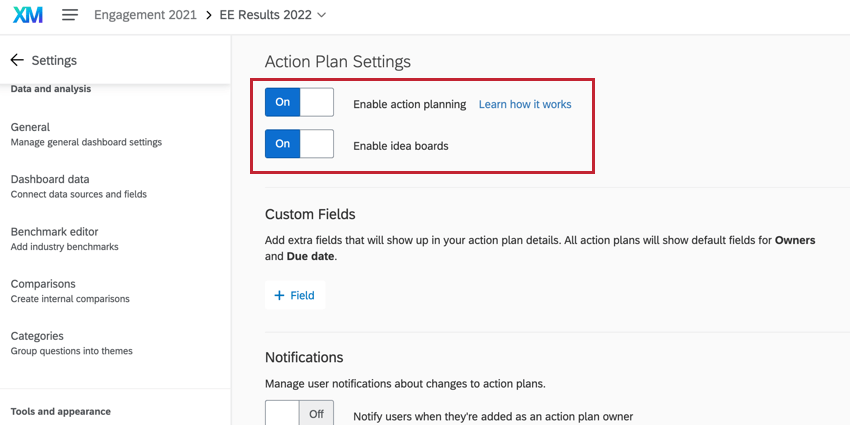
Action Plan Settings
- Enable action planning: Turns on action planning functionality for the dashboard.
- Enable idea boards: Enables action idea boards. You do not need action planning enabled on your dashboard to use action idea boards, although it is recommended.
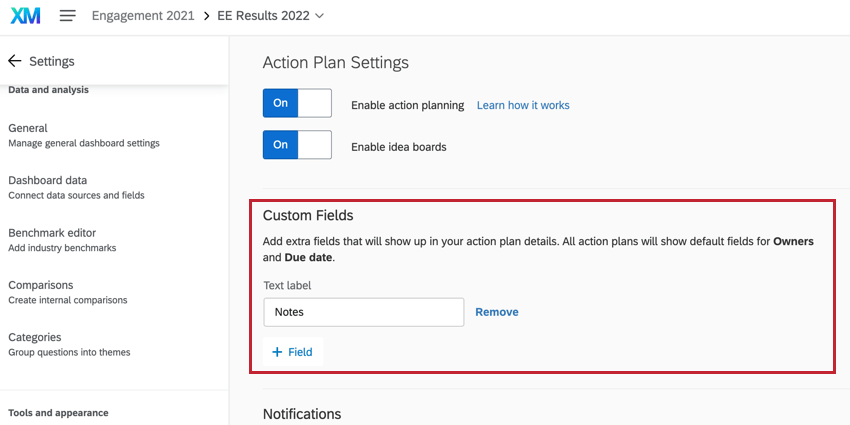
Custom Fields
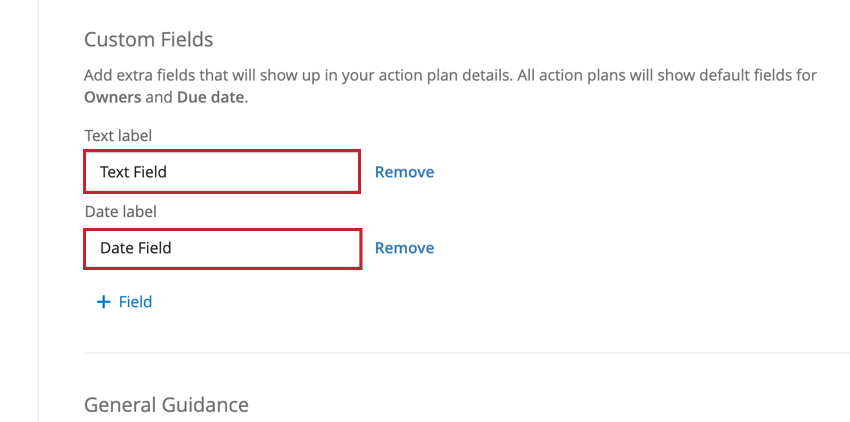
By default, all action plans have a field for owners and the plan’s due date. However, if you want to add extra fields that action plan users should fill out, you can make the following edits in the action plans section of your dashboard’s settings.
- Click Field.
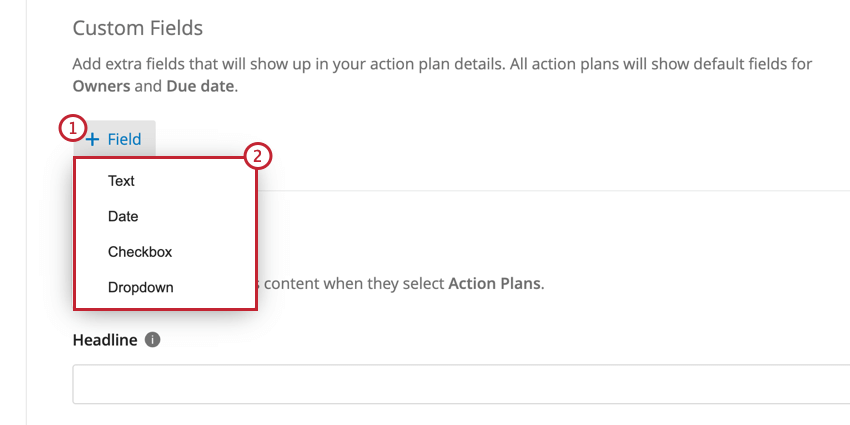
- Select the type of field to add. Your options include:
- Text: A field where the user can type an open-ended response. When used in action plan reporting, this acts like an Open Text field.
- Date: A field where the user can enter a date. When used in action plan reporting, this acts like a Date field.
- Checkbox: A field that functions like a multiple choice question where a user selects one or more options using checkboxes. When used in action plan reporting, this acts like a Text Set / Multi-Answer Text Set.
- Dropdown: A field that functions like a multiple choice question where a user selects one or more options using a dropdown menu. When used in action plan reporting, this acts like a Text Set / Multi-Answer Text Set.
- Depending on your selected field type, the setup you complete is different. See the below sections for more information.
Text and Date Fields
For Text and Date fields, you need to specify a label for the field. This will be the name of the field users see when creating an action plan. To add a label for a field, enter it into the label box associated with the field.
Checkbox and Dropdown Fields
Checkbox and Dropdown fields are set up in the same way. After adding one of these fields, you’ll see a second screen for customizing the field. Your customization options are as follow:
- Click Label to add a new option. Specify the name of this option in the Label column.
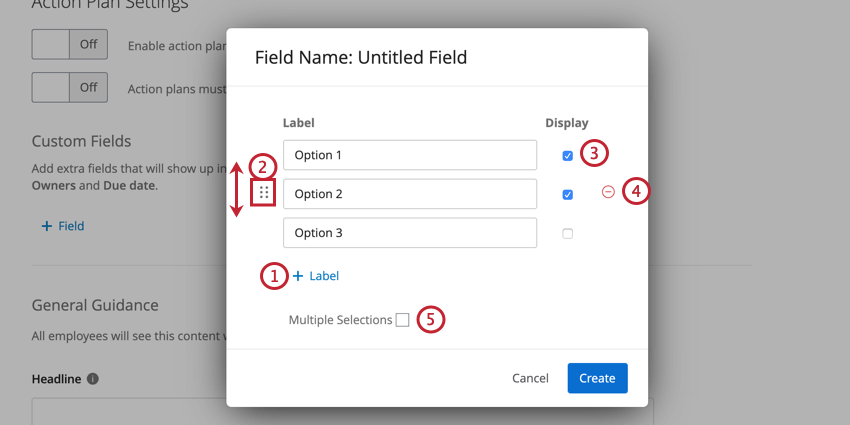
- Click and drag the dots to the left of an option to reorder it.
- Enable the Display checkbox to display an option, or disable it to hide an option. This feature is especially useful if you have an option you want to remove without losing previously collected data for the option.
- Click the minus sign (–) to remove an option. Data associated with deleted options is irretrievable!
- Enable Multiple Selections if you’d like users to be able to select multiple options for this field.
Action Plan Notifications
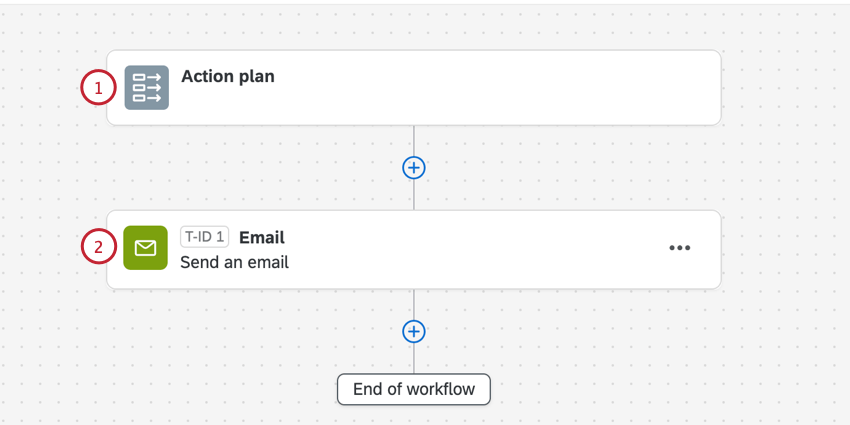
Action plan notifications allow users to be notified via email when they are given ownership over actions or when they receive comments on their action plans. These notifications take the form of email task workflows in your global workflows manager. You can view and edit these workflows by clicking Customize this notification.
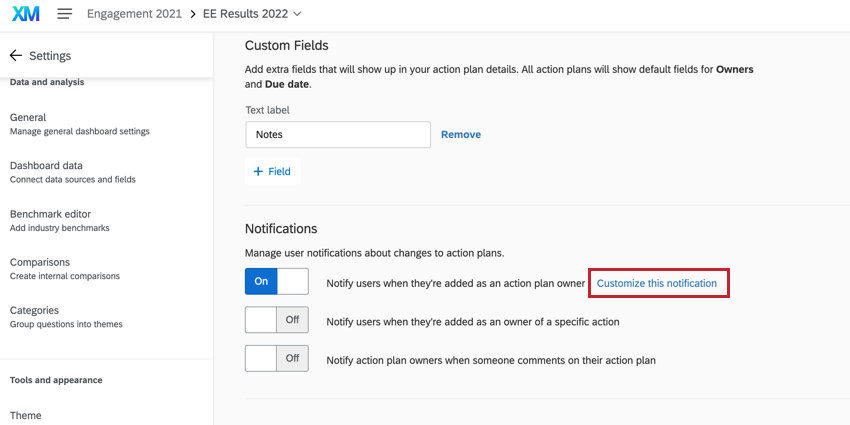
These workflows contain:
- An action plan event that’s been configured for the specific type of action plan change you’d like to be notified about.
- An email task that sends an email to the action plan owner.
Guided Action Planning
Guided action planning allows you to close the loop with employee feedback, giving every leader and manager the power to drive impact in areas employees care about most.
GENERAL GUIDANCE
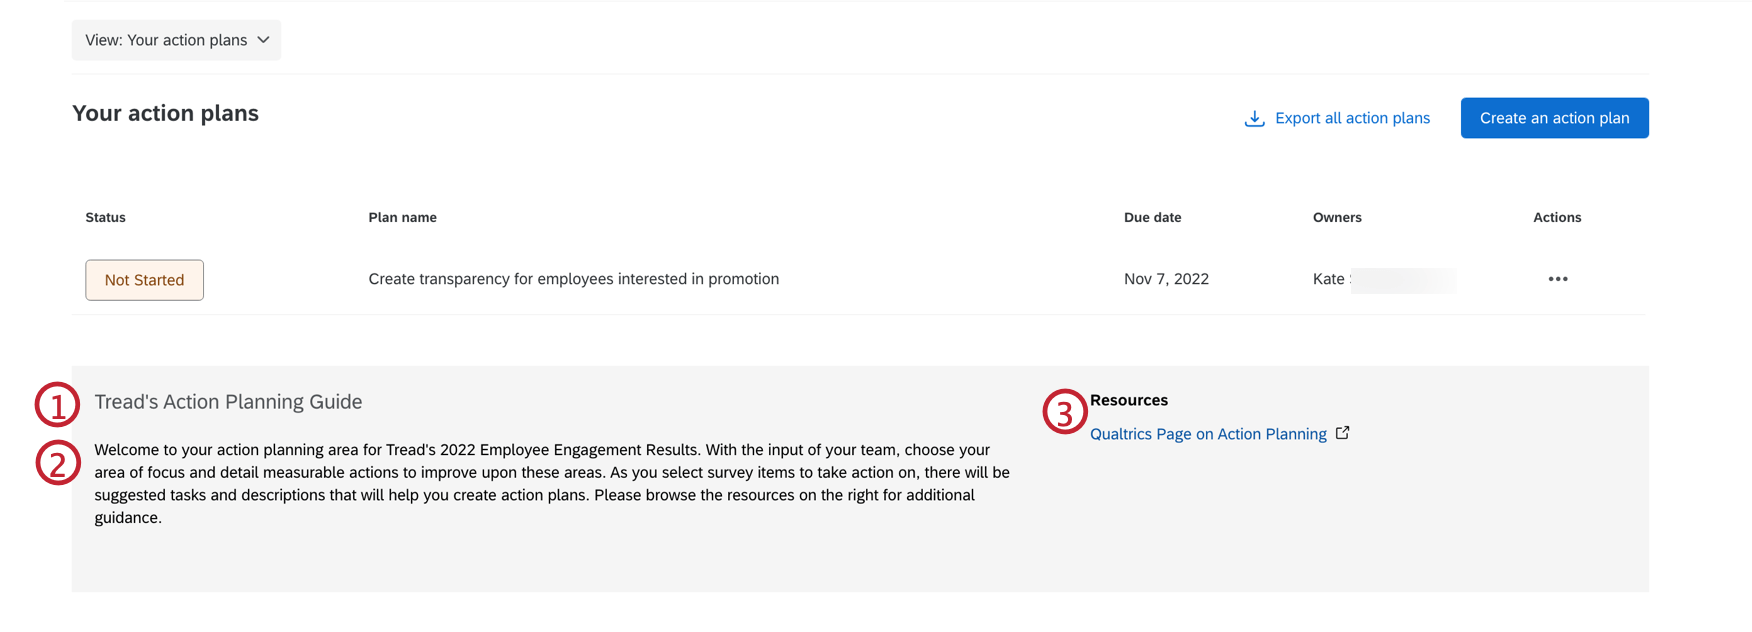
The General Guidance section is where you can provide information to your organization about action planning overall. Your organization will see this at the bottom of the page when they click on action plans.
- Add a headline. This is the title of your overall action planning guide.
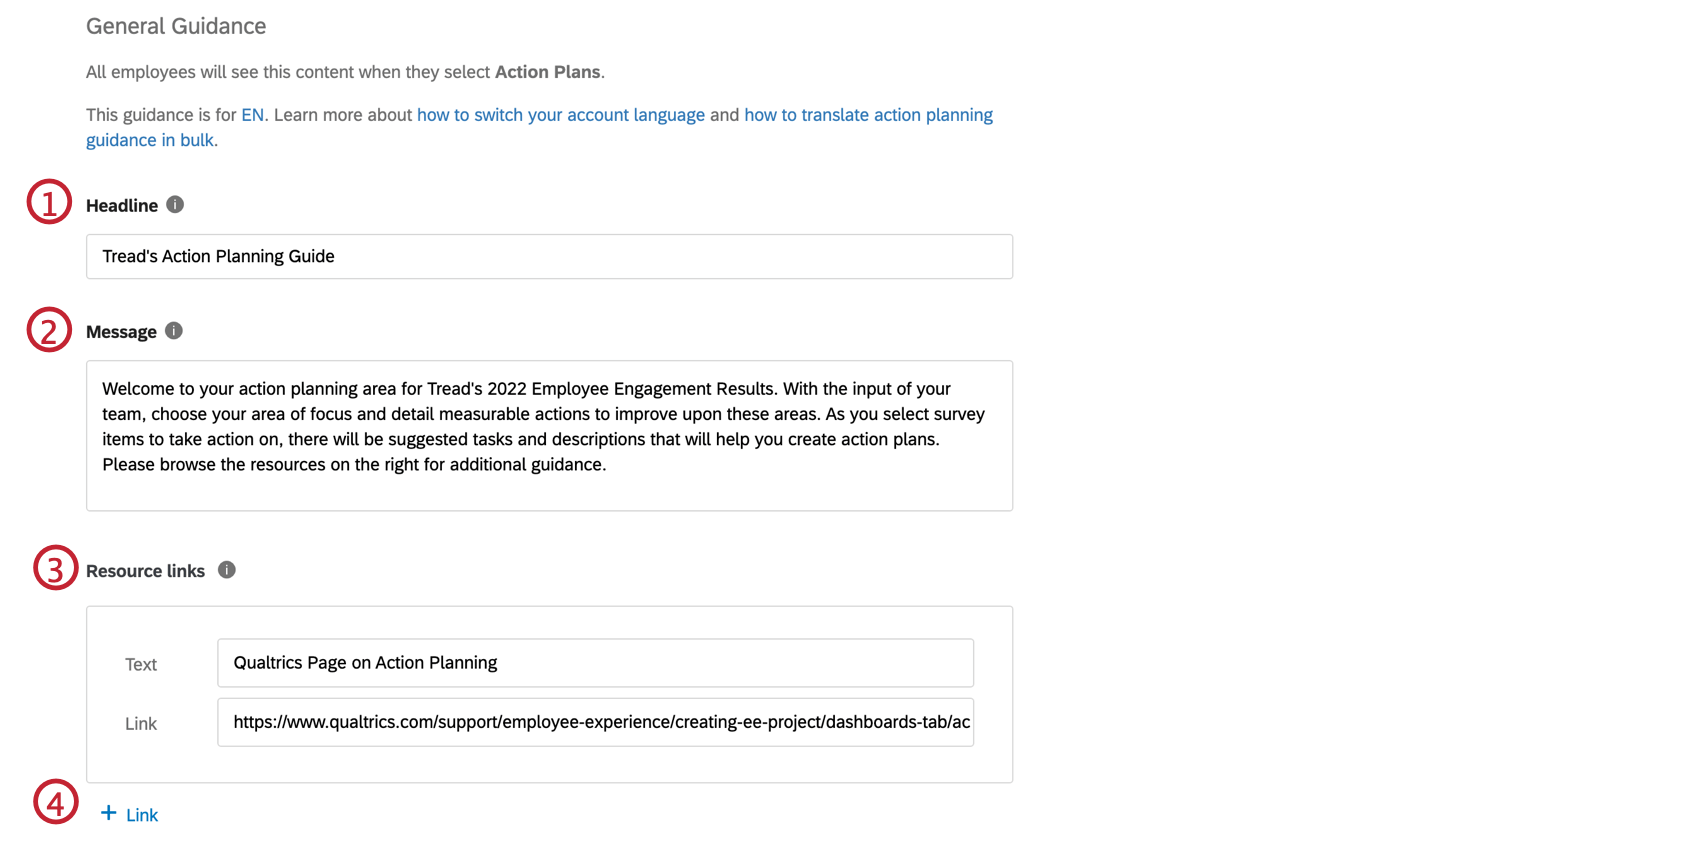
- Add a message. This is general guidance for your action-planning strategy.
Qtip: This field does not obey line breaks, rich text, or HTML.
- Add a resource. The Text field is the name of the resource, and the Link is the URL of the resource.
- Click + Link to add another resource.
Here is what each of these fields looks like to your users, numbered the same as the steps they appear in.
Specific Guidance / Available Fields
The Specific Guidance section is where you can add guidance for the manager to see when they create their action plan. After the manager tags their action plan to a category or survey item, they will see the suggested actions, resource links, and other guidance you provide them in their action plan to help them create one. This section also allows you to manage what items from your survey data are available for action planning.
You can add specific guidance on the level of a category (Category Level Guidance) and/or survey questions (Question Level Guidance).
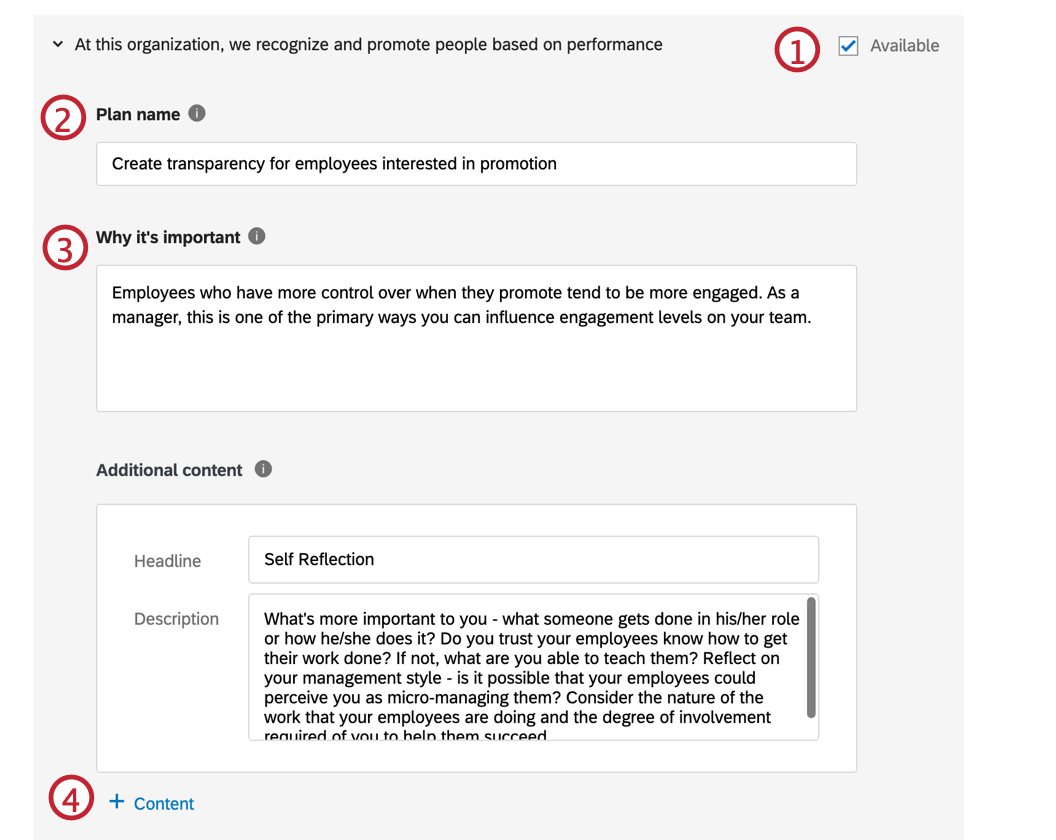
- If you’d like a manager to be able to tag their action plan on a certain category / question, make sure Available is selected in the upper-right.
Qtip: If Available is unchecked, this means managers can’t add an action plan to that category or question. You may want to do this when the survey item isn’t something a manager can take action on or is outside of the manager’s control.
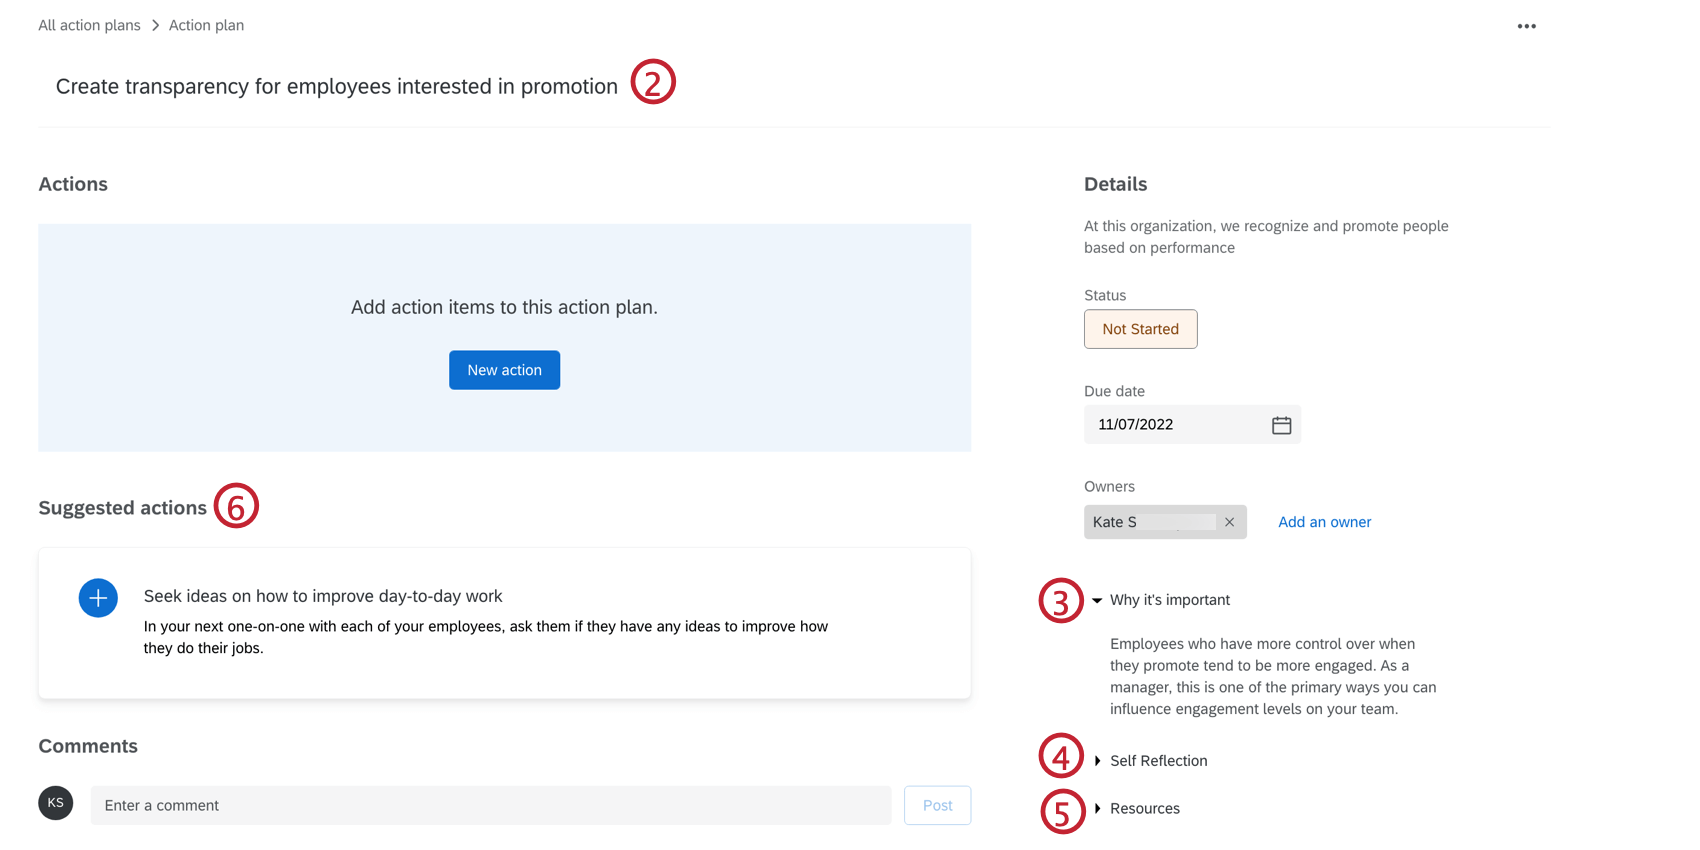
- Provide a short and actionable title for your action plan. This title should briefly describe the specific action that will be taken to address the selected survey item or category (e.g., Empower employees to share their roles).
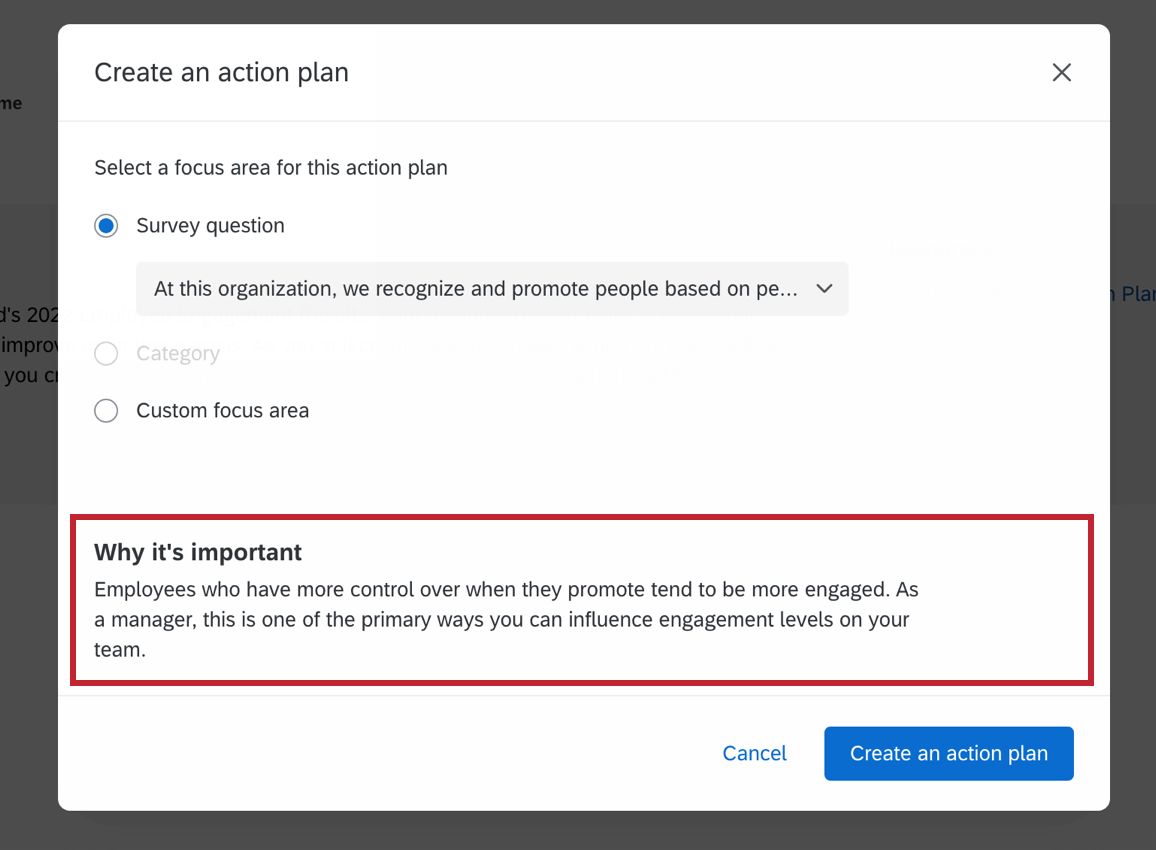
- Explain why this category / question is important to your employees’ work experience.
Qtip: This field is optional, but it will show when a manager adds an action plan from the Focus Areas widget, so we recommend adding one.
- If desired, click Content to add other guidance that may be helpful for a manager when creating an action plan, such as self-reflection questions or discussion topics.
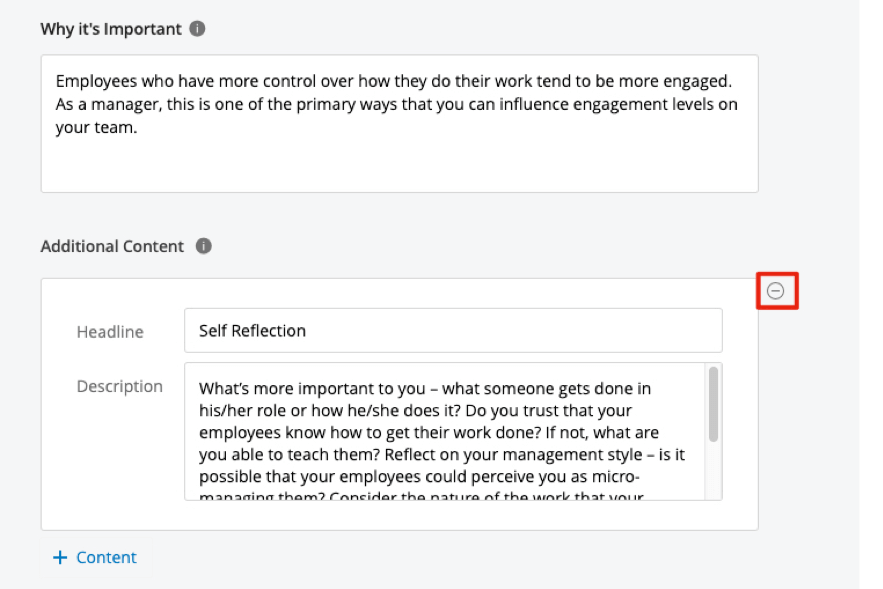
Qtip: After you create an action plan under this category / question, this content appears on the right under the importance you wrote in Step 3.
- Add links to internal or external resources here. The Text field is the name of the resource, and the Link is the URL of the resource.
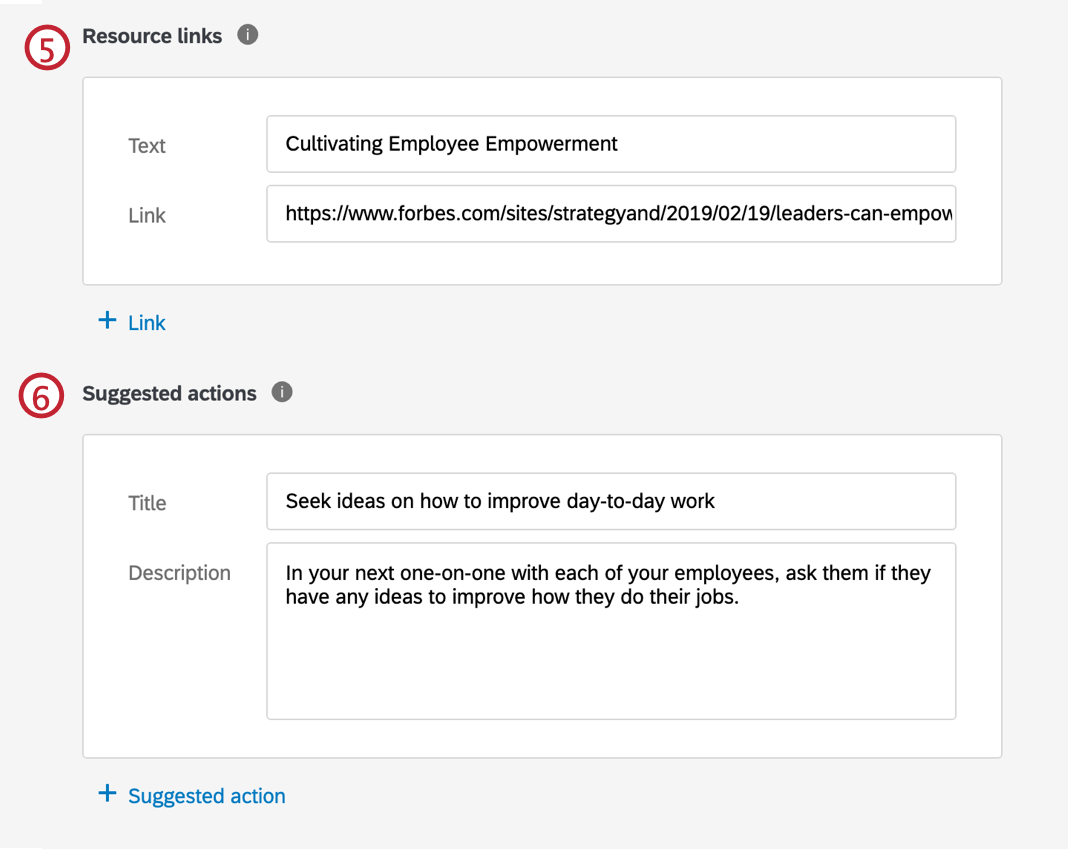 Qtip: Click + Link to add another link.
 - Add suggested actions. These are potential action ideas that provide leaders with ideas on how they can take action.
Qtip: These appear as bullet points on the action plan creation window, and once the action plan is created, it will show as Suggested Actions along the left of the plan.Qtip: Click Suggested action to add another suggested action.
Here is what specific guidance looks like when you’re creating an action plan.
Here is what each of the fields look like after you have created an action plan, numbered the same as the steps they appear in.
