Managing Response Data (360)
About Managing 360 Response Data
Once you collect responses, they are stored in the Data & Analysis tab, where you can edit them, analyze them, export them, and more. This page describes how to manage response data for 360 projects.
Recorded Responses
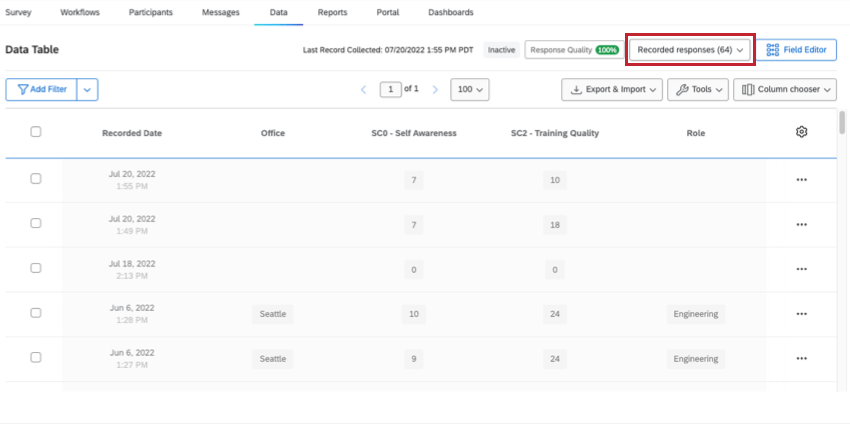
Recorded Responses include any survey response that was 100% completed by the respondent. These responses, unlike responses in progress, are included in reports.
The Recorded Responses page functions similarly in 360 and in the Survey Platform, except that in 360, you do not need to worry about your data containing preview or test responses, and subject reports and dashboards replace the other reporting features available in the Survey Platform.
Recorded Responses can be viewed by navigating to the Data tab and making sure Recorded Responses is selected on the right.
Filtering Responses
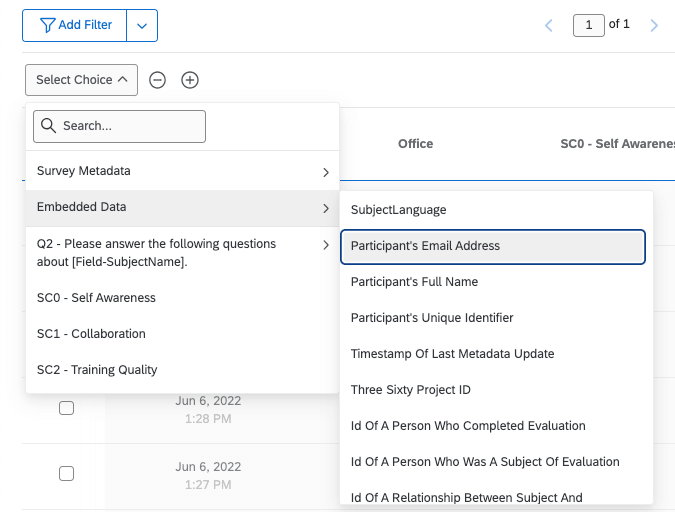
To filter in 360, navigate to the Data tab and click Add Filter on the top-left. You can even save these filters to later if you’d like.
Filtering responses in 360 is very similar to filtering responses in the Survey Platform. The only difference is that you can filter by different information.
You can find metadata fields and participant information listed under Embedded Data. See a full list of unique 360 fields you can filter by.
Choosing Columns
You can customize the data that appears on your Recorded Responses page by choosing columns. This works the same way in 360’s Data tab as it does in the Survey Platform’s Data & Analysis tab.
When adding and removing metadata columns, look under Embedded Data.
Saving Layouts
After you’ve finished choosing columns, you can save this layout so you can feel free to change the columns again without losing configurations you may want to reuse. This works exactly the same in 360 as in the Survey Platform, so see our Survey Platform support page on saving layouts for more details.
Navigating the Data Table Pages
Navigating the Data Table pages works the same way in 360’s Data tab as it does in the Survey Platform’s Data & Analysis tab.
Viewing Individual Responses
Viewing individual responses works the same way in 360’s Data tab as it does in the Survey Platform’s Data & Analysis tab. Note that these responses do not contain participant-identifying information.
Exporting an Individual Response to PDF
Exporting an individual response to PDF works the same way in 360’s Data tab as it does in the Survey Platform’s Data & Analysis tab.
Editing Responses
Response editing works the same way in 360’s Data tab as it does in the Survey Platform’s Data & Analysis tab. Edits you make to data in Data & Analysis will appear in 360 subject reports and in dashboards.
Deleting Responses
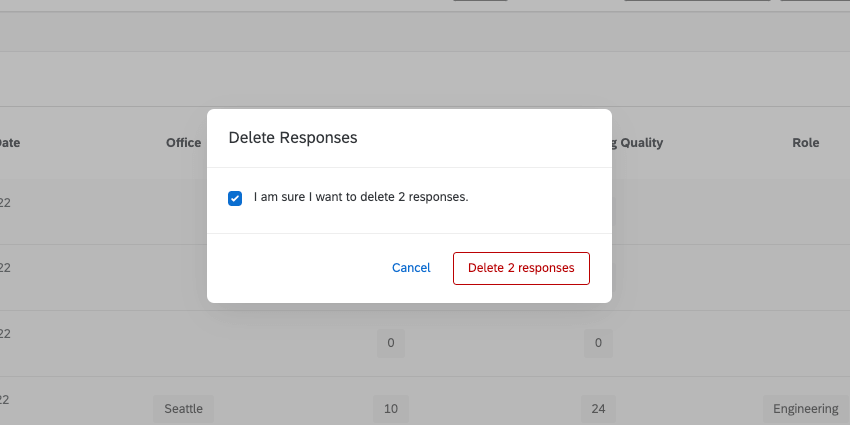
Deleting responses works very similarly in 360’s Data tab as it does in the Survey Platform’s Data & Analysis tab. The only difference is that, because 360 does not have a quotas feature, the only option offered on the final Delete Responses popup is to delete the data.
Creating New Fields
In Qualtrics, you can create new fields that add information to responses after they’ve already been recorded.
Manual Variable Creation
You create a manual variable the same way in 360’s Data tab as you do in the Survey Platform’s Data & Analysis tab. Categorize based on attributes like age, dates, or certain answers to questions without having to set up branch logic and embedded data fields before launching the survey. You can also annotate responses or easily categorize text entry data.
Bucketing Variable Creation
The process of bucketing variables works the same way in 360’s Data tab as it does in the Survey Platform’s Data & Analysis tab. It allows you to combine choices from existing variables into new groups. Also check out our Editing Custom Variables page for information on how to edit bucketed variables.
Formula Variable Creation
You create a formula variable the same way in 360’s Data tab as you do in the Survey Platform’s Data & Analysis tab. It allows you to combine choices from existing variables into new groups. Also check out our Editing Custom Variables page for information on how to edit formula variables.


