
Digital Assist Heatmaps
What's on this page
About Heatmaps
Within the Heatmaps tab of Digital assist you can view a visual representation of how customers interact with your website. Heatmaps let you see what users are doing on your web pages, such as where they click and how far they scroll.
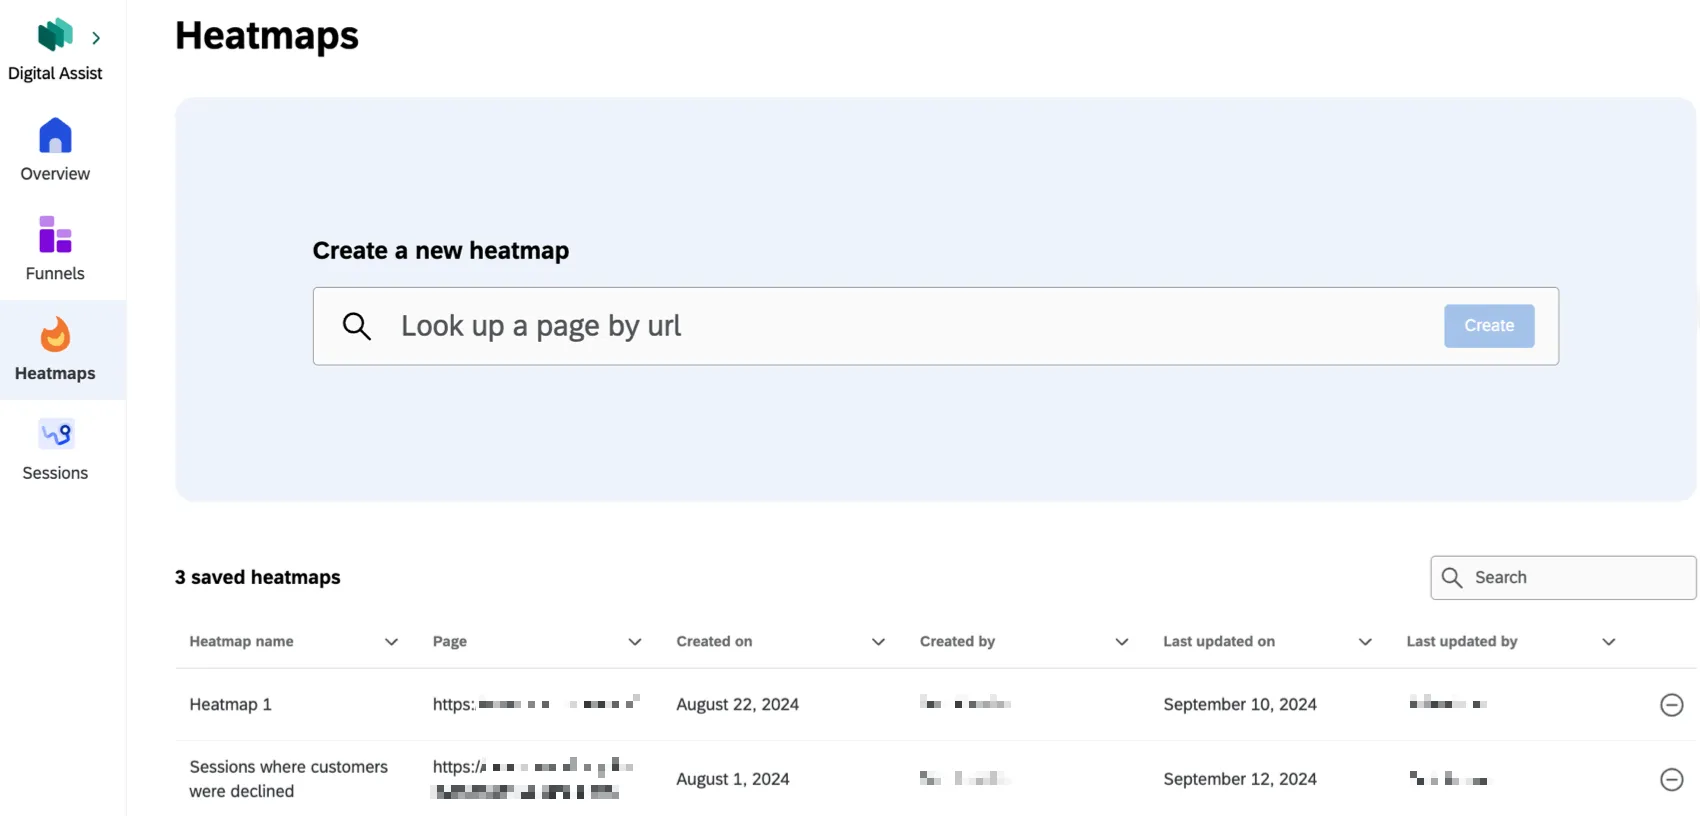
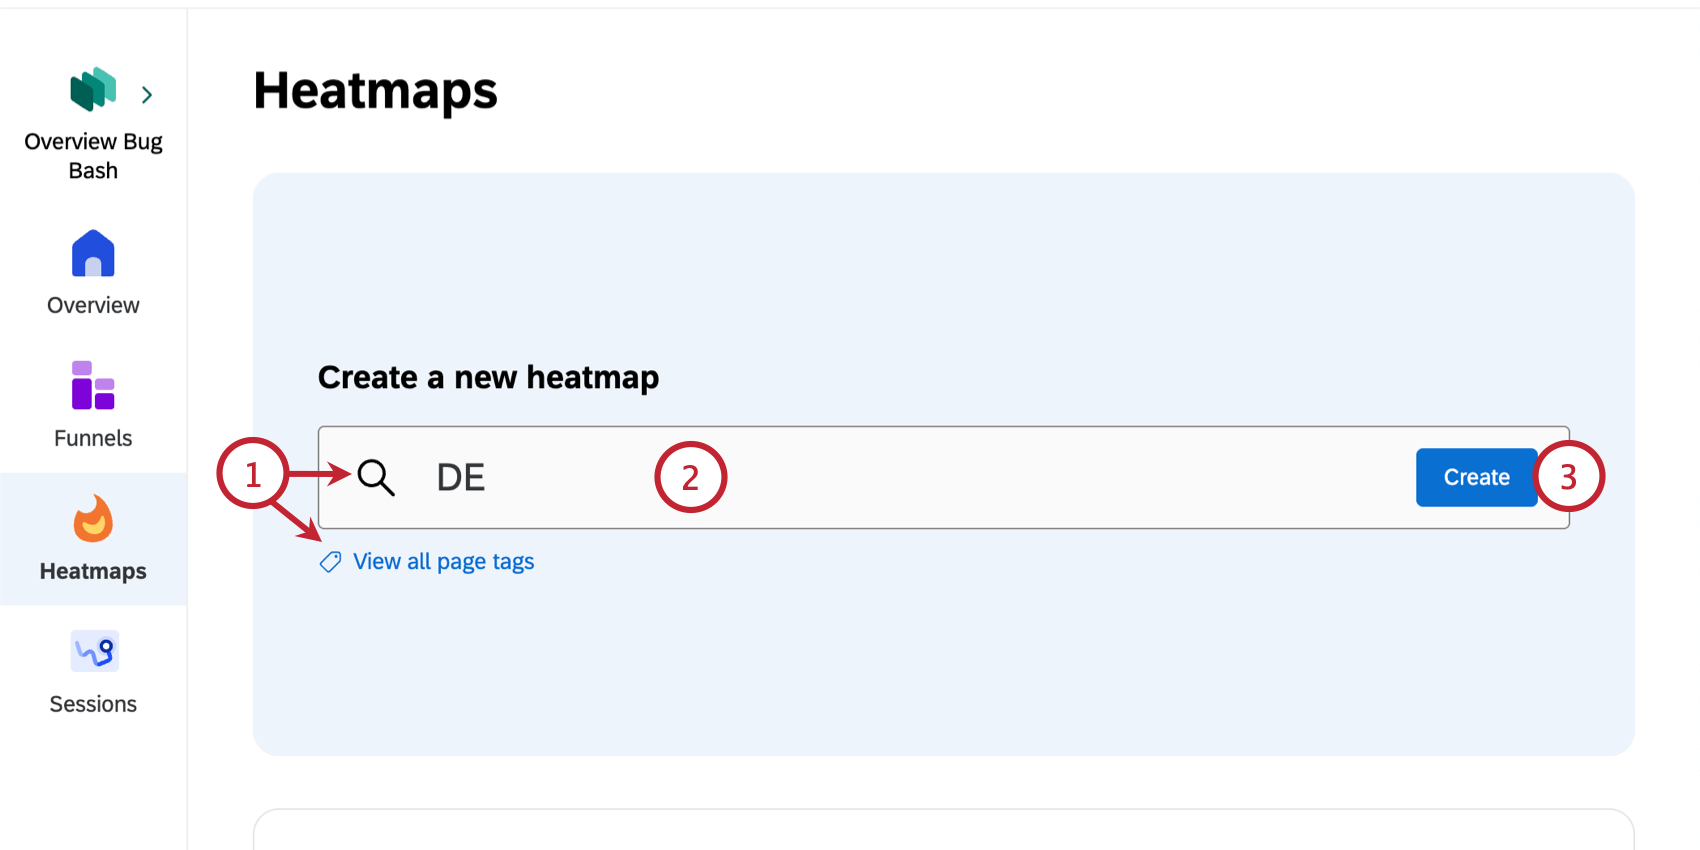
Creating Heatmaps
Qtip: You can create a maximum of 75 heat maps.
Follow these steps to create a new heatmap.
Attention: Session capture must be enabled for the page you select.
Viewing Heatmaps
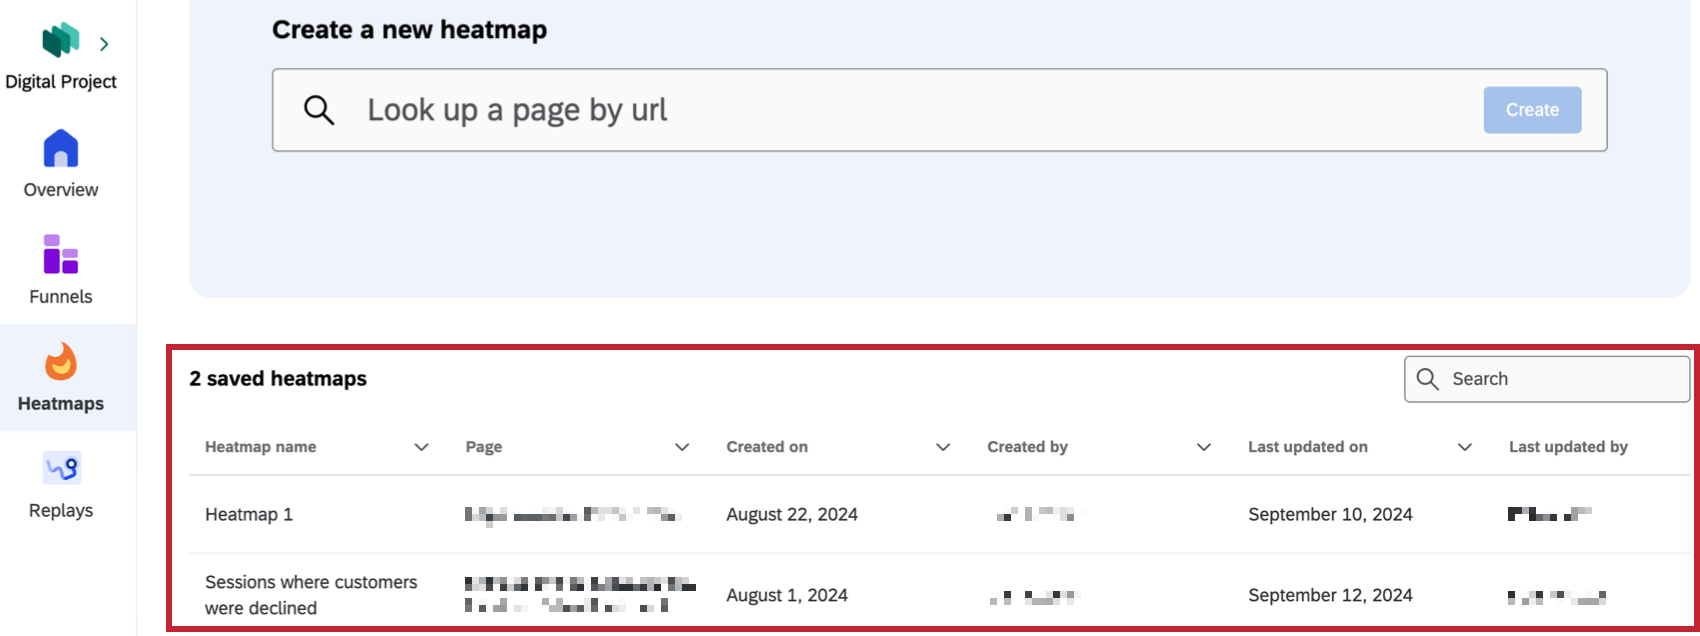
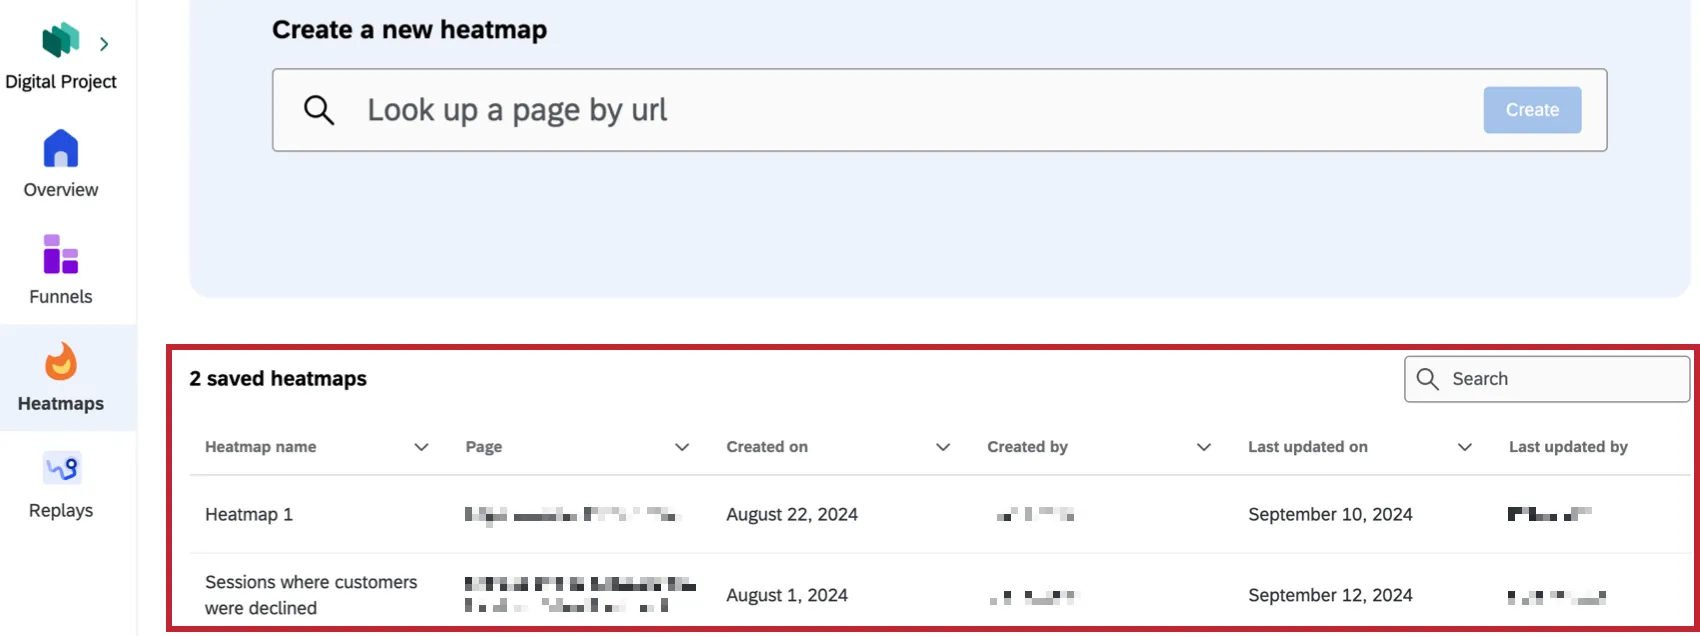
After you’ve created a heatmap, you will be taken to it immediately. You can also click on a saved heatmap from the main Heatmaps tab to view it.
Within each heatmap you can select from various heatmap details to customize your view. Click a specific frustration signal to only view data associated with that signal. You can choose options related to the map type, device type, and website background image.
Map Type
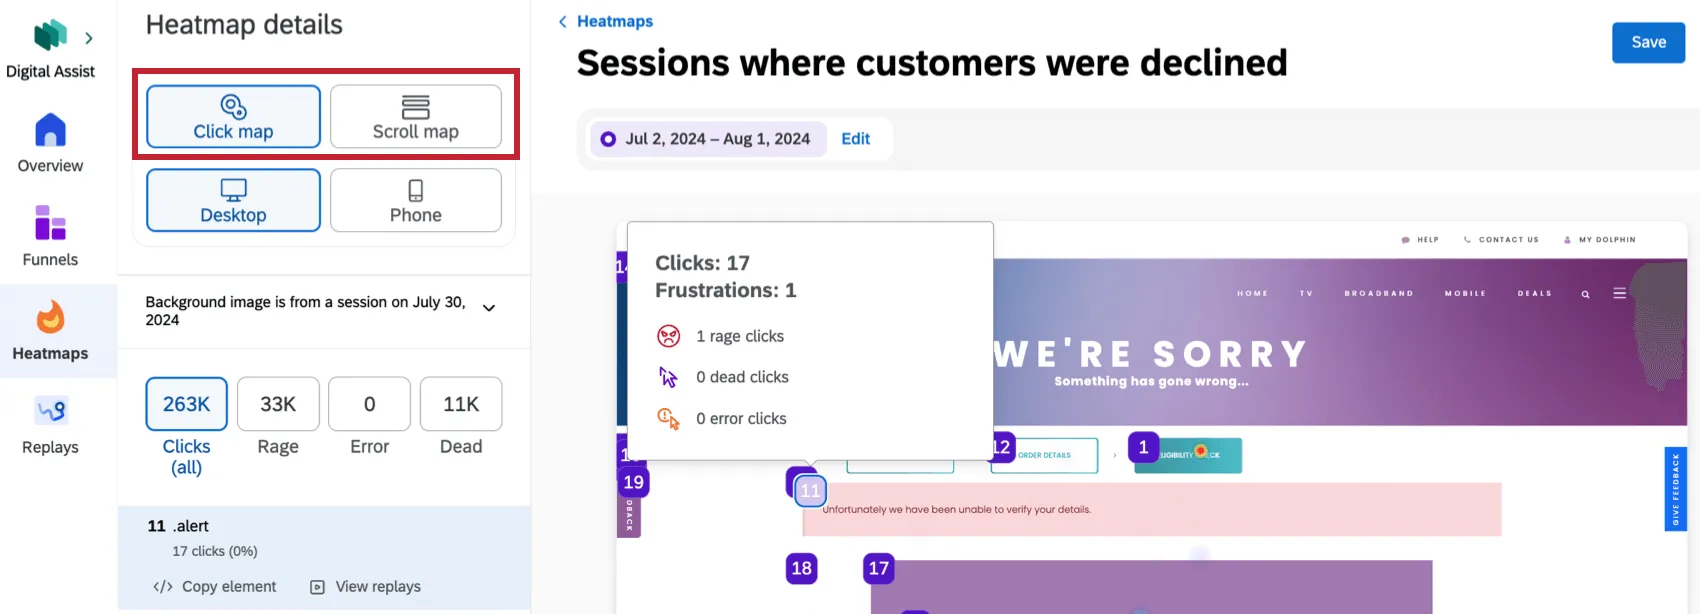
- Click Map: View each click interaction where it occurred on your website. Click the number marks to view frustration insights and session replays for that specific click interaction. This option is selected by default. Qtip: Click Copy element to copy the code of your element to send to your team to investigate.

- Scroll Map: View how far users are scrolling on the page. The percentage of visits that reached specific scroll depths are displayed in the left panel.
Device Type
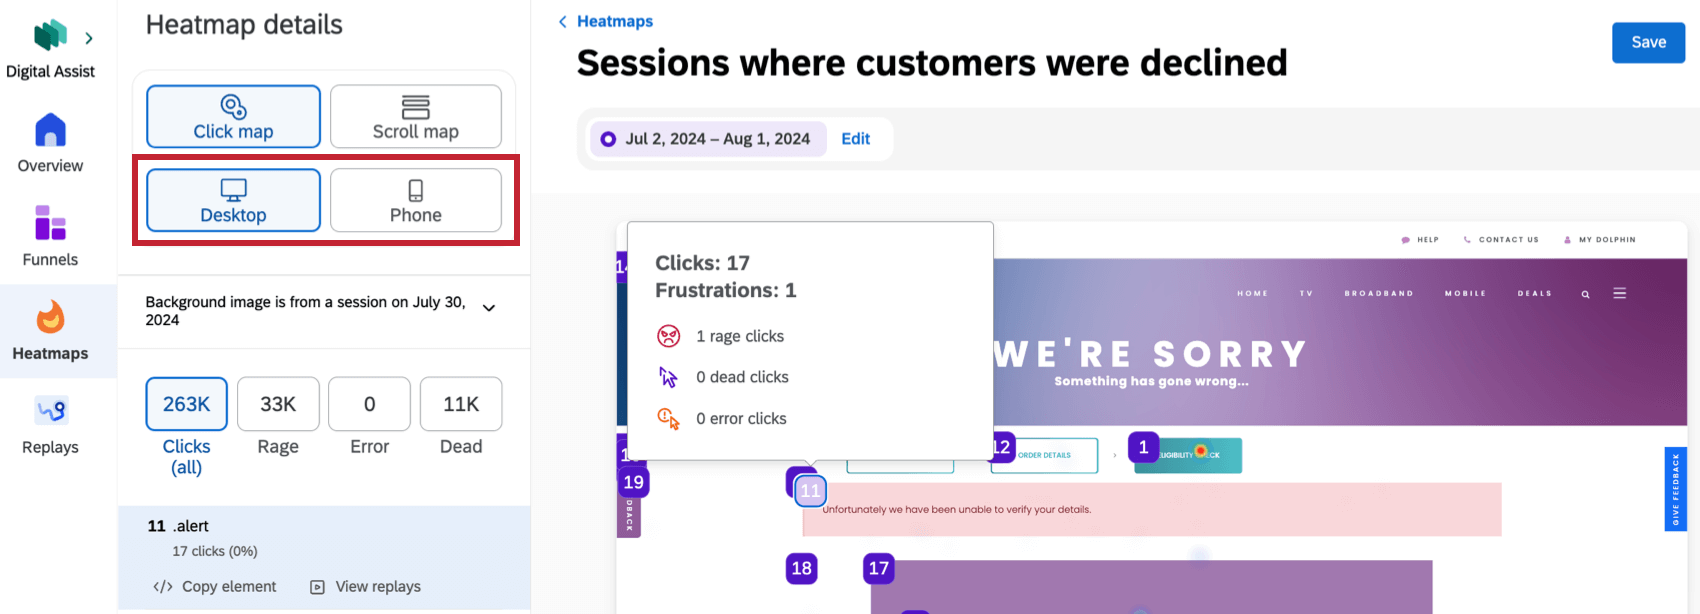

- Desktop: View data for users that accessed your website on a desktop.
- Phone: View data for users that accessed your website on a mobile device.
Background Image
Heatmap background images reflect how your site appeared during a session on a particular date. The initial background image is based on the most recent session in the chosen date range. You can change the appearance of the background image by clicking the background image dropdown on the left side of the heatmap.
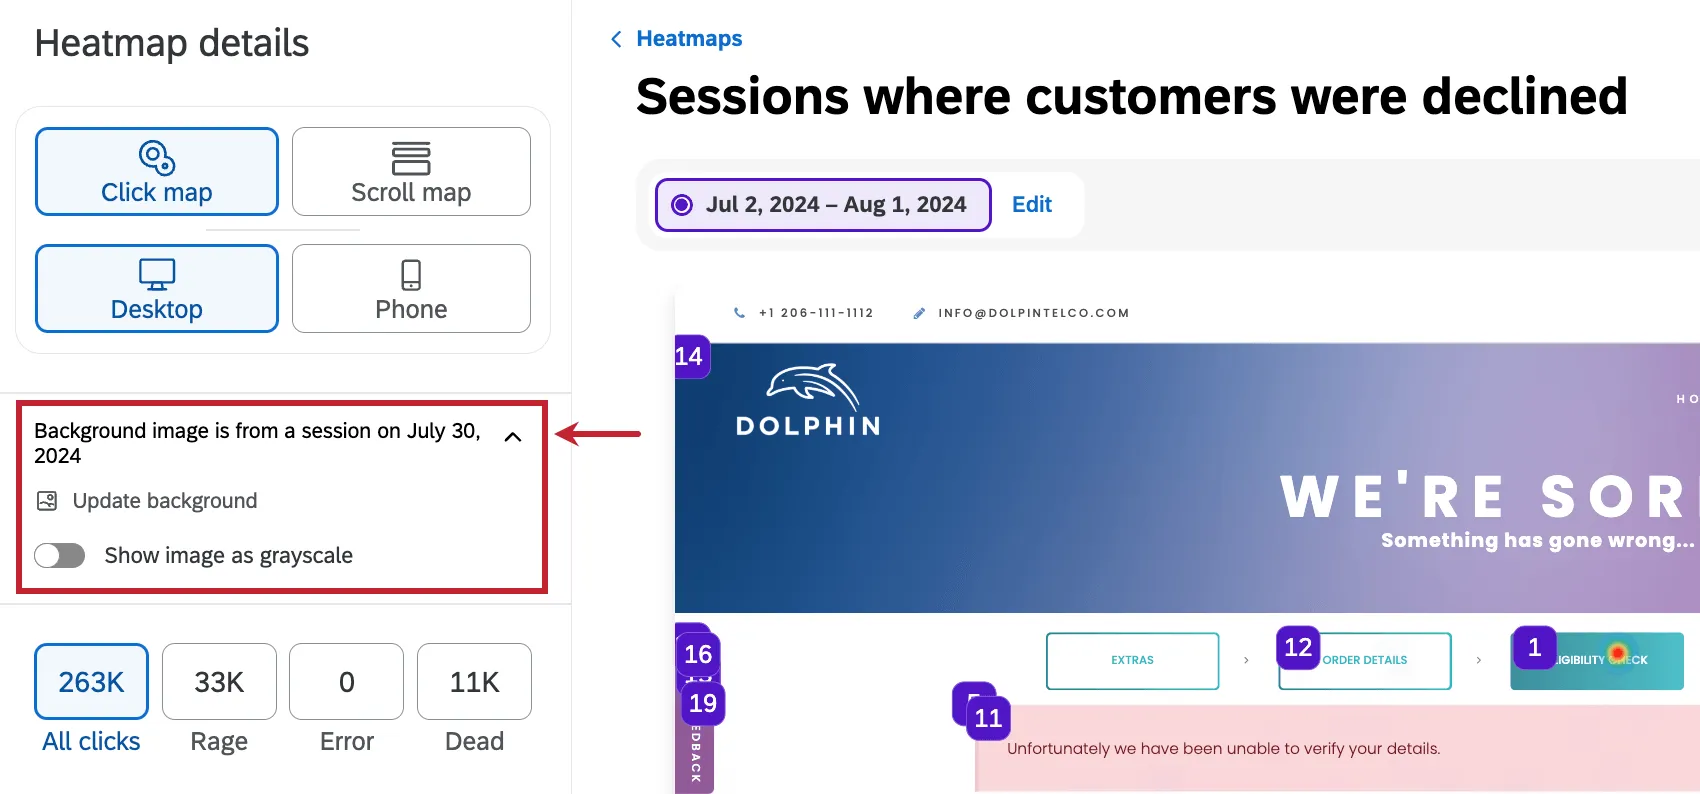
Select Show image as grayscale to display the background in grayscale. Select Update background and select a different date to use a background from a different session. The heatmap data will stay the same.
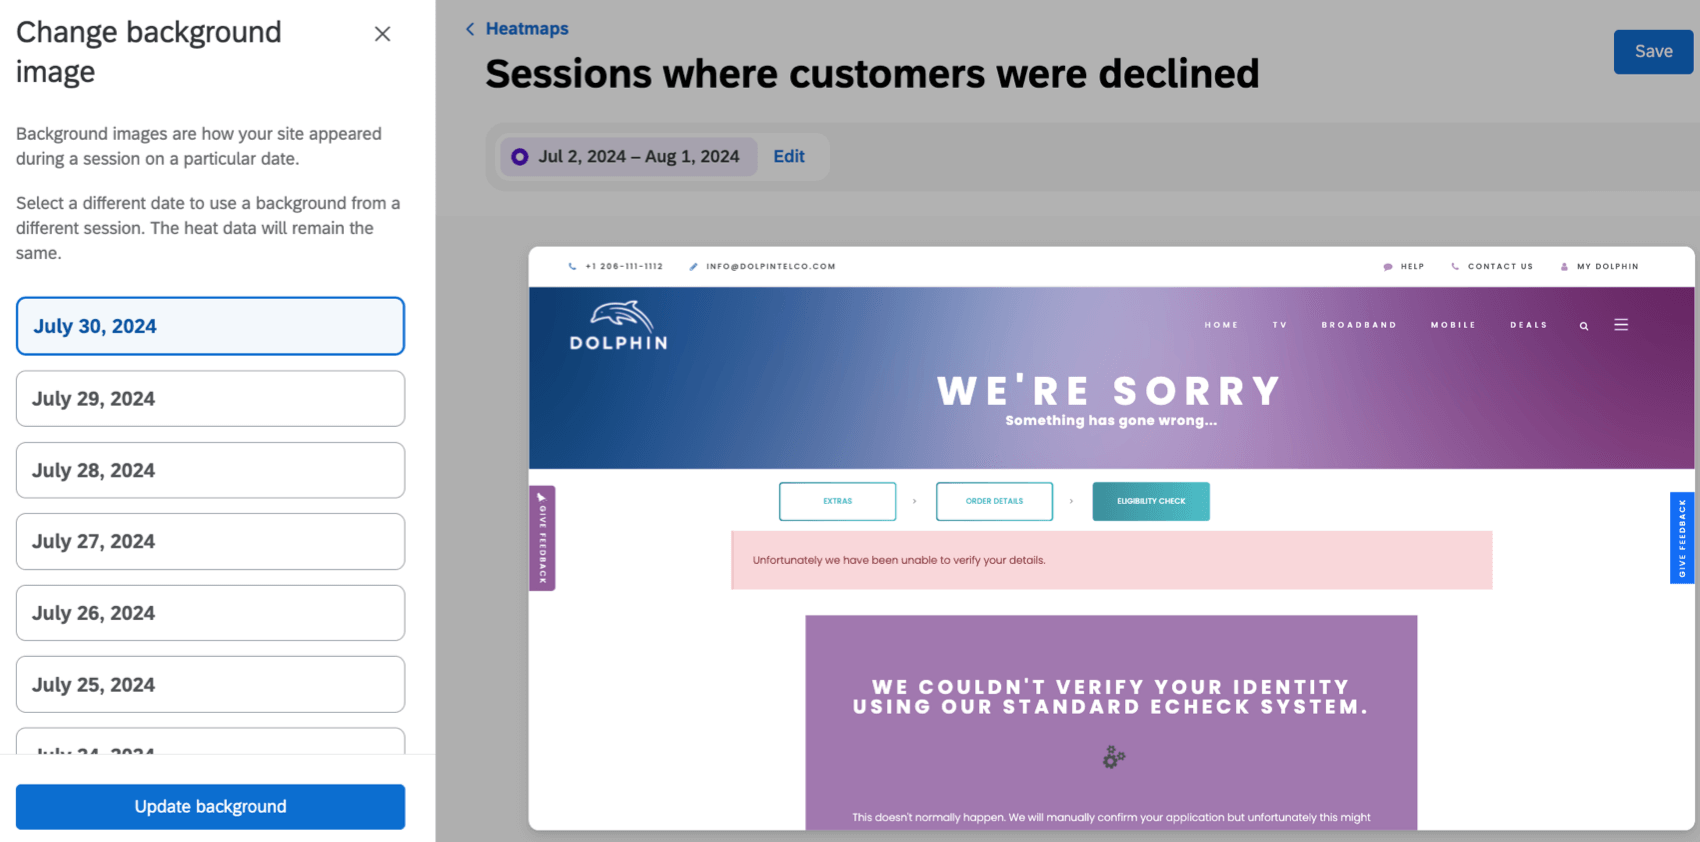

Saving Heatmaps
To save your heatmap, click Save in the top-right corner and give your heatmap a name.

After you’ve created a heatmap for the first time, you must save it to be able to view it again. If you exit your heatmap without saving, you won’t be able to view it again. You also have to save your funnel any time you make changes to it.
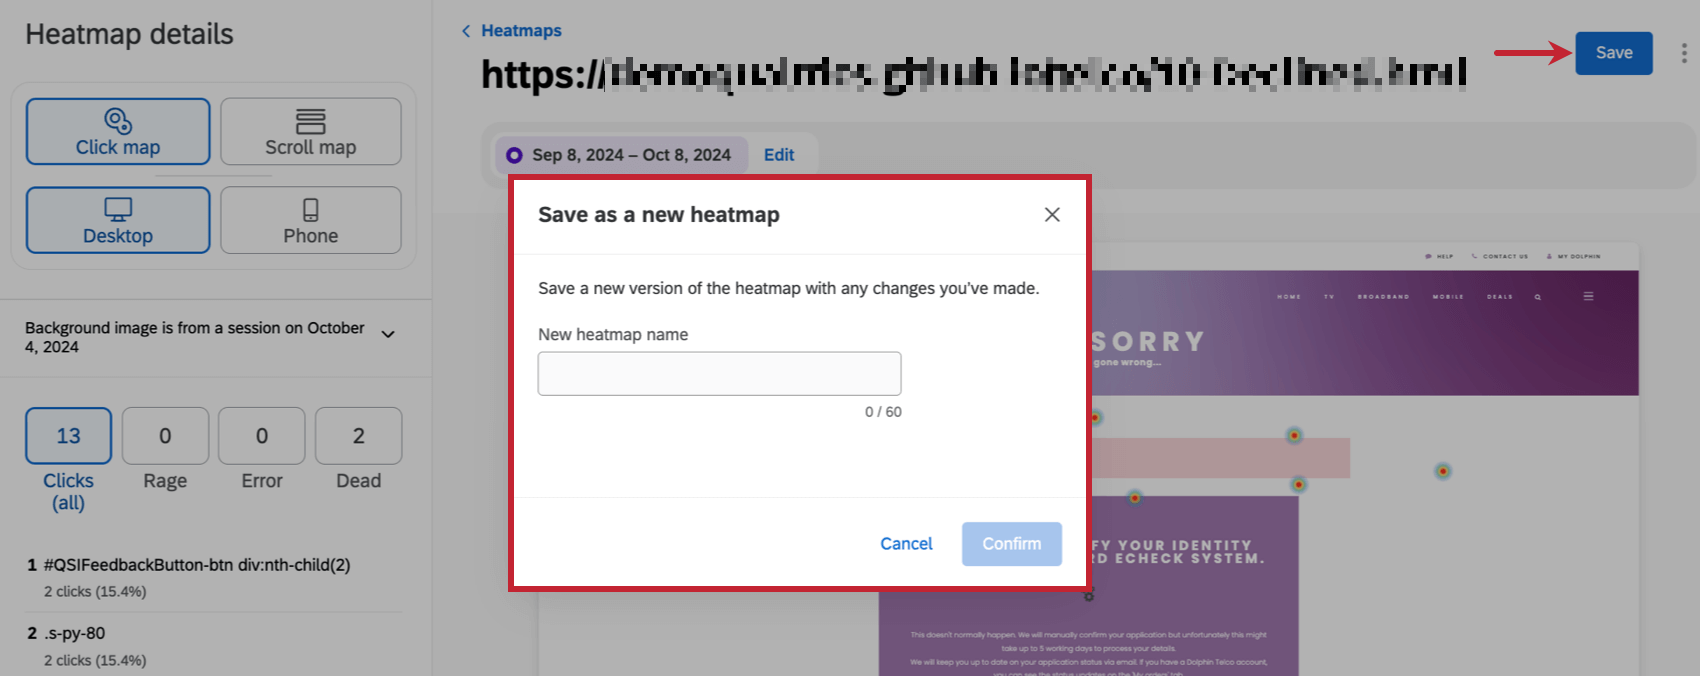
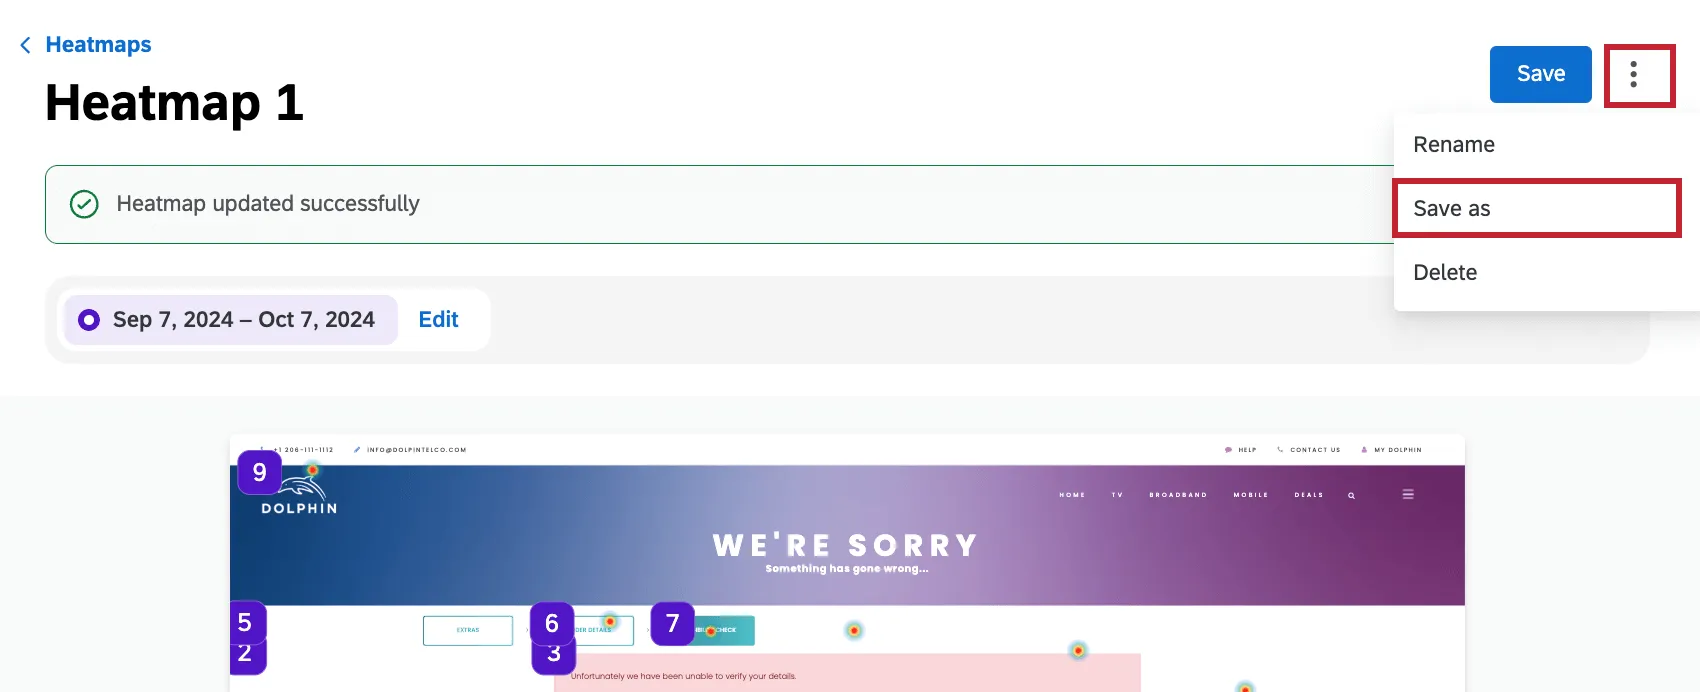
To save your changes as a new version of your funnel and preserve your original configuration, click the 3 dots in the top-right corner and select Save as.
Qtip: When saving a heatmap (either creating a new one or editing an existing one), you must at least 1 snapshot displayed in each filter for the heatmap to save. If no snapshots are displayed for a filter, then the heatmap will not save.
Filtering Heatmaps
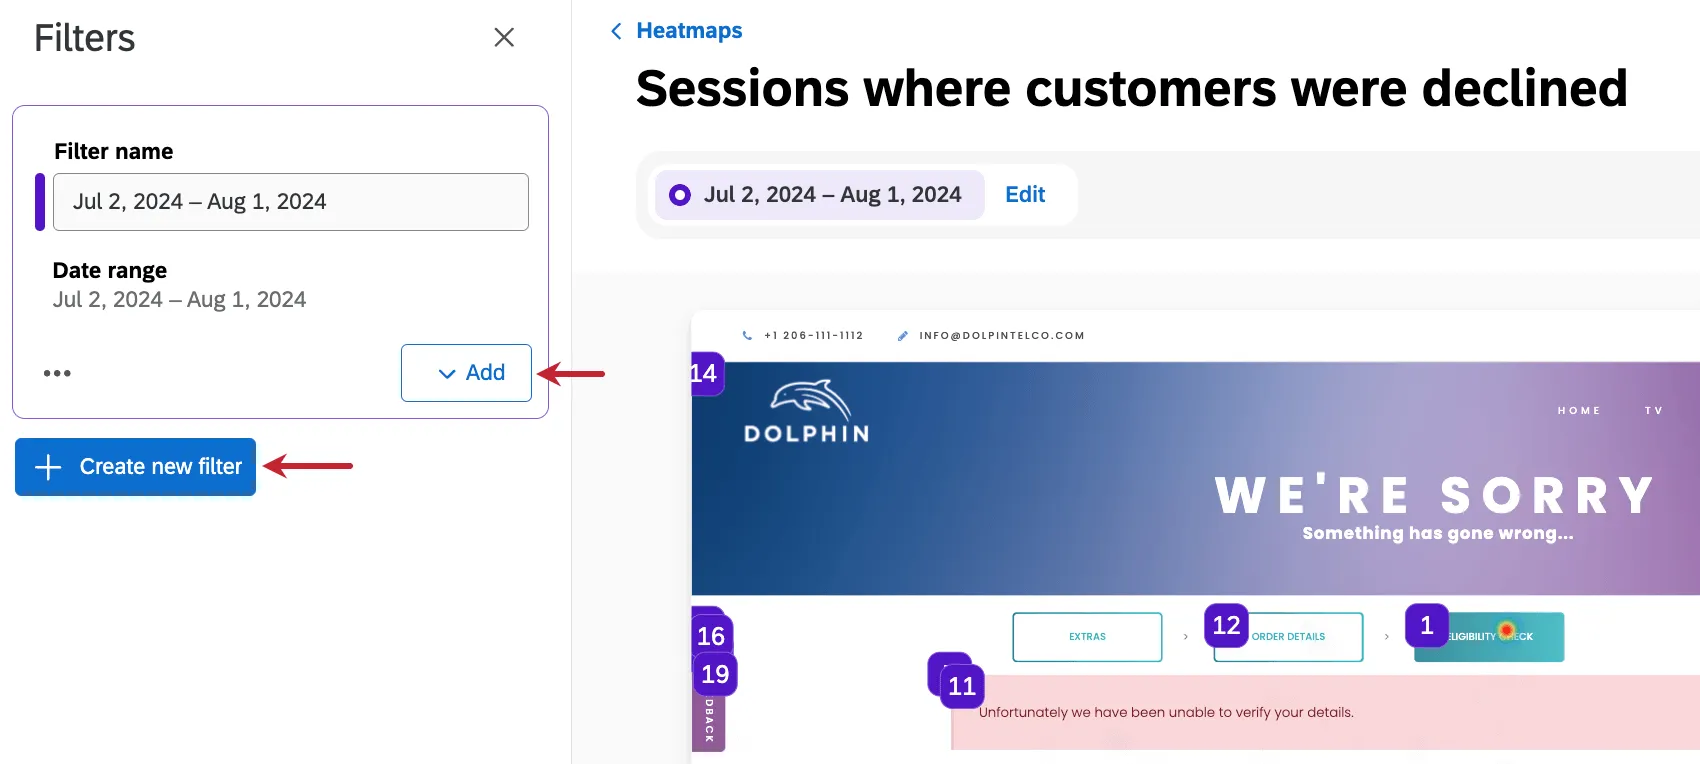
By default, heatmaps have a filter set to the last 30 days. Click Edit at the top of the heatmap to edit the existing filter or add a new one.
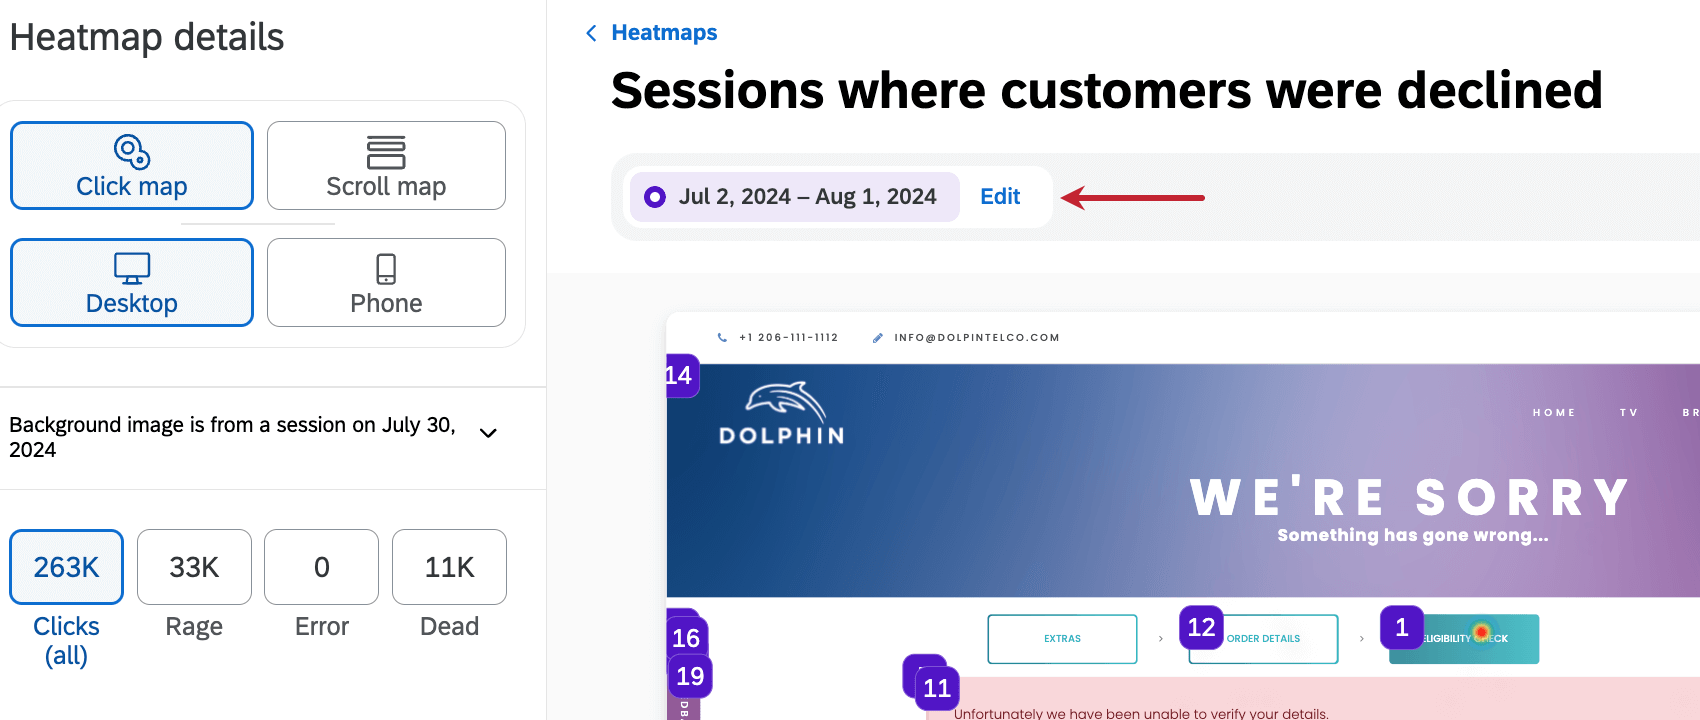

Qtip: While the default date range on a heatmap filter can be edited, it cannot be more than 30 days.
Click Add to add additional fields to the filter, and click Create new filter to create an entirely new filter.
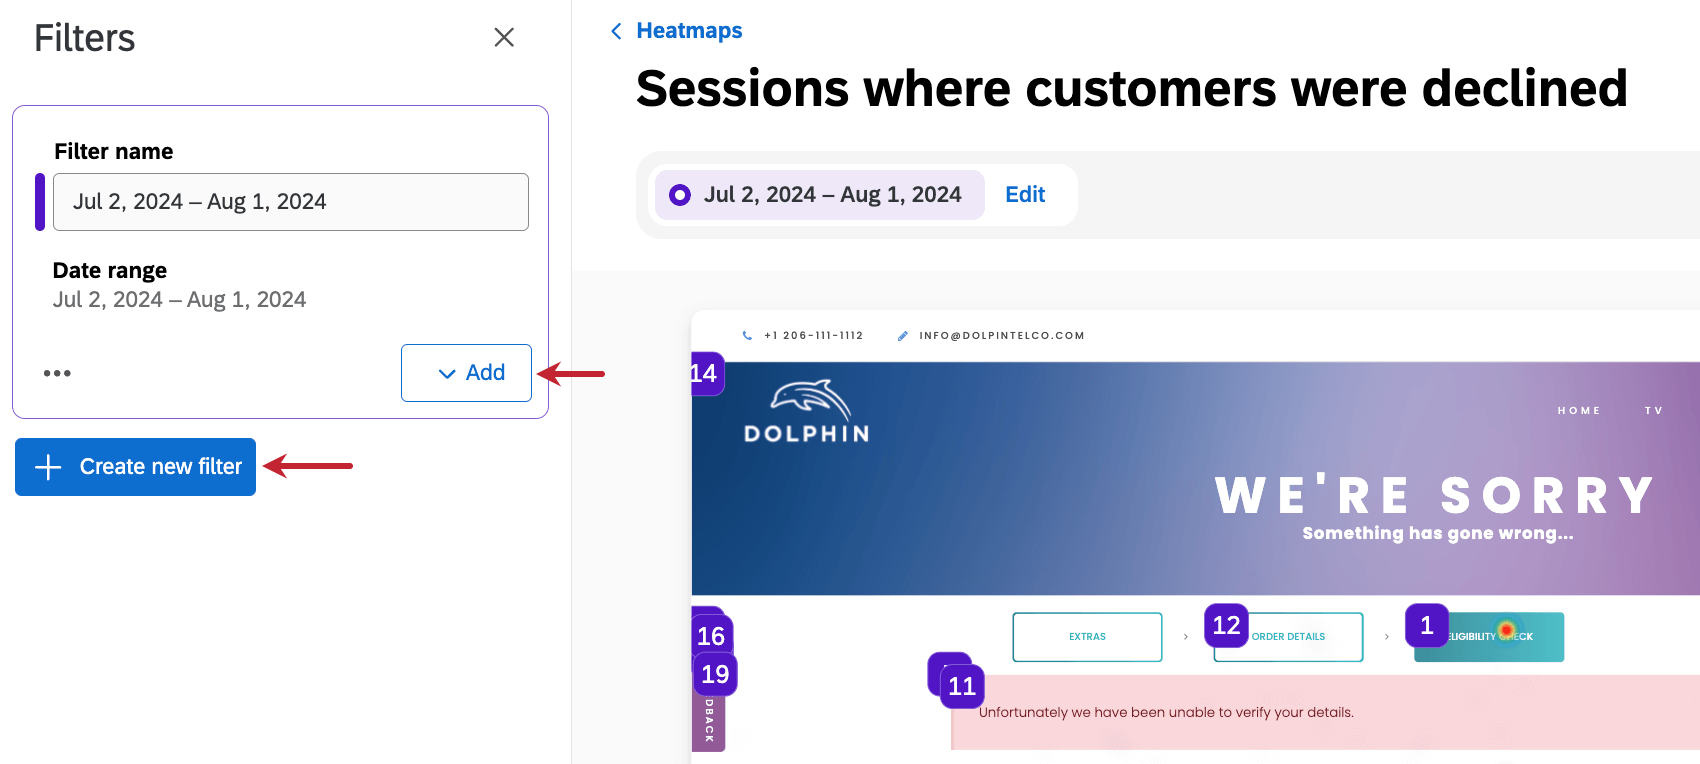
That's great! Thank you for your feedback!
Thank you for your feedback!