-

Qualtrics Platform -

Customer Journey Optimizer -

XM Discover -

Qualtrics Social Connect
Branch Logic
About Branch Logic
Branches are useful when you want to send respondents down different paths in your survey. You can use branch logic to direct respondents to different survey flow elements based on variables like question responses or embedded data. It’s a bit like a choose your own adventure novel. The way your respondents answer certain questions will influence the route they take through your survey.
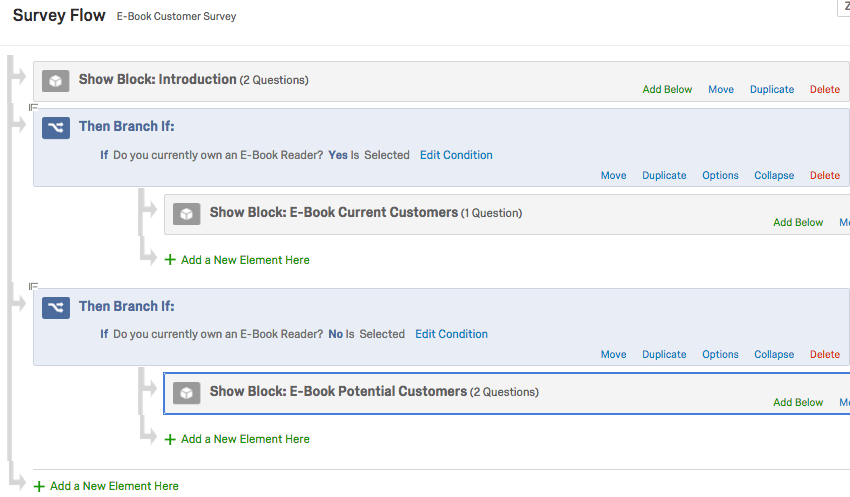
This survey uses branch logic to send respondents who own an E-Book reader to the e-Book Current Customers block, and respondents who don’t to the Potential Customers block.
Adding a Branch
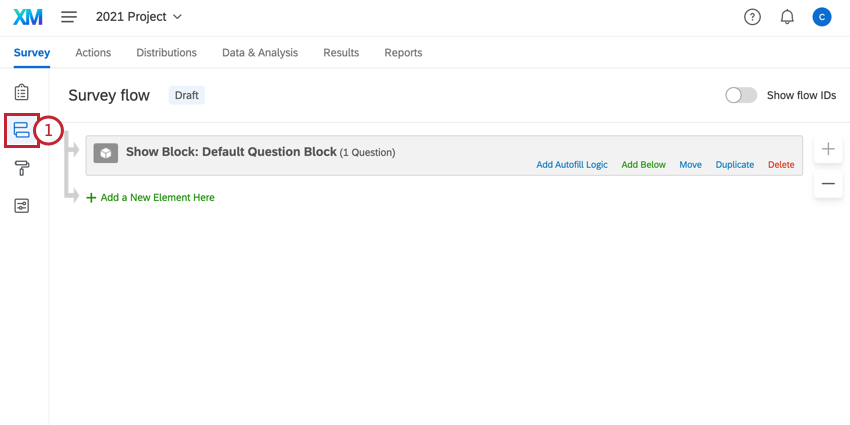
- While editing your survey, click the Survey flow icon in the left navigation bar.
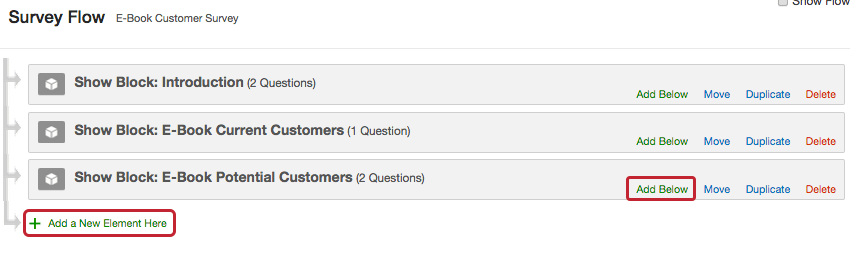
- Click Add Below or Add a New Element Here.
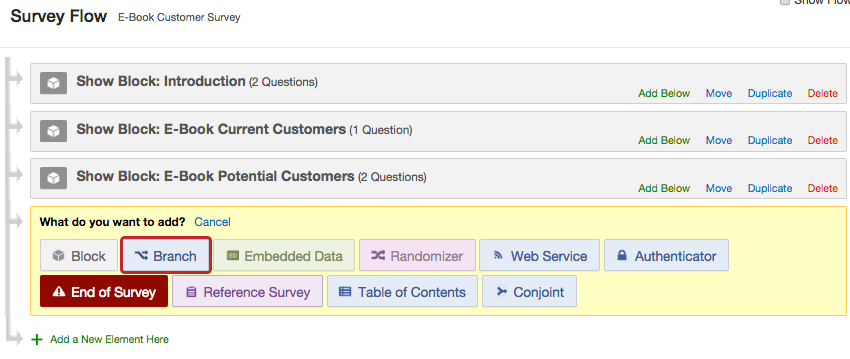
- Choose Branch.
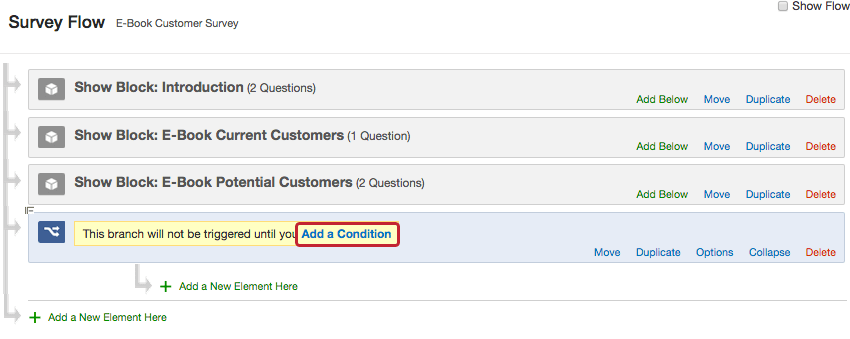
- Click Add a Condition and add a logic condition (conditions can be based on questions, embedded data, Device Type, Quotas, or GeoIP Location).
 Qtip: For more information on setting logic conditions, see using logic.
 - Create a new element or move an existing one underneath the branch.
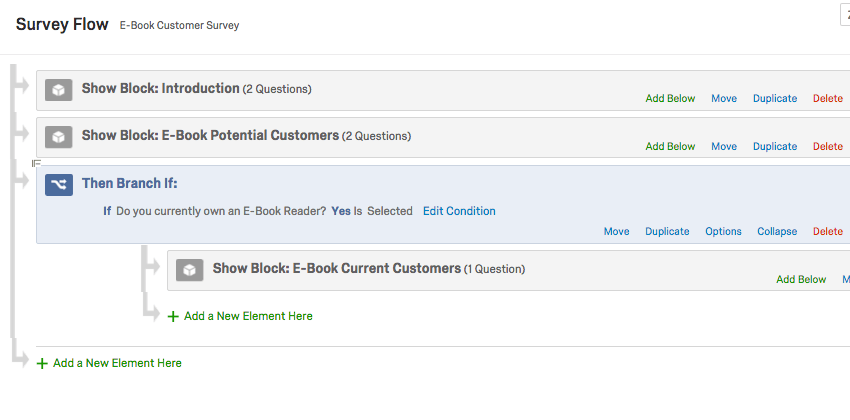
In the above image, participants who answer “Yes” to the question “Do you own an E-Book reader?” will be shown the E-Book Current Customers block.Qtip: Click the minus sign on the top left of the branch to collapse the items beneath it and save space.
Adding Multiple Items to a Branch
Sometimes you may want to nest multiple items under 1 branch or have a branch within a branch. To do this, add the items to your survey flow as normal and then move them under the desired branch.
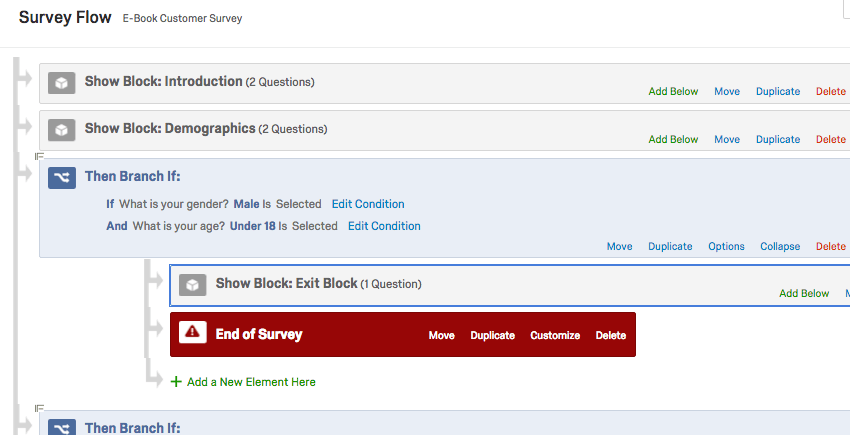
In the above image, after viewing the Demographics block, any respondent who is male and under 18 will be shown a special Exit Block and then have their survey terminated.
Respondent Experience
The survey flow represents the order that respondents will move through your survey. Each time someone takes the survey, they move through the flow top-to-bottom and left-to-right. When a respondent reaches a branch in the survey flow, they will follow that branch until they reach a condition that they don’t meet, or until they reach an end of survey element.

In the above image, each respondent taking this survey will start with the Introduction and Demographics blocks of questions. After, males who are under 18 years old will be directed out of the survey. Everyone else will then continue to the E-Book Current Customers block.
When a respondent reaches the end of a branch that doesn’t terminate in an end of survey element, they will continue to the next element in the survey flow.
Exclude from Progress Bar Calculation
To help your respondents keep track of how much of the survey they’ve completed, you can insert a progress bar into your survey. By default, the progress bar increments for every question the respondent passes when hitting Next.
There are some scenarios where you may want to exclude a set of questions from the survey’s progress. Maybe you have a branch where you ask some filler questions before screening participants out, and you don’t want the progress bar to make such a big leap when other respondents successfully make it past this screen-out. You may also want to make sure you get an accurate reading when you assess the percentage a respondent still working on their survey has completed, or export the completion percentage for an incomplete response.
There is a branch option that allows you to exclude that branch from the survey’s progress. In the survey flow, click Options on your branch.

Select Exclude from progress bar calculation. Then click OK.
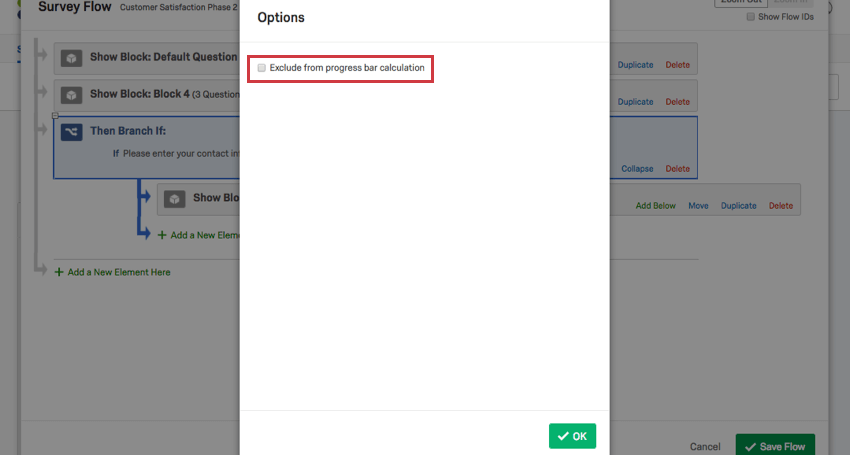
This removes the branch from the progress bar calculation, so any interaction respondents have with the branch won’t impact how their survey progress appears.
Types of Projects this Feature Is Available In
Branches are compatible with every type of project that lets you customize a survey flow. This includes: